A network connection is a set of data required to connect your computer to the Internet, a local area network, or any other computer.
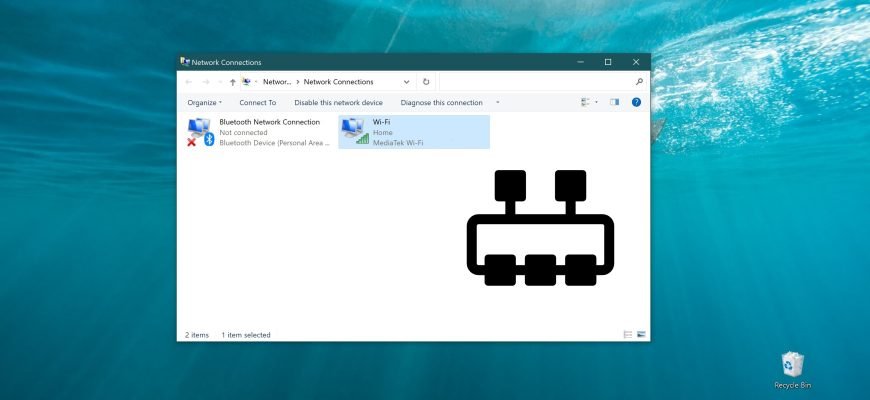
After installing the driver for each network adapter, the Windows operating system automatically configures the network connections on the local computer. All available network connections are displayed in the Network Connections window.
If necessary, you can rename the network connection using the methods below.
To rename a network connection, you must be logged in with administrator privileges
How to rename a network connection in the Network Connections window
To rename a network connection using this method, press the Win+R keyboard shortcut, type ncpa.cpl in the Run window that opens, and press Enter ↵.

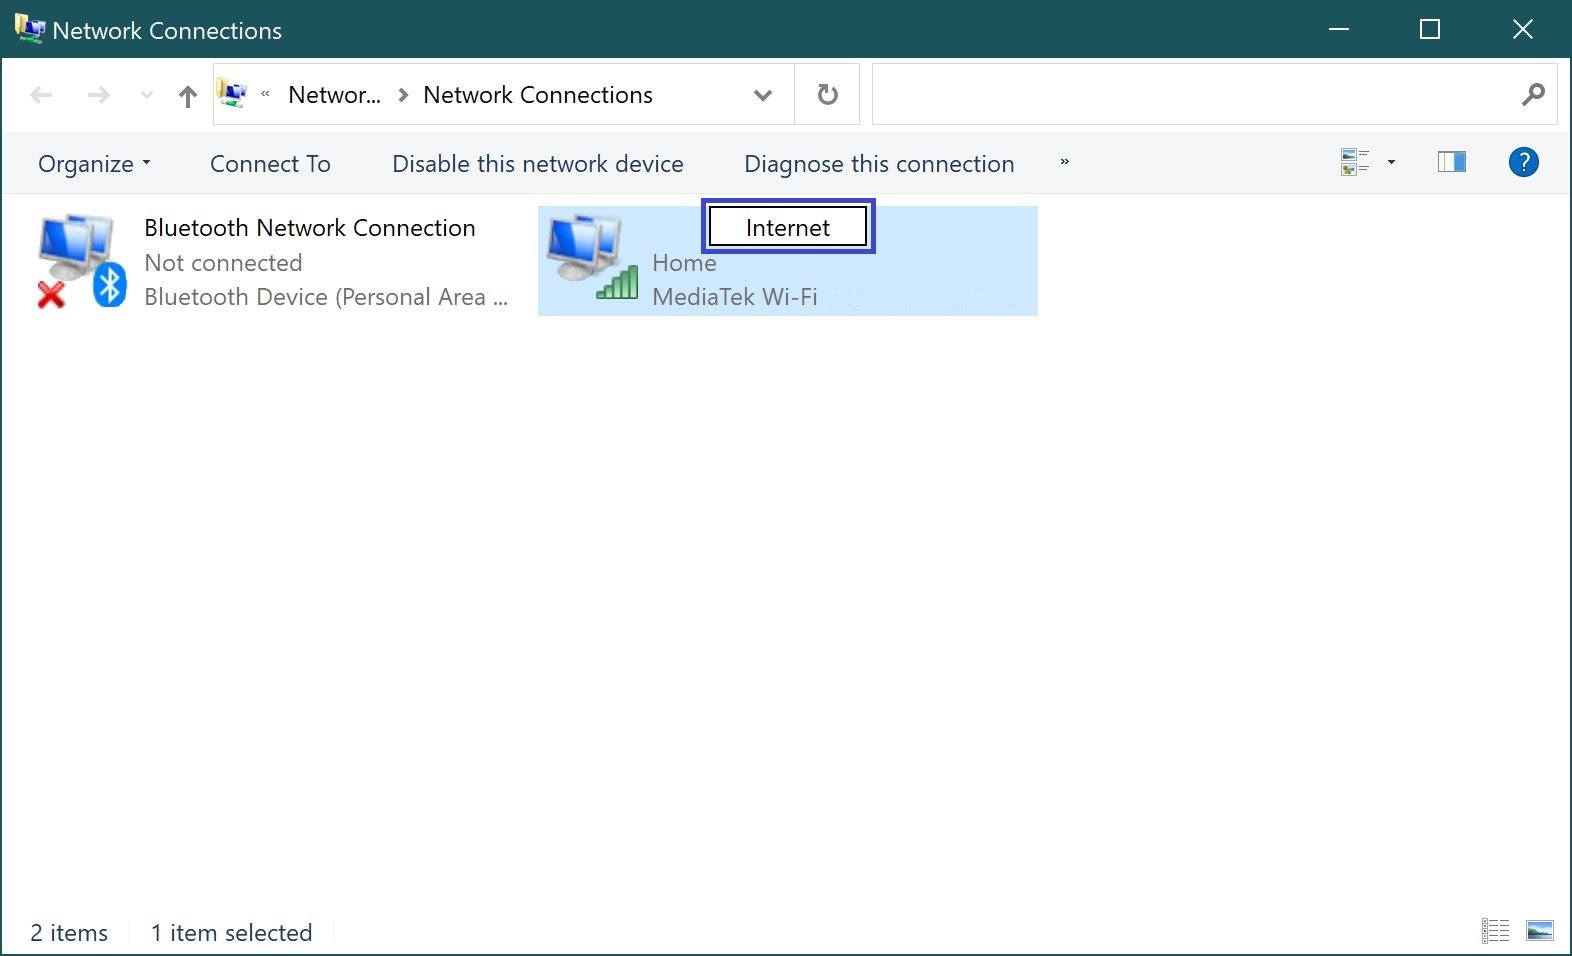
In the “Network Connections” window that opens, right-click on the network connection you want to rename and select Rename in the context menu that opens.

Then enter a new name for the network connection and press the Enter ↵ key.
How to rename a network connection on the command prompt
This method uses commands from the netsh (network shell) command line utility, which allows you to display or change the computer’s network configuration.
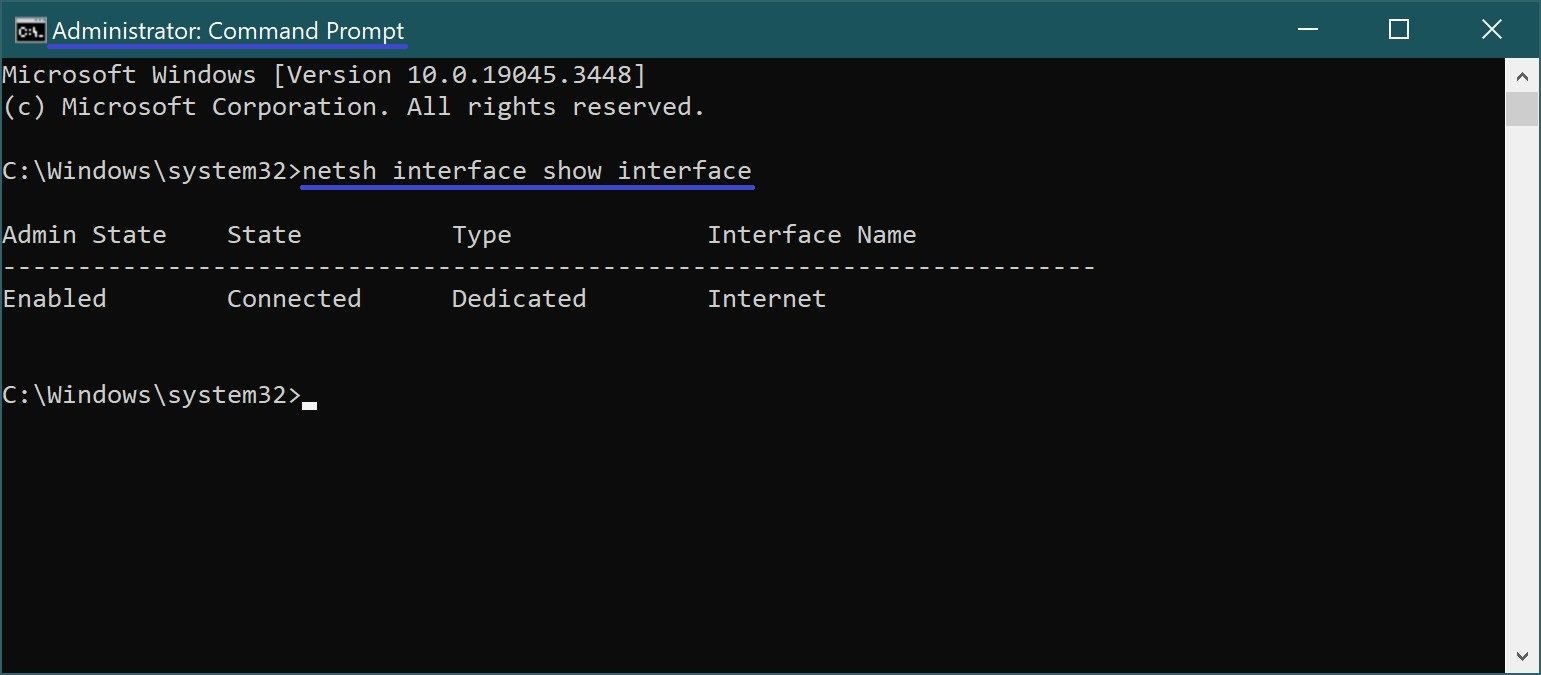
The first thing we need to do is to find out the names of the network interfaces, to do this run a command prompt as administrator and run the following command:
netsh interface show interface
Remember the name of the network interface you want to rename (in this example, we will rename the network connection named Internet).
To rename a network connection, run the following command:
netsh interface set interface name=”Current name” newname=”New name“
Replace the Current Name in the command above with the actual name of the network connection you want to rename (in this example, Internet).
Also replace the New Name in the command above with the actual new name required for the network connection (e.g. Wi-Fi).
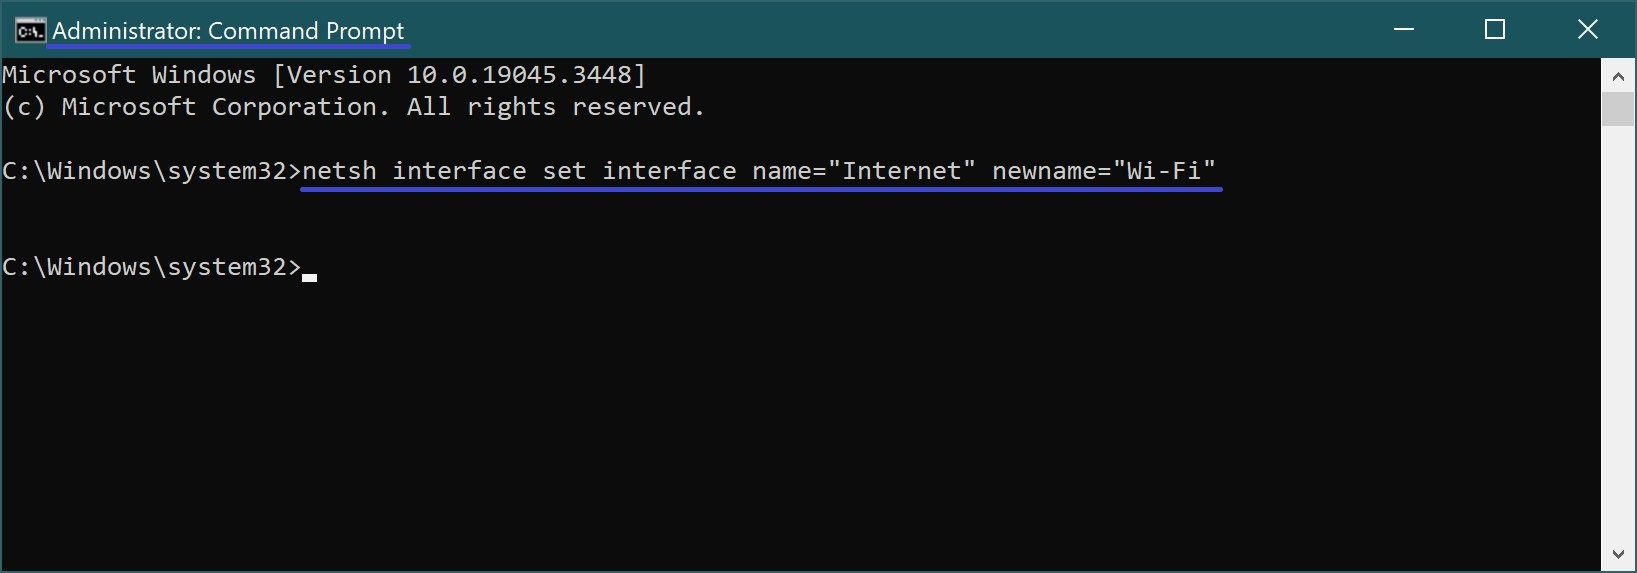
In this example, the command is as follows:
netsh interface set interface name=”Internet” newname=”Wi-Fi”
How to rename a network connection in Windows PowerShell
This method is only available in Windows 8.1 and Windows 10.
The first thing to do is to find out the name of the network connection (network adapter), to do this run the Windows PowerShell console as administrator and run the following command:
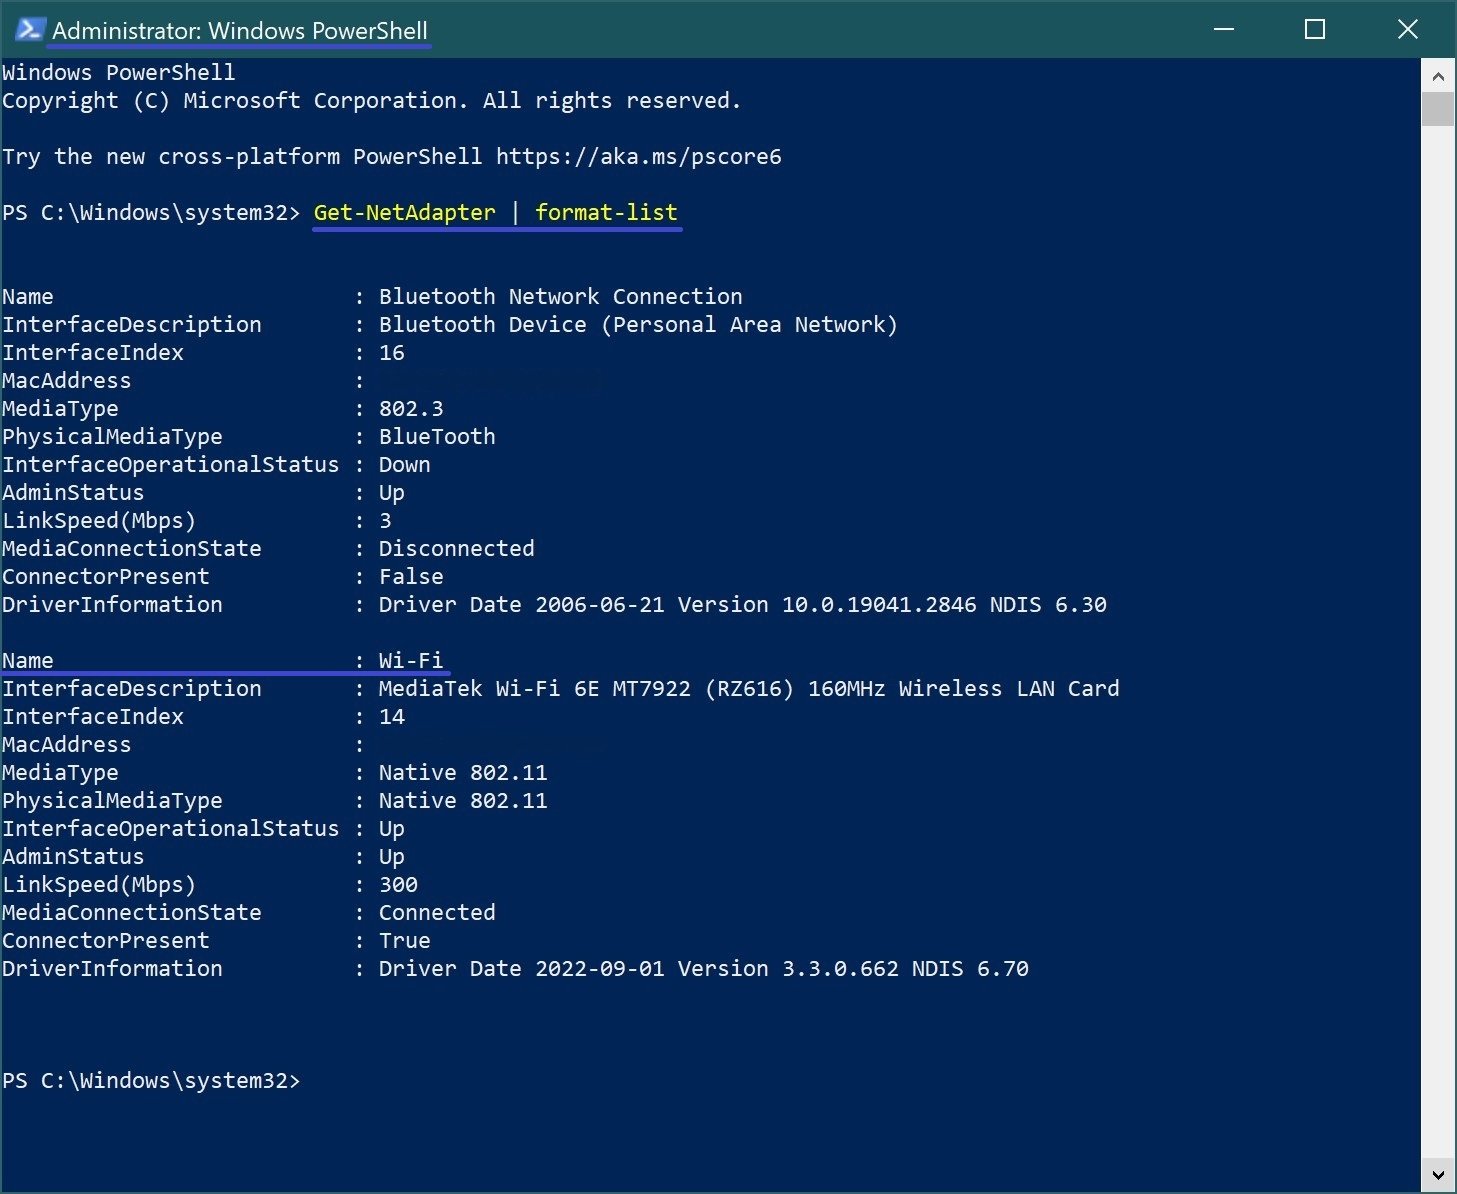
Get-NetAdapter | format-list
The Name line shows the name of the network connection (network adapter). Remember the name of the network connection you want to rename (Wi-Fi in this example).
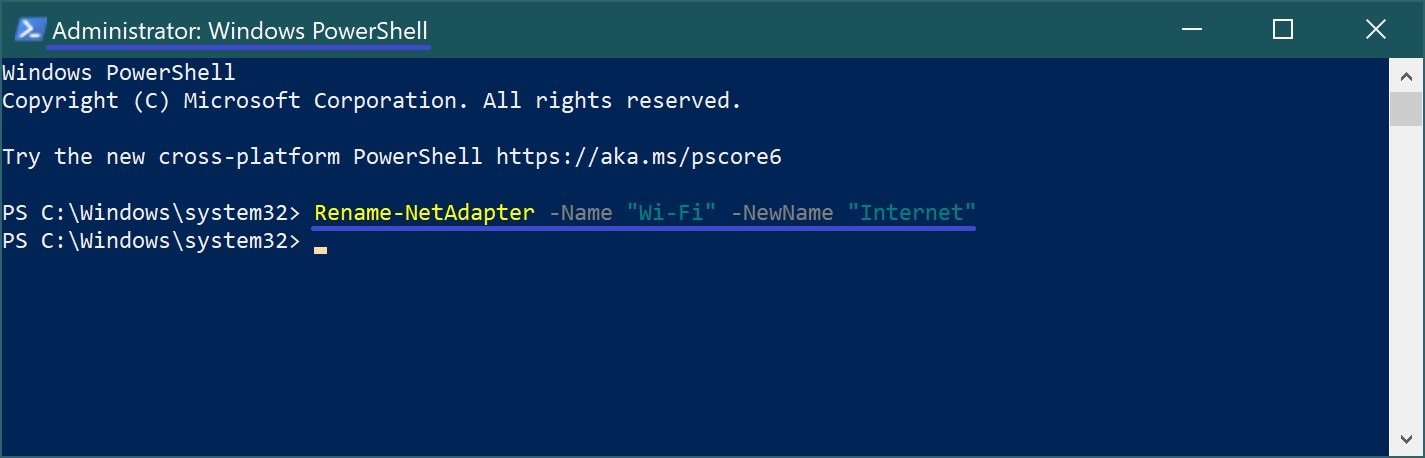
To rename a network connection, run the following command:
Rename-NetAdapter -Name “Current Name” -NewName “New Name“
Replace the Current Name in the command above with the actual name of the network connection you want to rename (in this example Wi-Fi).
Also replace the New Name in the command above with the actual new name required for the network connection (e.g. Internet).
In this example, the command is as follows:
Rename-NetAdapter -Name “Wi-Fi” -NewName “Internet”