A Network Interface Card (NIC) is a computer hardware component that connects a computer to a computer network, known as a network connection, and allows the computer to communicate with other devices on the network.
To enable or disable the network adapter, you must be logged in with administrator privileges
- How to enable or disable network adapter using “Network Connections”
- How to enable or disable network adapter using the Device Manager
- How to enable or disable network adapter using Windows PowerShell
- How to enable or disable network adapter using the netsh utility
- How to enable or disable network adapter using WMIC commands
How to enable or disable network adapter using “Network Connections”
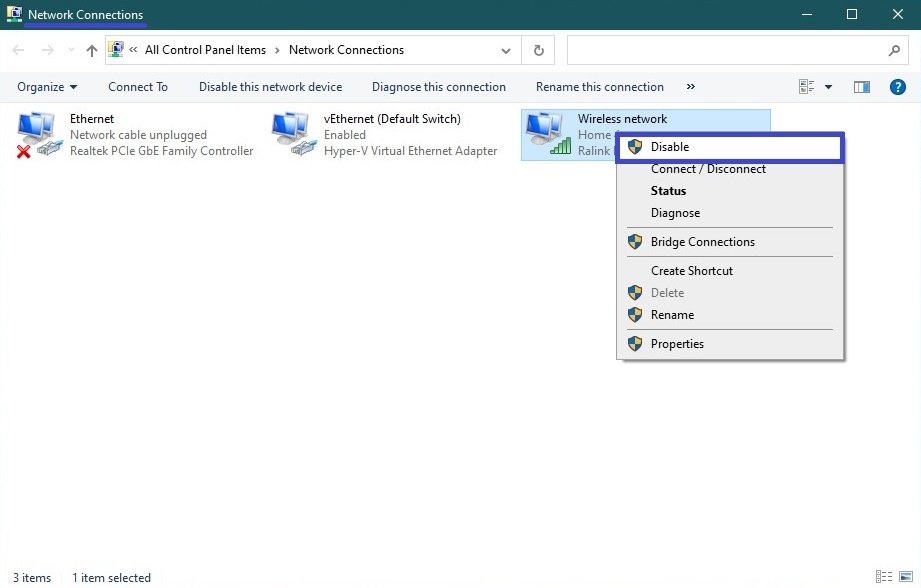
To disable the network adapter, press Win+R on your keyboard, enter ncpa.cpl in the Run window that opens, then press Enter↵.

In the Network Connections window that opens, to disable the network adapter, right-click on the desired network adapter and select Disable from the context menu that appears.
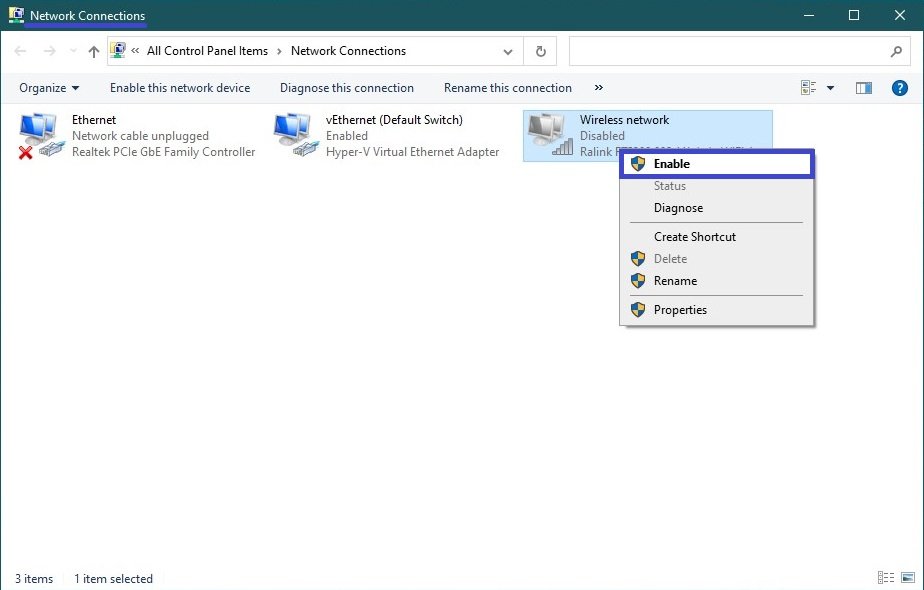
To enable a network adapter, right-click on the desired (disabled) network adapter in the Network Connections window and select Enable in the context menu that appears.
How to enable or disable network adapter using the Device Manager
Open the Device Manager in any way you like.
To disable a network adapter, expand the Network Adapters node in the Device Manager window, then right-click on the network adapter you want to disable and select Disable Device in the context menu that appears.

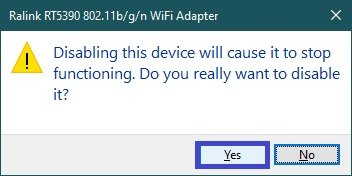
In the window that appears, confirm that you want to turn off the device by clicking Yes.
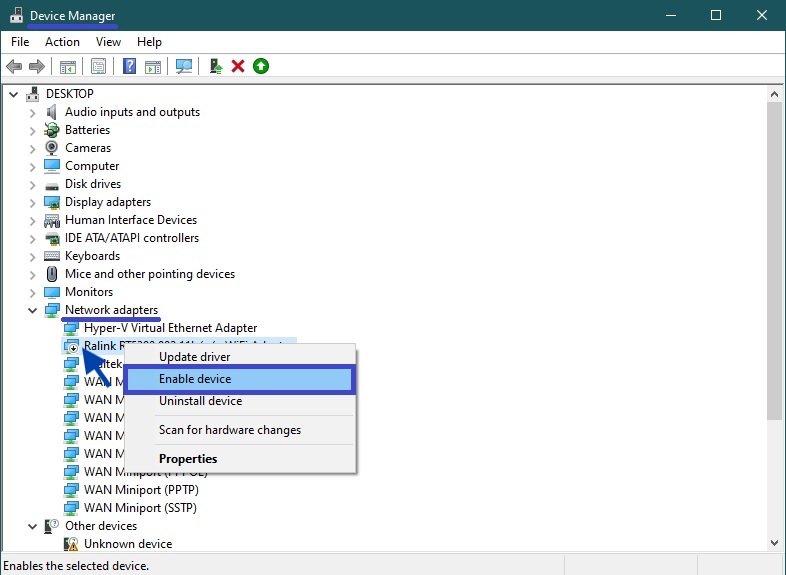
To enable a network adapter, expand the Network Adapters node in the Device Manager window, then right-click on the disconnected network adapter and select Enable Device in the context menu that appears.
How to enable or disable network adapter using Windows PowerShell
This method is only available on Windows 8.1 and Windows 10.
The first thing to do is to find out the name of the network adapter, to do this run the Windows PowerShell console as administrator and run the following command:
Get-NetAdapter | format-list
The Name line shows the name of the network adapter. Remember the name of the network adapter you want to enable or disable (in this example, Wireless network).

To disable the desired network adapter, run the following command in the PowerShell console:
Disable-NetAdapter -Name “Name of the network adapter” -Confirm:$false
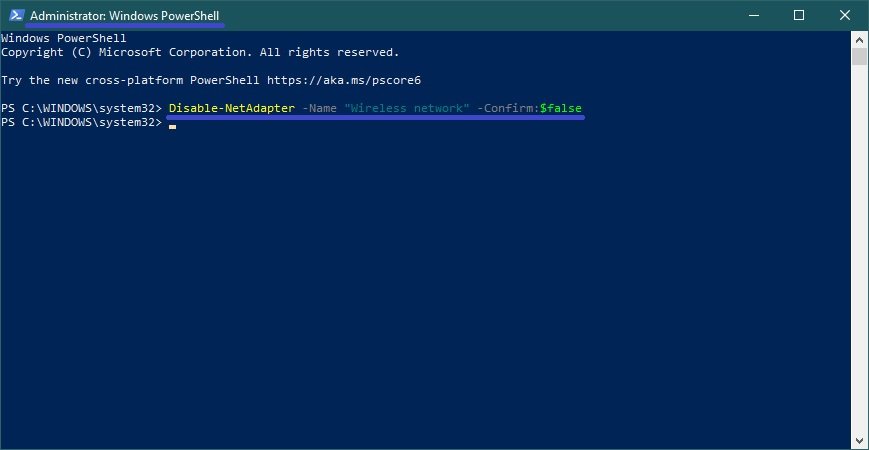
Replace the Network adapter name in the command above with the actual name of the network adapter you want to disable (e.g. Wireless network). In this example, the command looks like this:
Disable-NetAdapter -Name “Wireless network” -Confirm:$false
To enable the desired network adapter, run the following command in the PowerShell console:
Enable-NetAdapter -Name “Name of the network adapter” -Confirm:$false
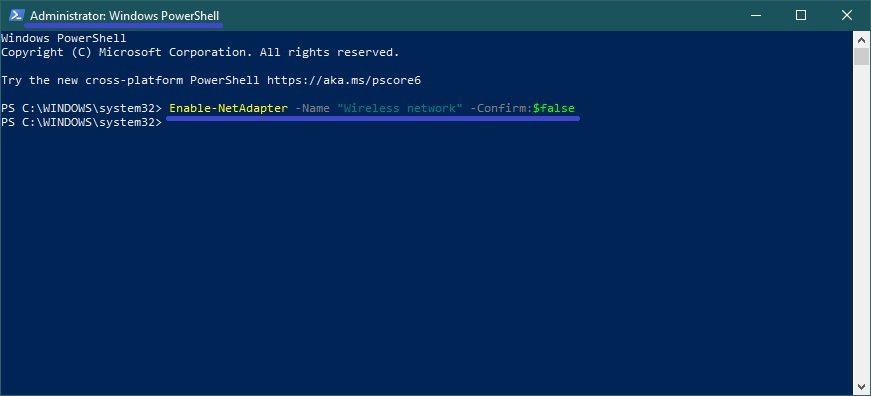
Replace the Network adapter name in the command above with the actual name of the network adapter you want to enable (e.g. Wireless network). In this example, the command looks like this:
Enable-NetAdapter -Name “Wireless network” -Confirm:$false
How to enable or disable network adapter using the netsh utility
This method uses commands from the netsh (network shell) command line utility which allows you to display or change the computer’s network configuration.
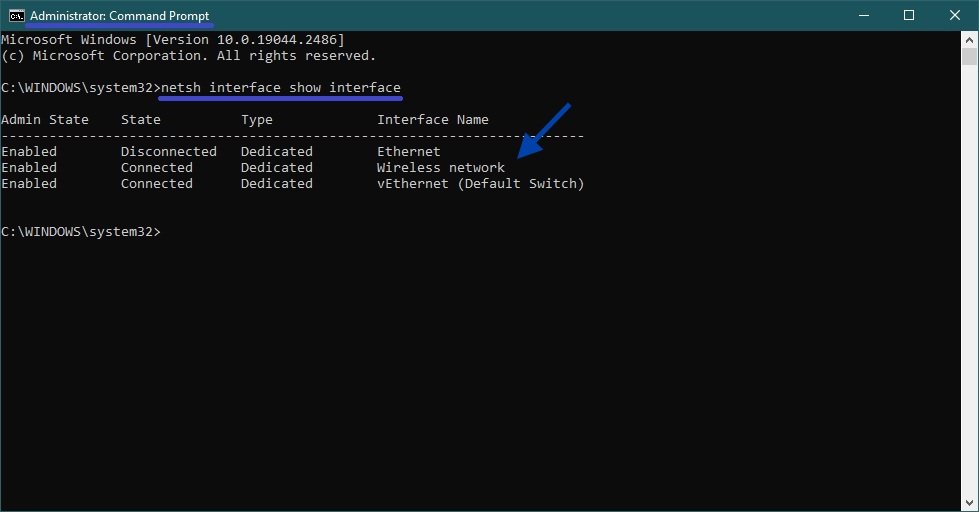
The first thing we need to know is the name of the network interface. To do this, run the command line as administrator and run the following command:
netsh interface show interface
Remember the name of the network interface that you want to enable or disable (in this example, Wireless network).
To disable the network adapter, run the following command:
netsh interface set interface “Interface name” disable
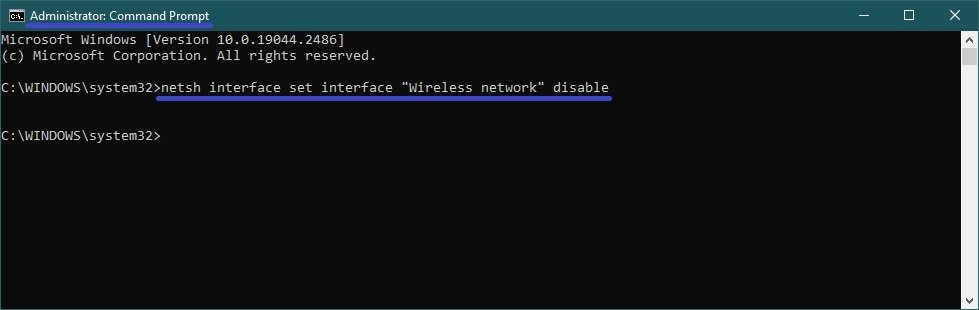
Replace the Interface name in the command above with the actual name of the network adapter you want to disable (e.g. Wireless network). In this example, the command looks like this:
netsh interface set interface “Wireless network” disable
To enable the network adapter, run the following command:
netsh interface set interface “Interface name” enable
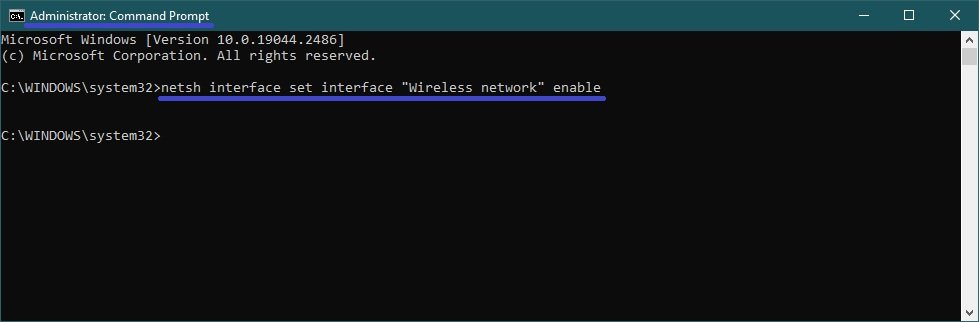
Replace the Interface name in the command above with the actual name of the network adapter you want to enable (e.g. Wireless network). In this example, the command looks like this:
netsh interface set interface “Wireless network” enable
How to enable or disable network adapter using WMIC commands
This method uses commands from the Windows management toolkit.
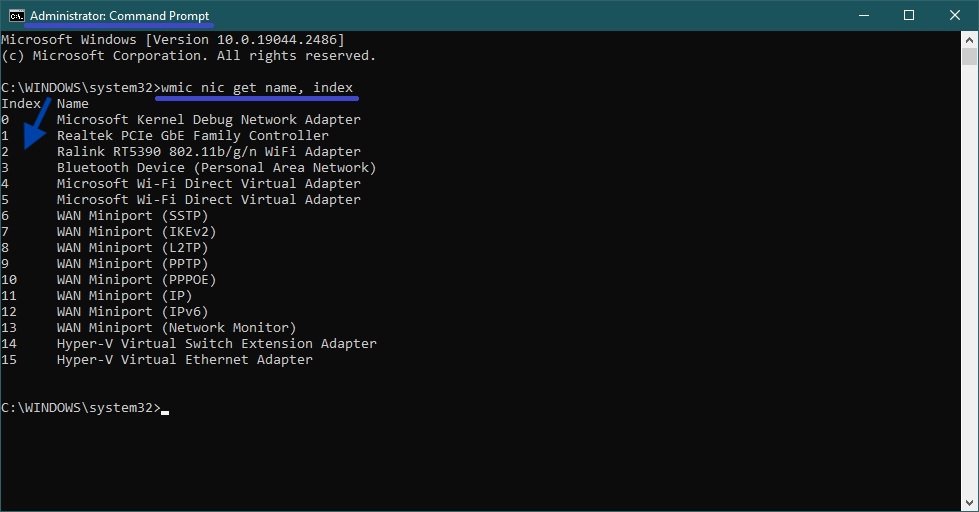
First, find out the index number of the network adapter. To do this, run the command line as an administrator and run the following command:
wmic nic get name, index
Note the index number of the network adapter (in this example 2).
To disable the network adapter, run the following command:
wmic path win32_networkadapter where index=Index number call disable
Replace the index number in the above command with the actual number of the network adapter you want to disable (e.g. 2). In this example, the command looks like this:
wmic path win32_networkadapter where index=2 call disable

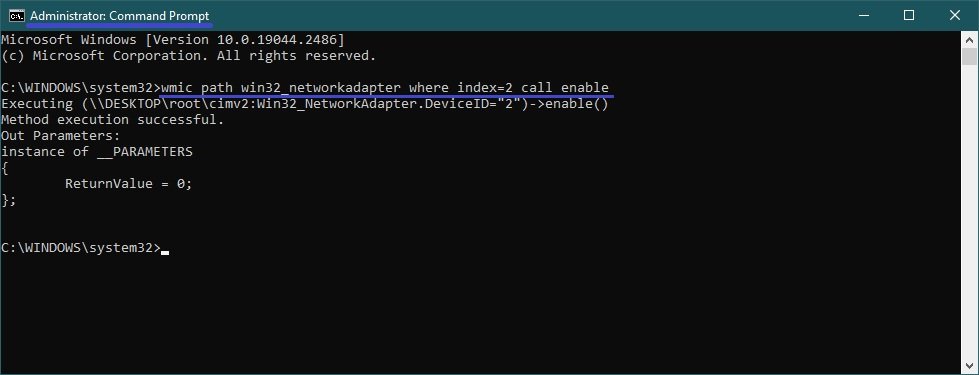
To enable the network adapter, run the following command:
wmic path win32_networkadapter where index=Index number call enable
Replace the index number in the above command with the actual number of the network adapter you want to enable (e.g. 2). In this example, the command looks like this:
wmic path win32_networkadapter where index=2 call enable