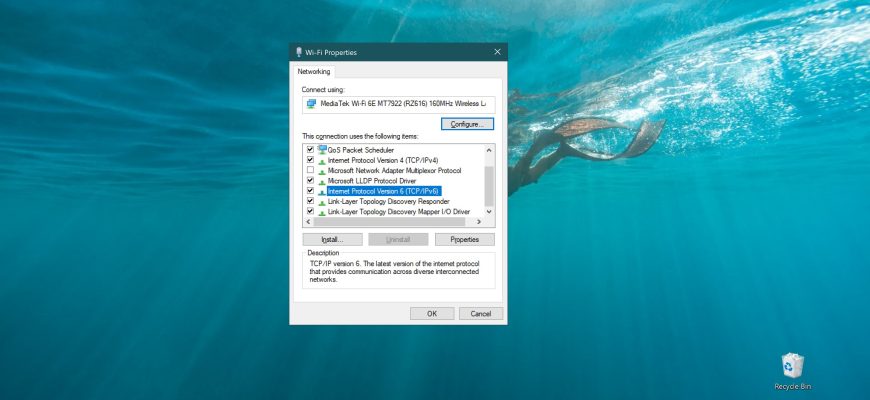
Internet Protocol version 6 (IPv6) is a new set of standard protocols that enables communication between different communicating networks.
IPv6 is designed to address many of the problems of the current version of the Internet Protocol suite (known as IPv4) in terms of address depletion, security, auto-configuration, extensibility, and so on.
IPv6 extends the Internet to include new types of applications, including peer-to-peer and mobile applications.
The protocol is enabled by default in Windows, but sometimes you may need to disable it, for example, to join a computer to a domain.
To enable or disable IPv6, you must be logged in with administrator privileges.
How to enable or disable IPv6 using network adapter properties
This method is available for Windows 7, 8, 8.1 and 10 operating systems. All others will only work for 8 and 10 versions of the Microsoft operating system.
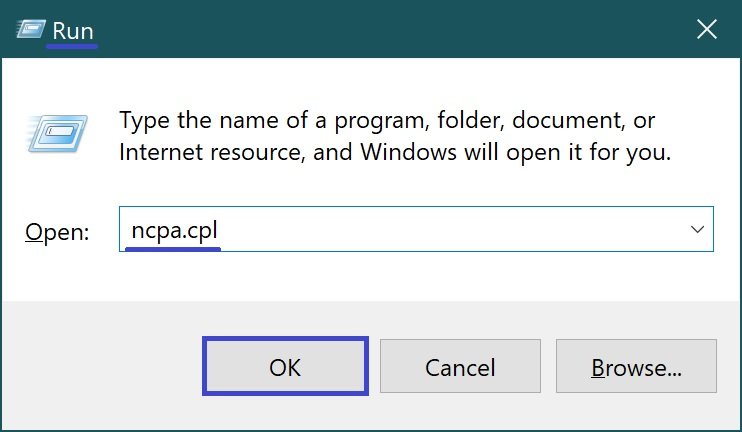
To enable or disable Internet Protocol IPv6 for a network adapter, press the Win+R shortcut, in the Run window that opens, type (copy and paste) ncpa.cpl and click OK.
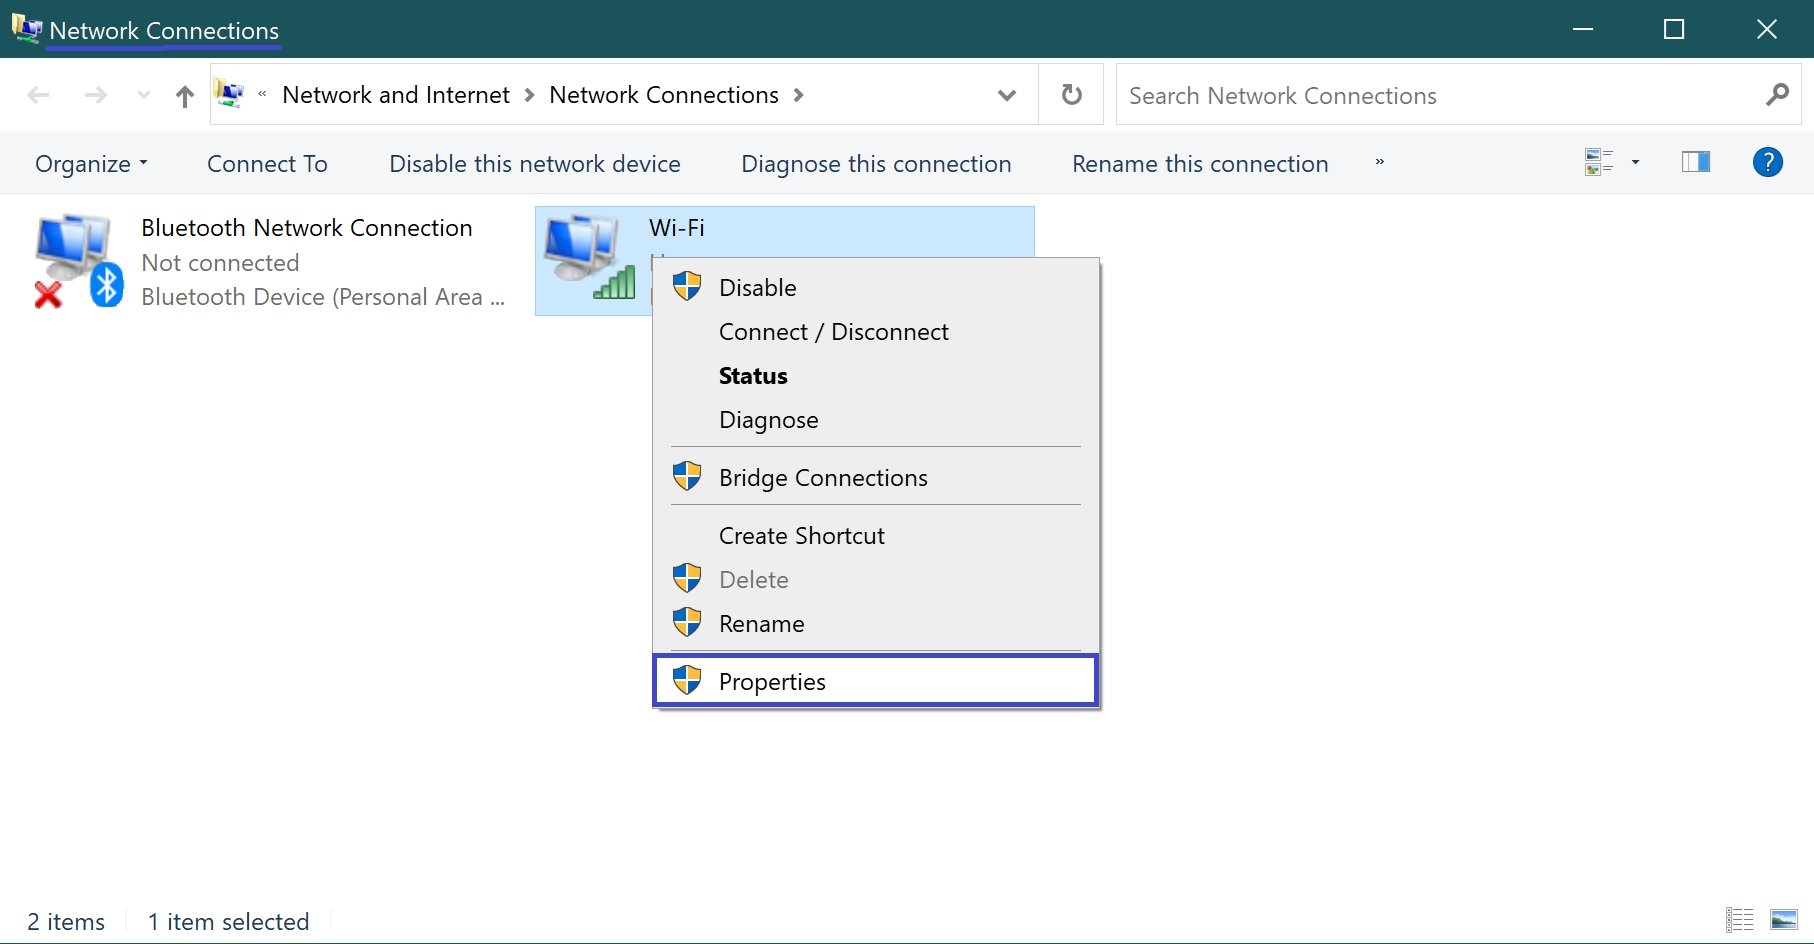
In the “Network Connections” window, right-click on the network adapter for which you want to enable or disable the IPv6 Internet protocol and select Properties in the context menu that appears.
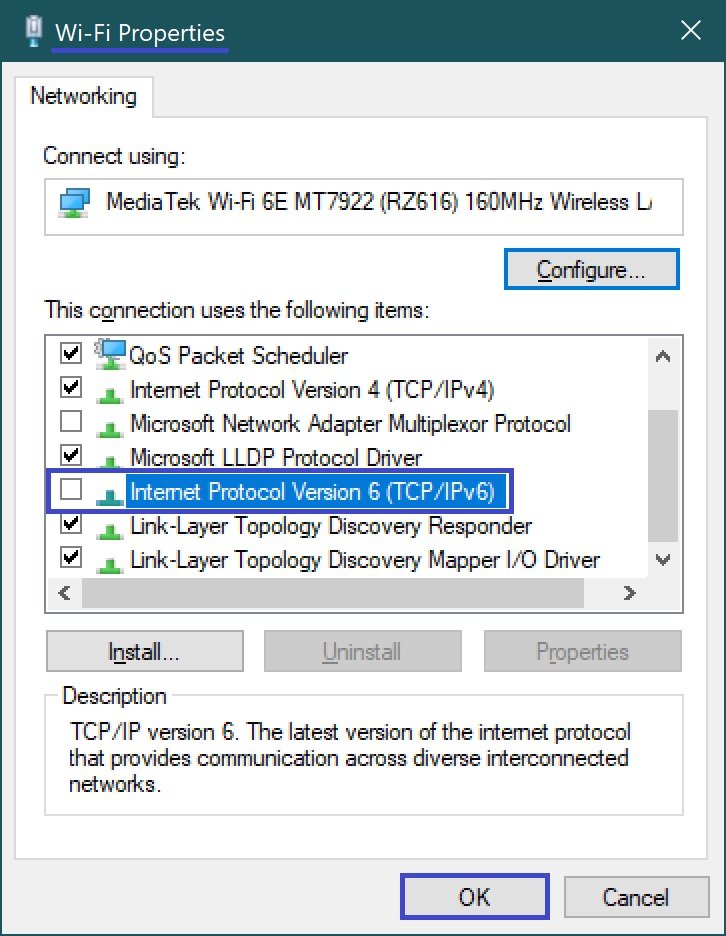
In the Network Adapter Properties window that opens, to enable IPv6, select the check box. To disable, clear the Internet Protocol Version 6 (TCP/IPv6) check box and click OK.
Activating IPv6 for a specific network adapter
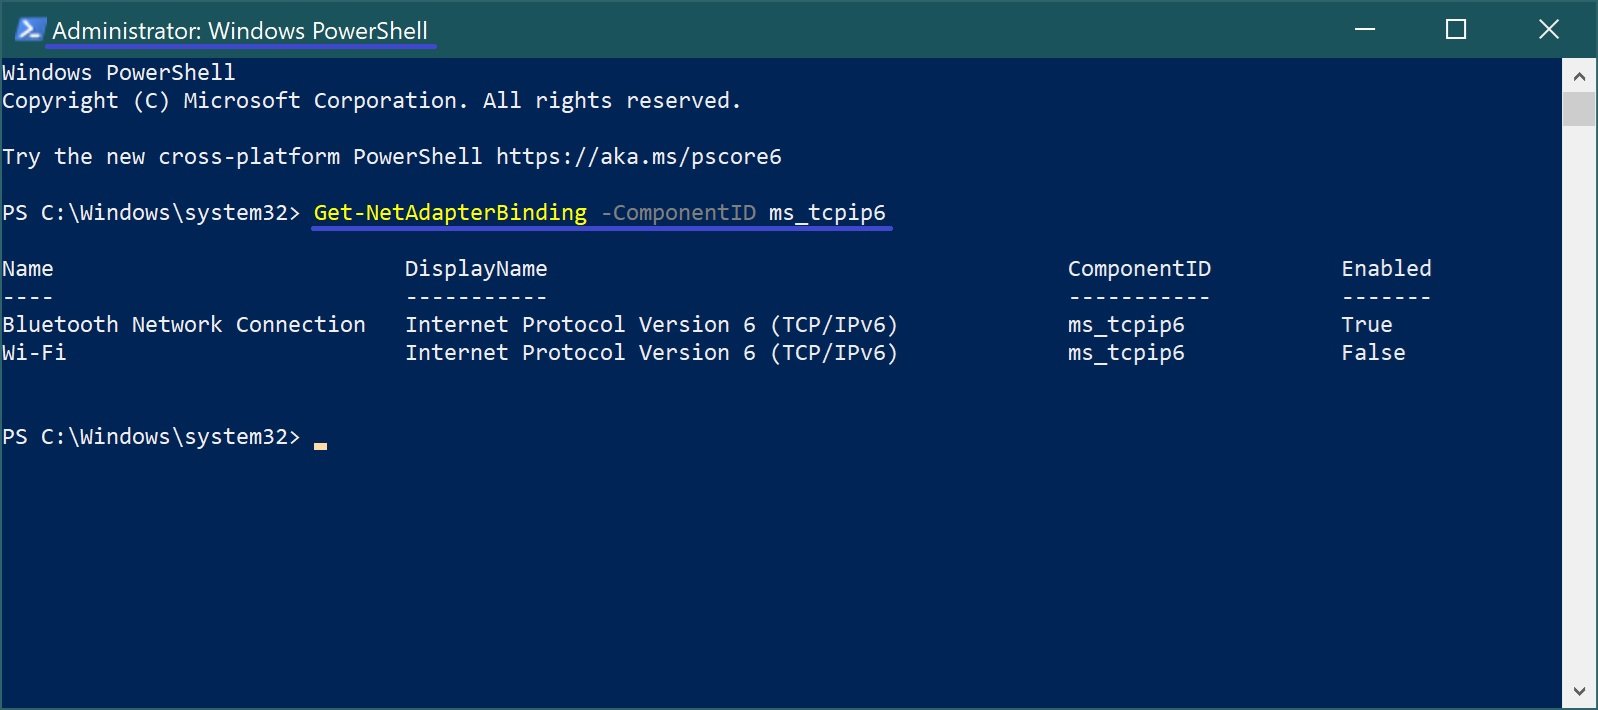
The first thing to do is to view the current IPv6 status for all network adapters and also view the names of the network interfaces (network adapters), to do this run the Windows PowerShell console as administrator and run the following command:
Get-NetAdapterBinding -ComponentID ms_tcpip6
The Name column shows the names of the network adapters. Remember the name of the network adapter for which you want to enable IPv6 Internet Protocol (Wi-Fi in this example).
To enable IPv6 Internet Protocol for the network adapter you want to use, run the following command in the PowerShell console:
Enable-NetAdapterBinding -Name “Network adapter name” -ComponentID ms_tcpip6
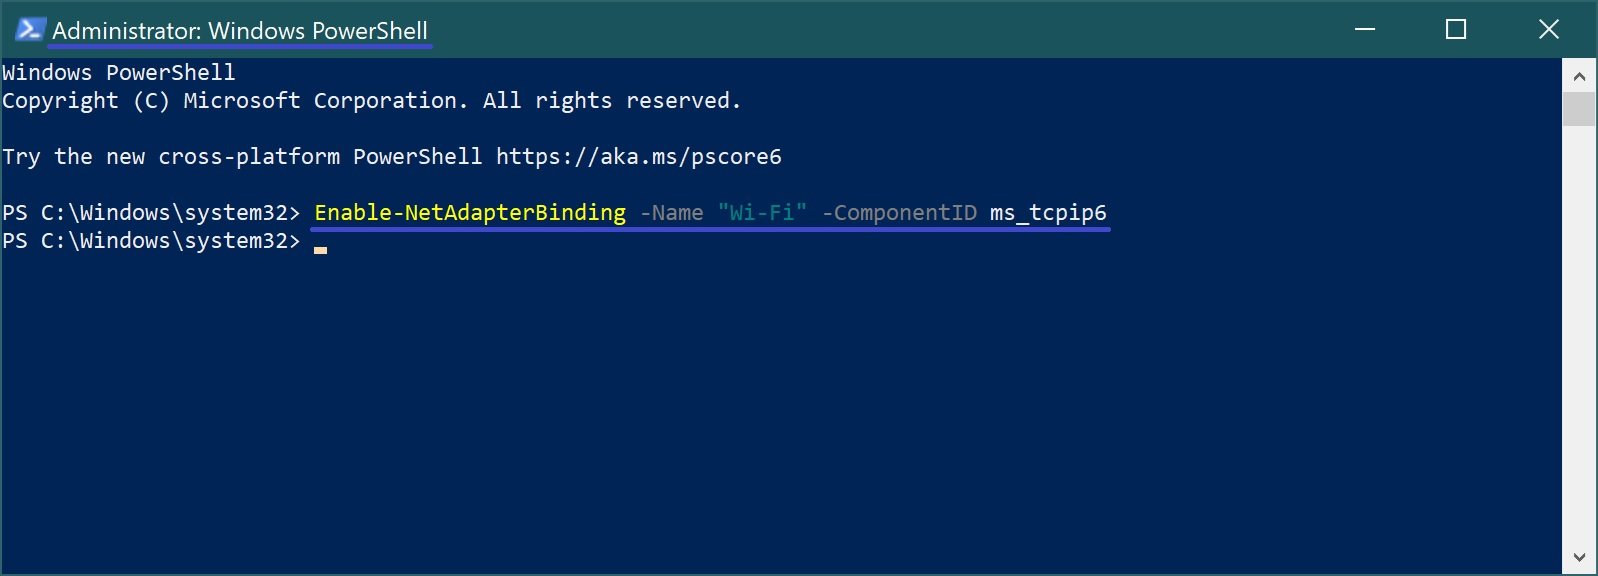
Replace the Network Adapter Name in the command above with the actual name of the network adapter for which you want to enable IPv6 Internet Protocol (e.g. Wi-Fi). In this example, the command looks like this:
Enable-NetAdapterBinding -Name “Wi-Fi” -ComponentID ms_tcpip6
Enabling IPv6 for all network adapters via Windows PowerShell
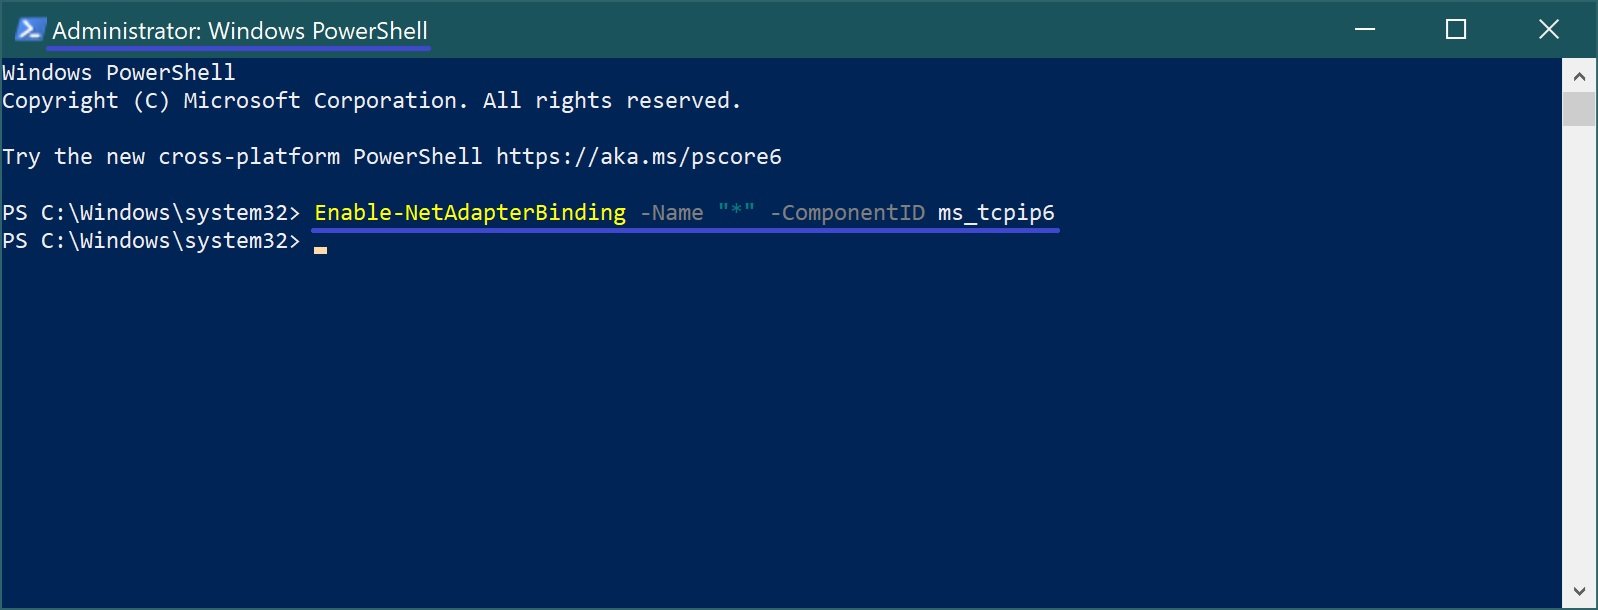
To enable Internet Protocol IPv6 for all network adapters, start the Windows PowerShell console as administrator and run the following command:
Enable-NetAdapterBinding -Name “*” -ComponentID ms_tcpip6
How to disable IPv6 for a specific adapter
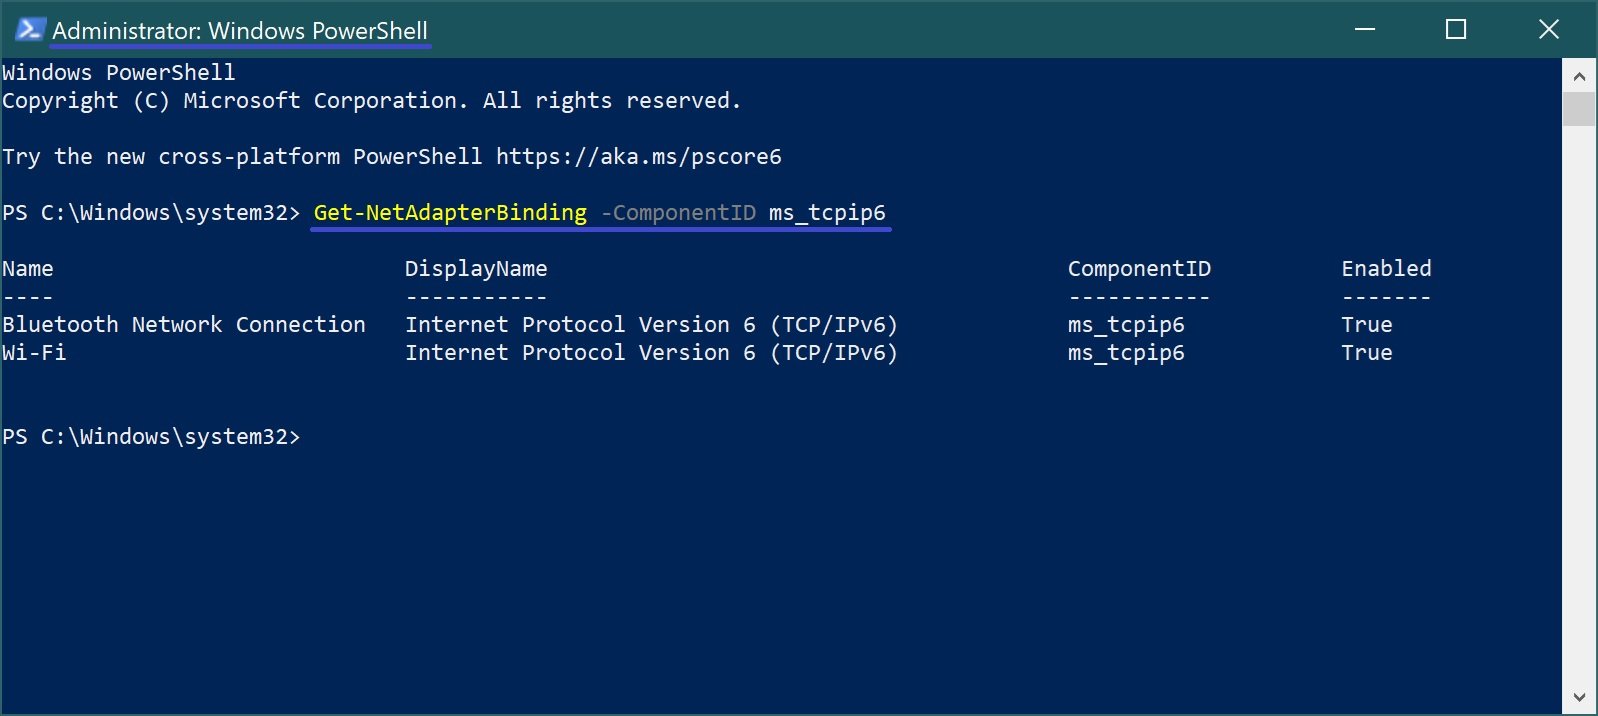
First you need to view the current IPv6 status for all network adapters and also view the names of the network interfaces (network adapters), to do this run the Windows PowerShell console as administrator and run the following command:
Get-NetAdapterBinding -ComponentID ms_tcpip6
The Name column shows the names of the network adapters. Remember the name of the network adapter for which you want to disable IPv6 Internet Protocol (Wi-Fi in this example).
To disable Internet Protocol IPv6 for the network adapter you want to use, run the following command in the PowerShell console:
Disable-NetAdapterBinding -Name “Network adapter name” -ComponentID ms_tcpip6
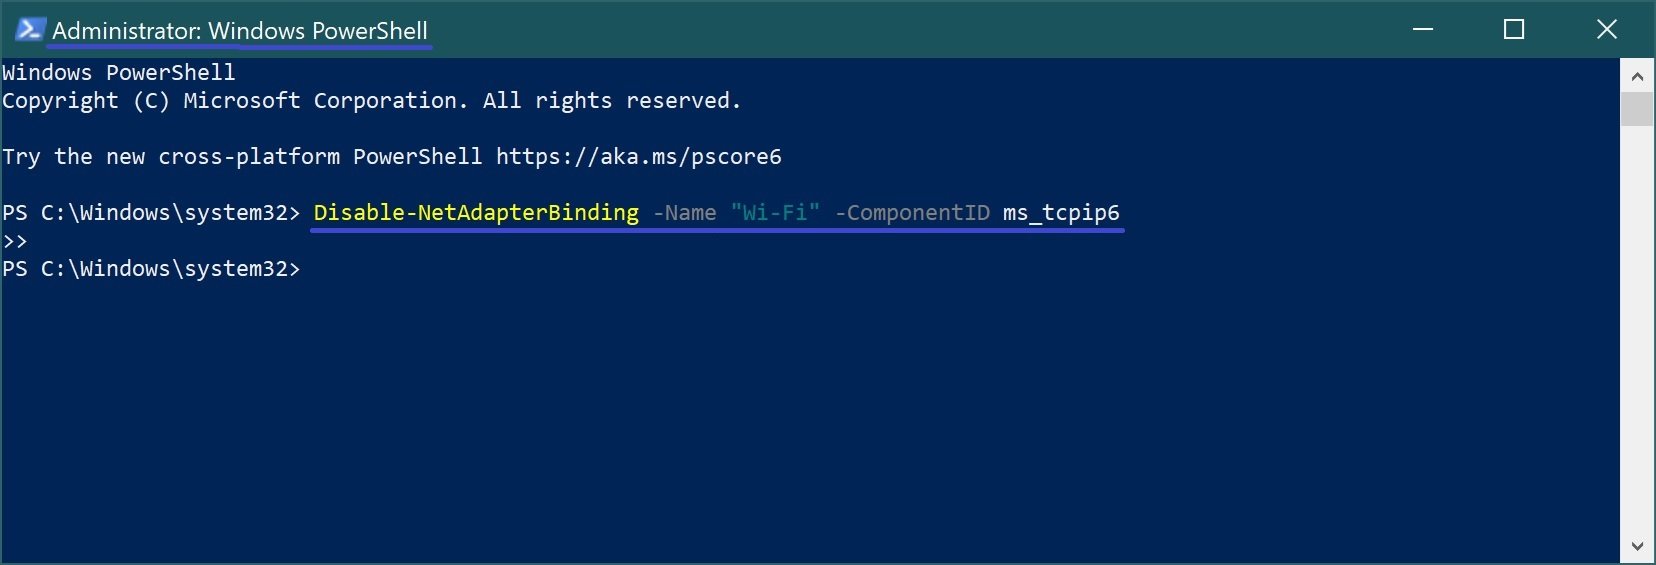
Replace the Network Adapter Name in the command above with the actual name of the network adapter for which you want to disable IPv6 Internet Protocol (e.g. Wi-Fi). In this example, the command looks like this:
Disable-NetAdapterBinding -Name “Wi-Fi” -ComponentID ms_tcpip6
Disabling IPv6 for all adapters
To disable Internet Protocol IPv6 for all network adapters, start the Windows PowerShell console as administrator and run the following command:
Disable-NetAdapterBinding -Name “*” -ComponentID ms_tcpip6

Using the steps above, you can enable or disable Internet Protocol version 6 (IPv6) for all or individual network adapters in Windows 7, 8, 8.1, and 10.

