File and printer sharing is the ability of a Windows computer to share a folder or connected printer with other computers on the network.
File sharing allows you to make files and folders in a shared folder available for viewing, copying, or modifying by other users on the network.
Printer sharing allows you to make a connected printer available to other users on the network.
If you are connected to a public network (such as a coffee shop or library), you may need to disable file and printer sharing before connecting to a private network (such as at home or work).
If networked computers are not displayed in Explorer, make sure that the services listed below are enabled, set to automatic, and running:
- Function Discovery Provider Host (fdPHost)
- Function Discovery Resource Publication (FDResPub)
The following article shows different ways to enable or disable file and printer sharing.
Shared access control via parameters
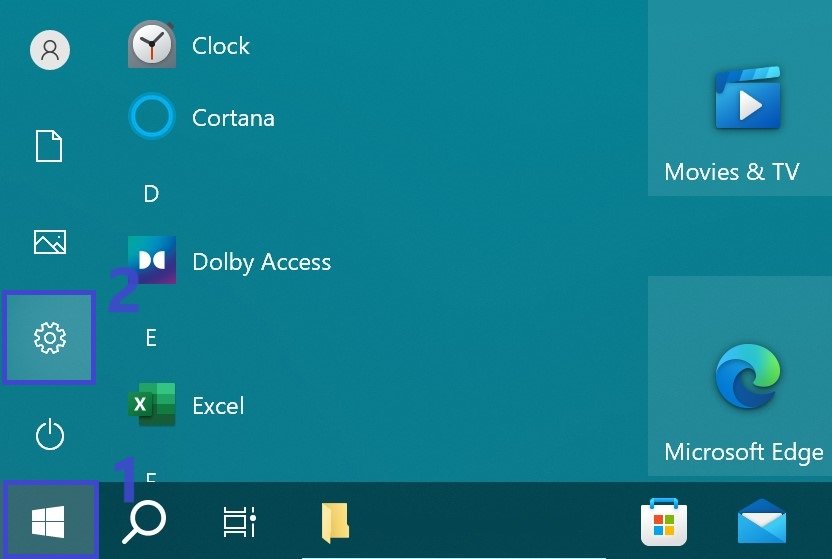
To enable or disable file and printer sharing, click the Start button on the taskbar and then select Settings or press the Win+I key combination on your keyboard.
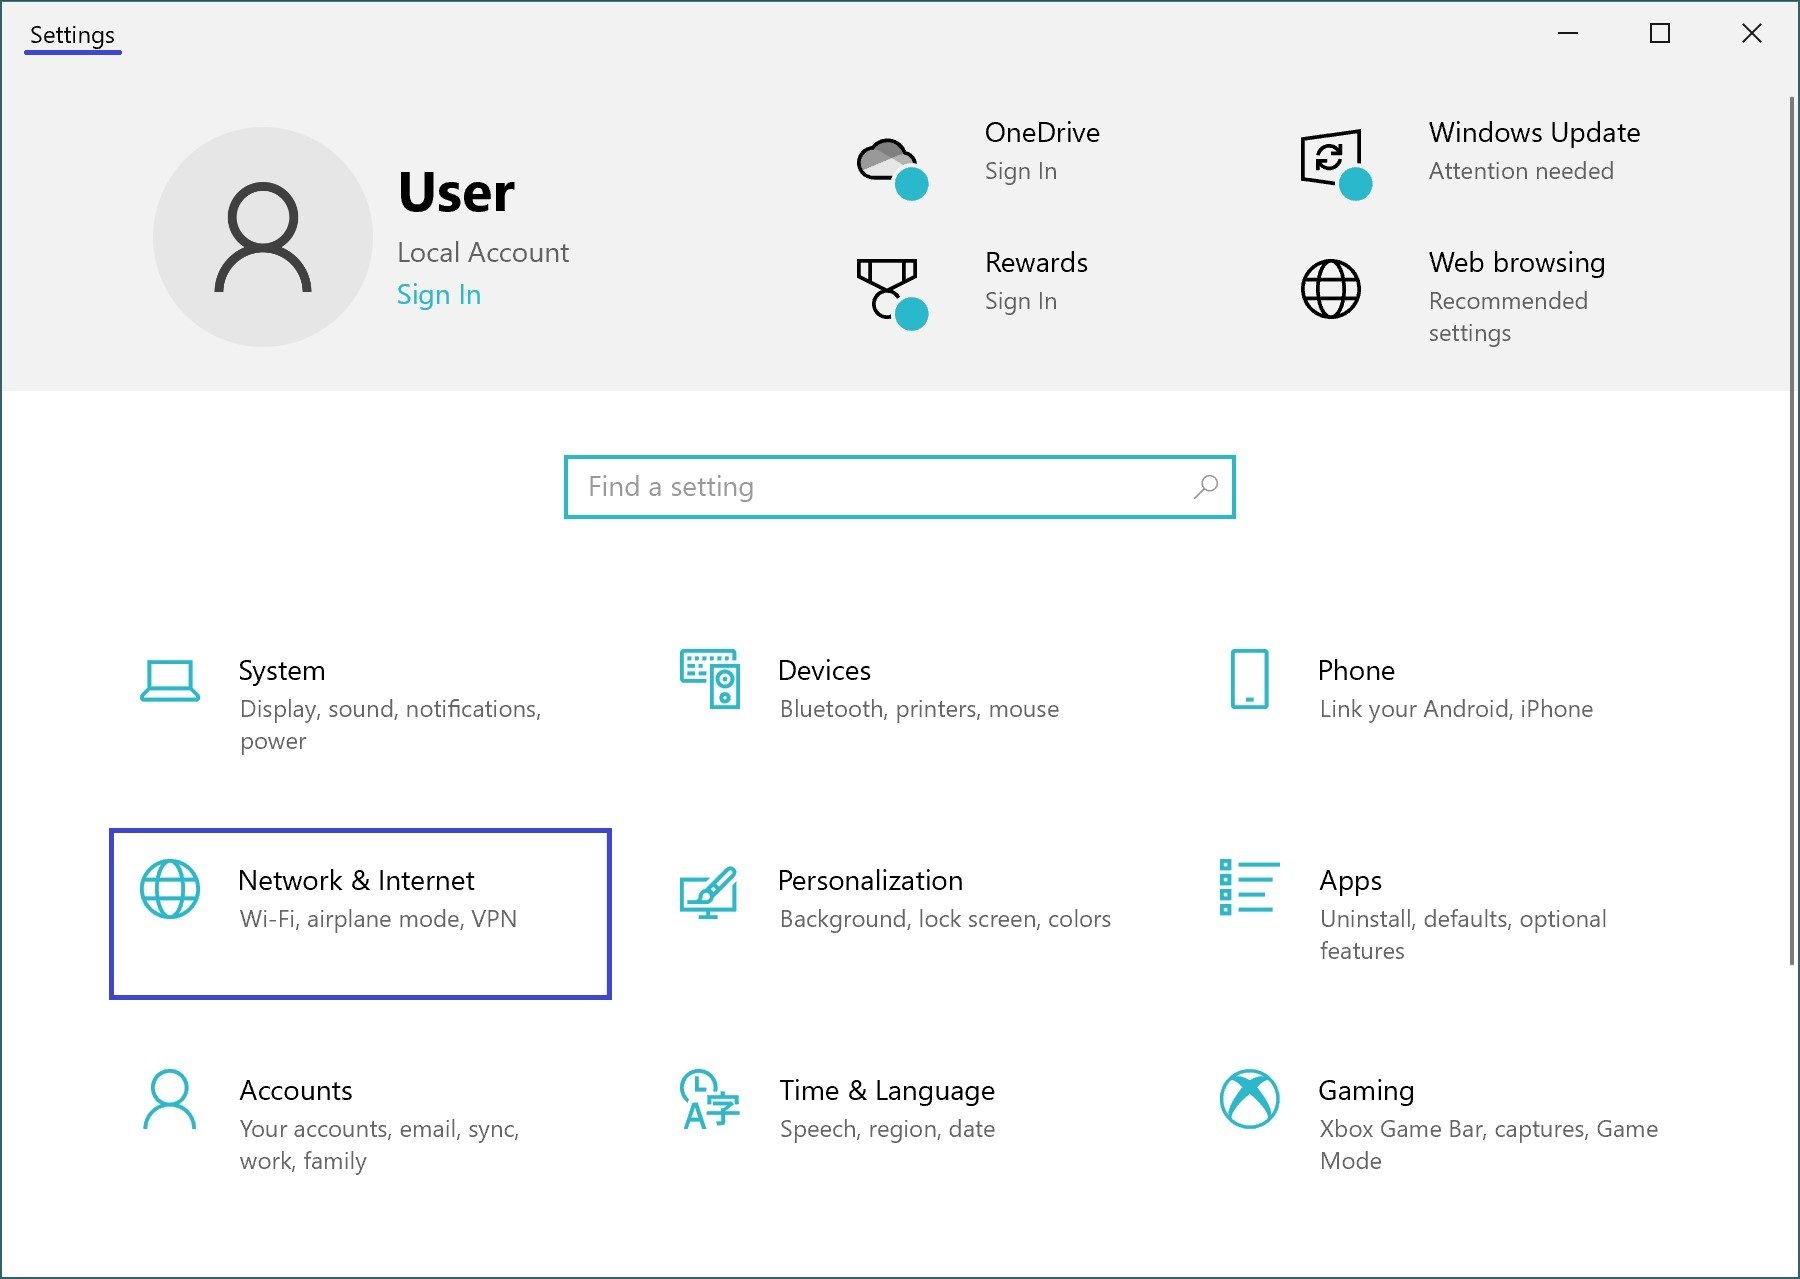
In the Windows Settings window that opens, select Network and Internet.
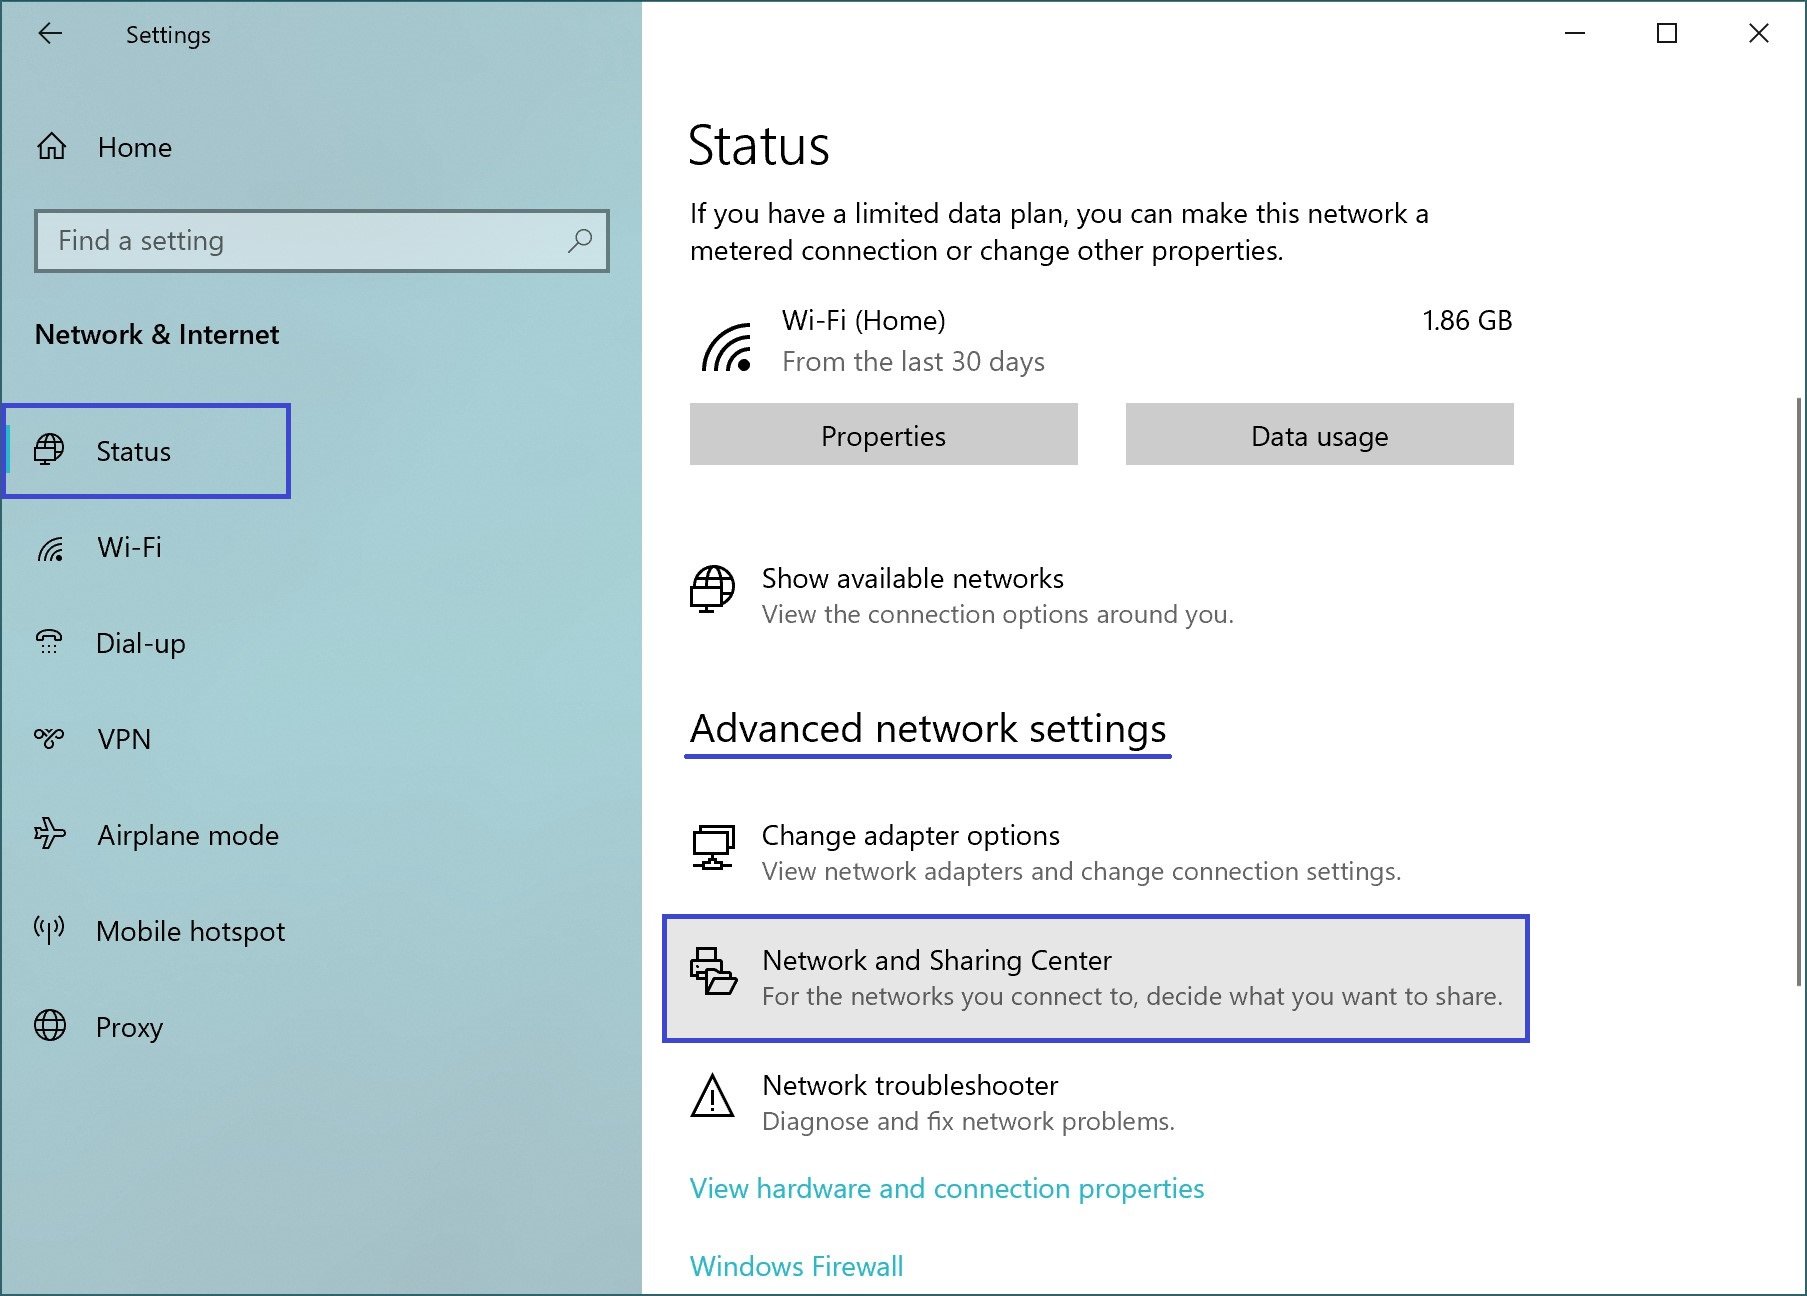
Then, on the Status tab, on the right side of the window, under Advanced network settings, select Network and Sharing Center.
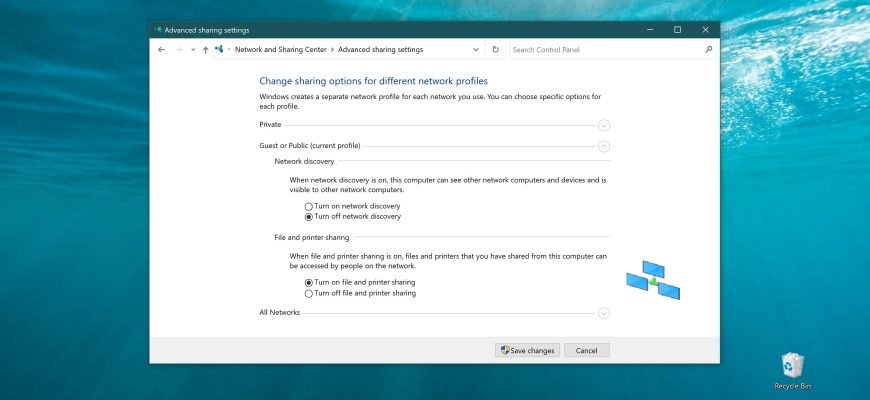
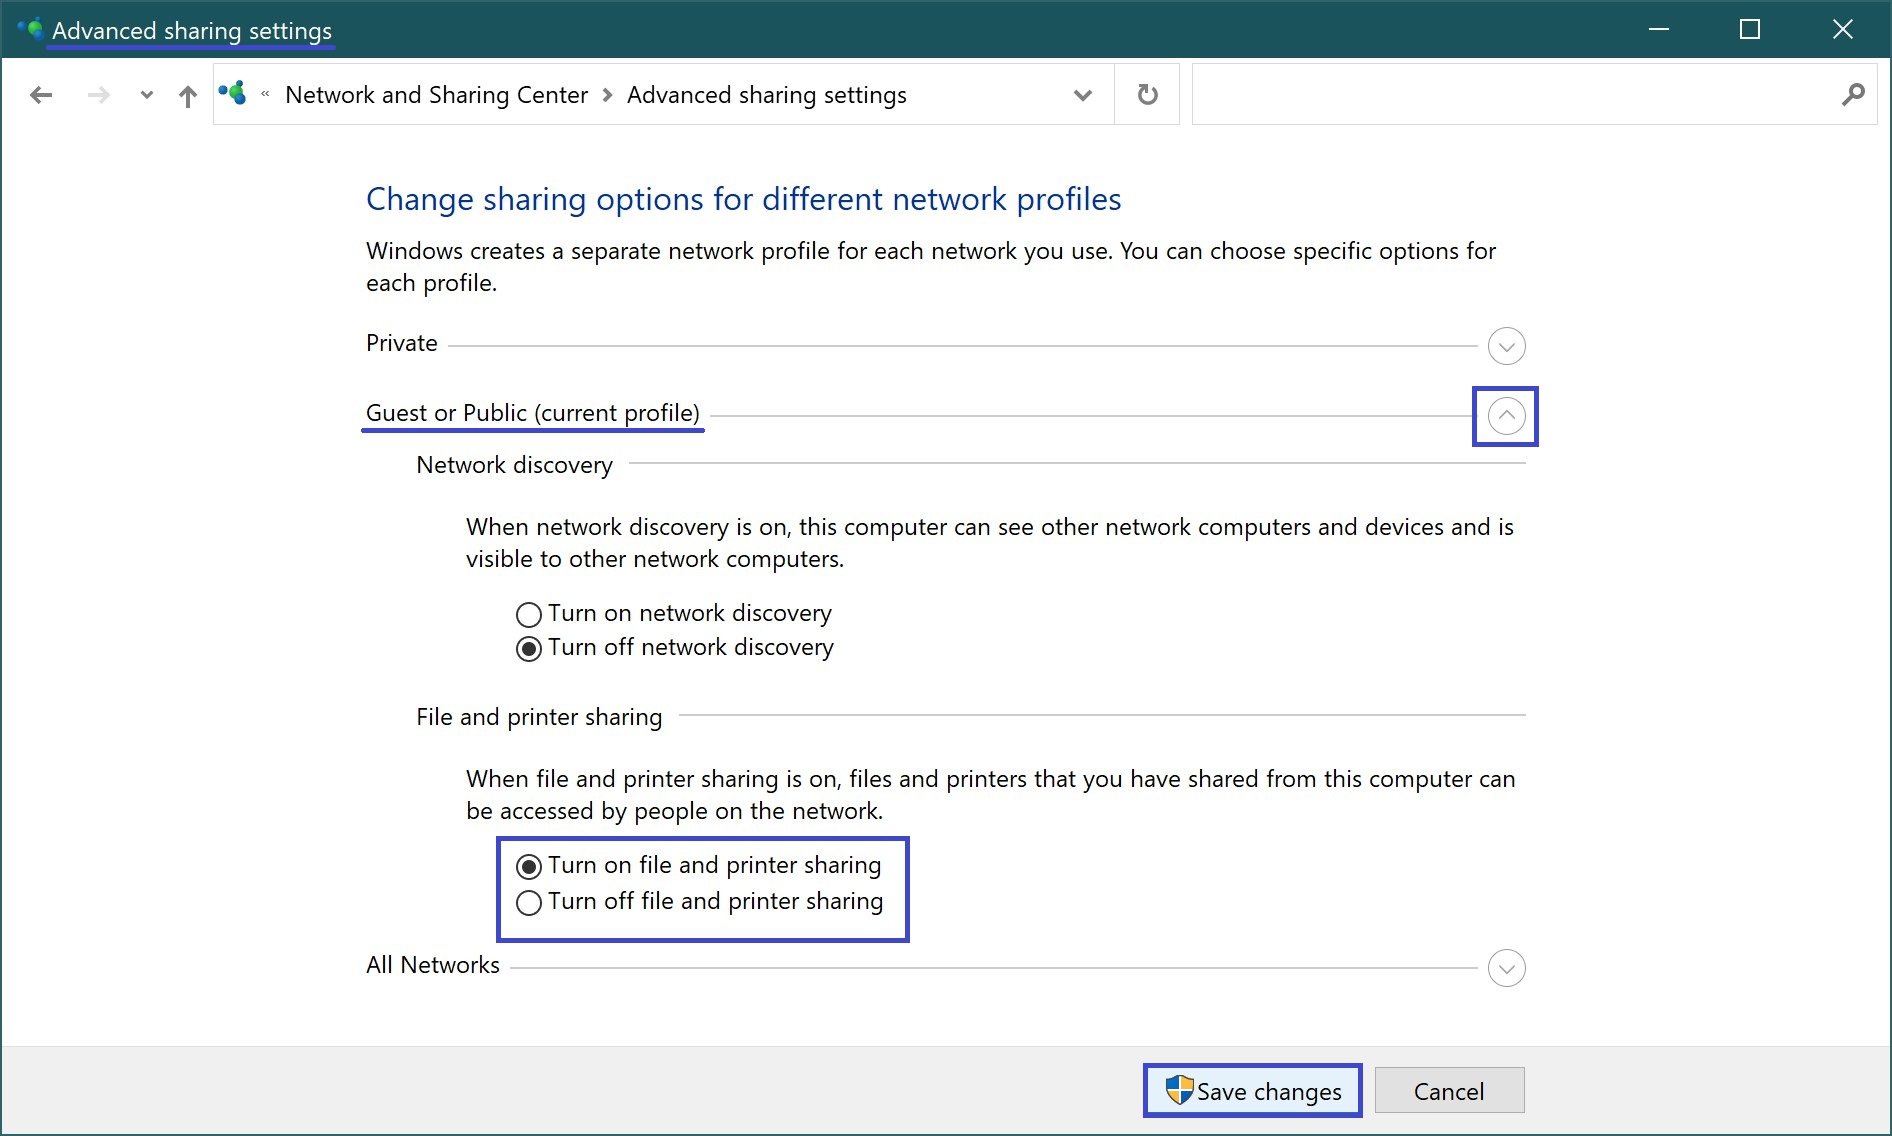
In the Advanced sharing settings window that opens, expand the desired network profile (the current profile will be opened by default) for which you want to enable or disable file and printer sharing, set the switch to the appropriate position and click Save changes.
How to enable or disable sharing on the command prompt
This method allows you to enable or disable file and printer sharing for all network profiles.
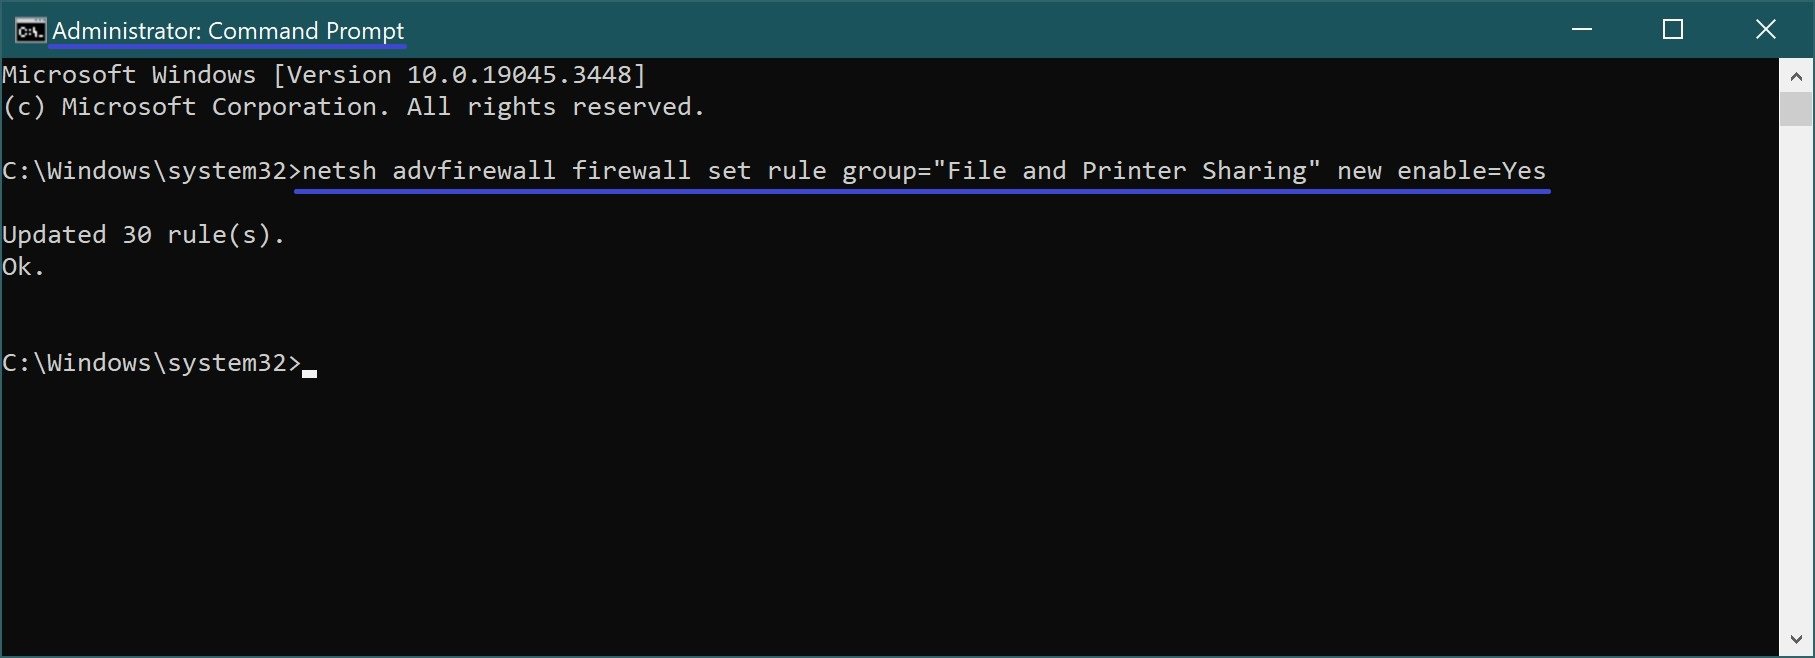
To enable file and printer sharing, open a command prompt as administrator and run the following command:
netsh advfirewall firewall set rule group=”File and Printer Sharing” new enable=Yes
To disable file and printer sharing, open a command prompt as administrator and run the following command:
netsh advfirewall firewall set rule group=”File and Printer Sharing” new enable=No

Access Control in Windows PowerShell
You can also use the Windows PowerShell console to enable file and printer sharing. All commands must be run in the Windows PowerShell console open as an administrator.
Commands to enable file and printer sharing
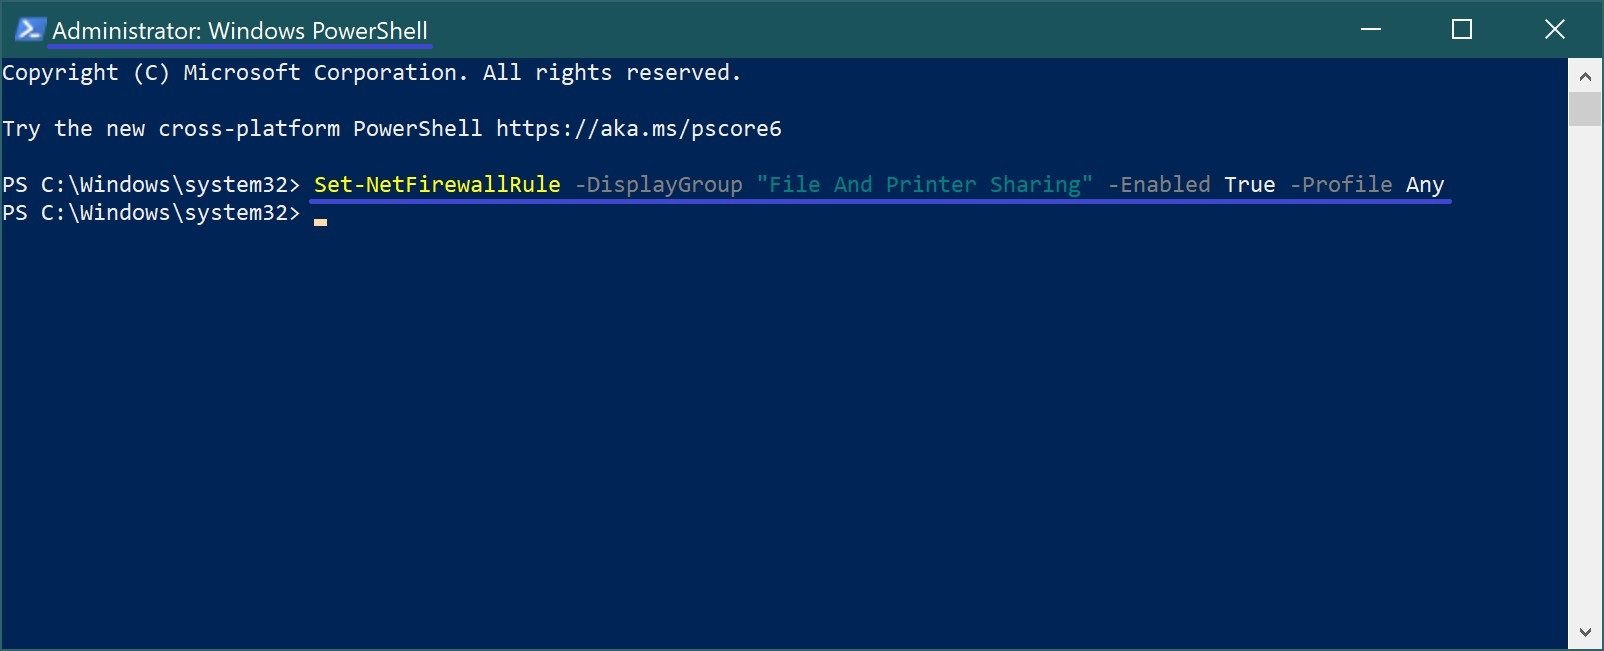
To enable file and printer sharing for all network profiles, run the command:
Set-NetFirewallRule -DisplayGroup “File And Printer Sharing” -Enabled True -Profile Any
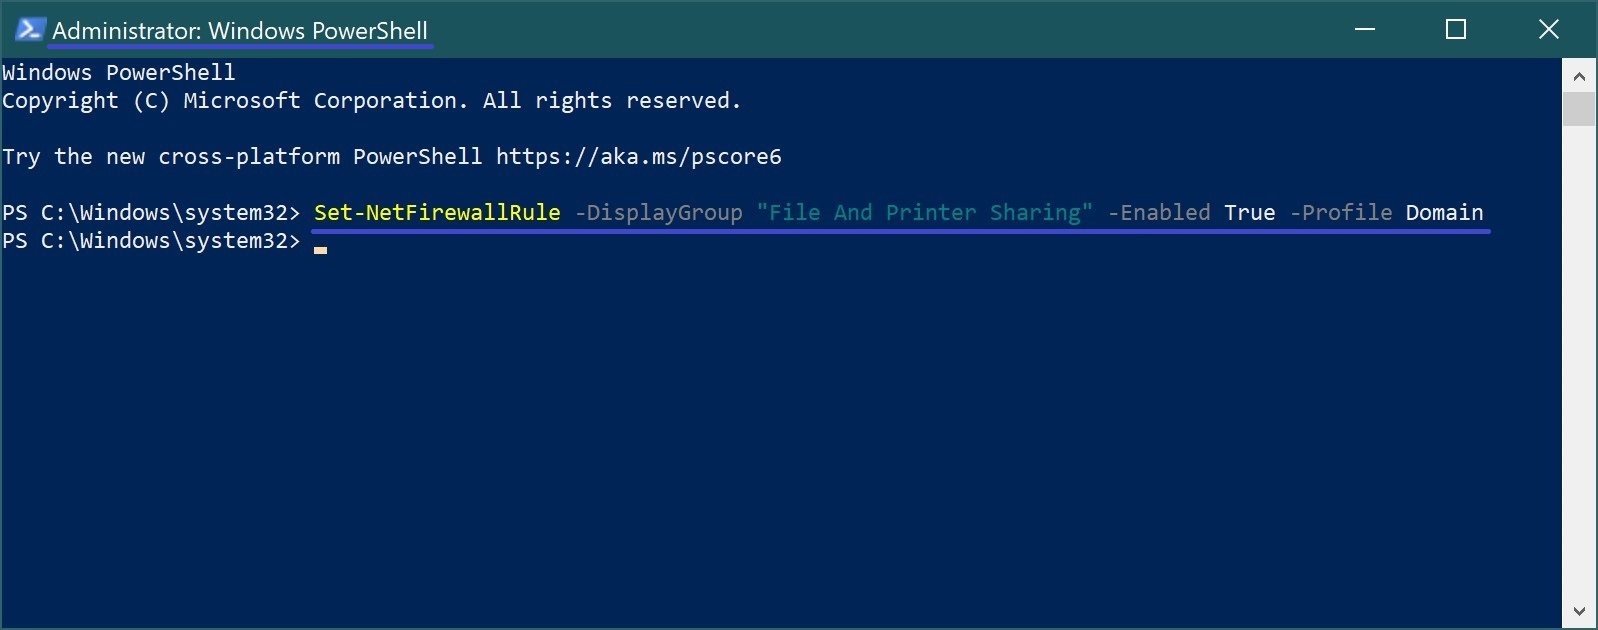
To enable file and printer sharing for the Domain network profile, run the command:
Set-NetFirewallRule -DisplayGroup “File And Printer Sharing” -Enabled True -Profile Domain
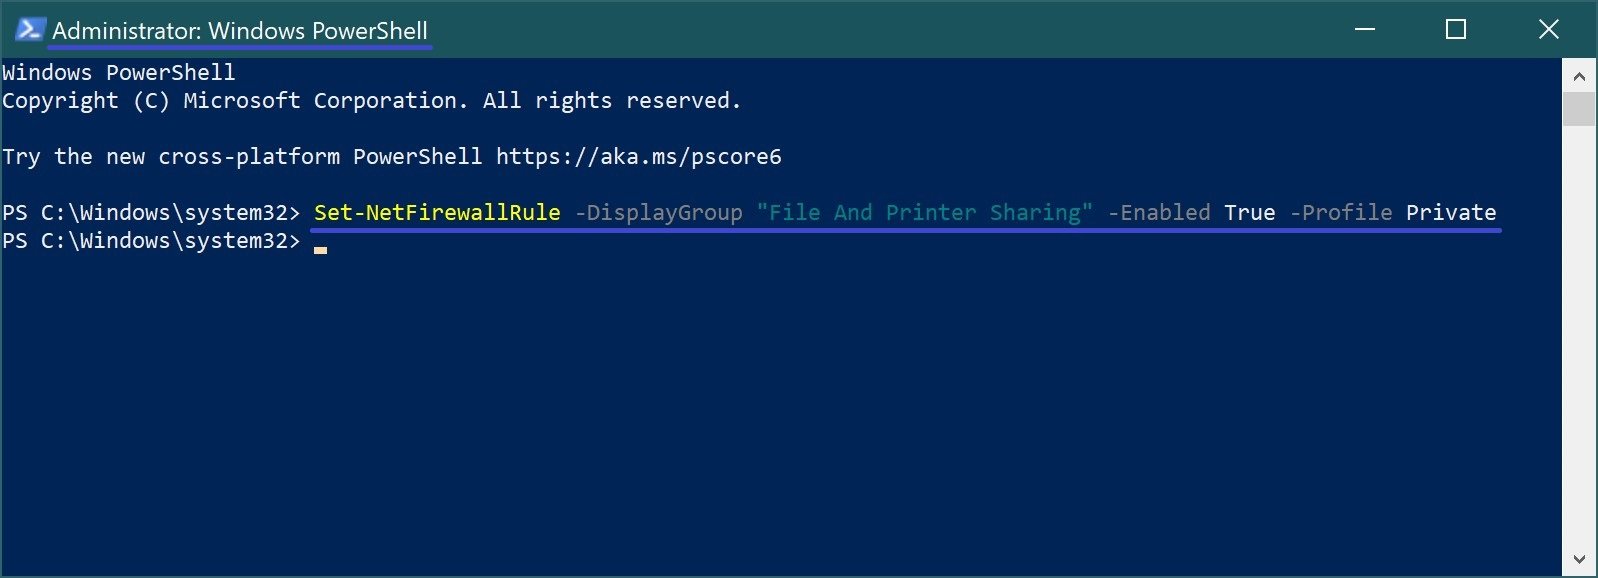
To enable file and printer sharing for the Private network profile, run the command:
Set-NetFirewallRule -DisplayGroup “File And Printer Sharing” -Enabled True -Profile Private
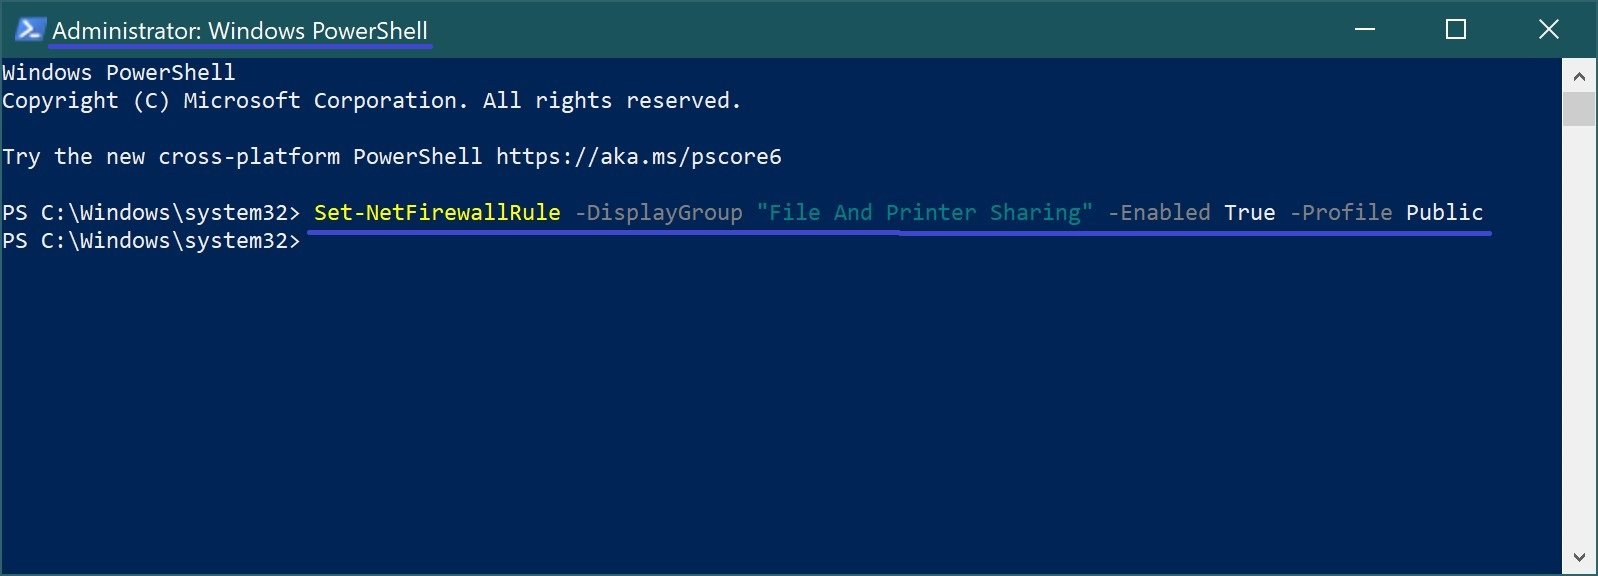
To enable file and printer sharing for the Public network profile, run the command:
Set-NetFirewallRule -DisplayGroup “File And Printer Sharing” -Enabled True -Profile Public
Commands to disable file and printer sharing
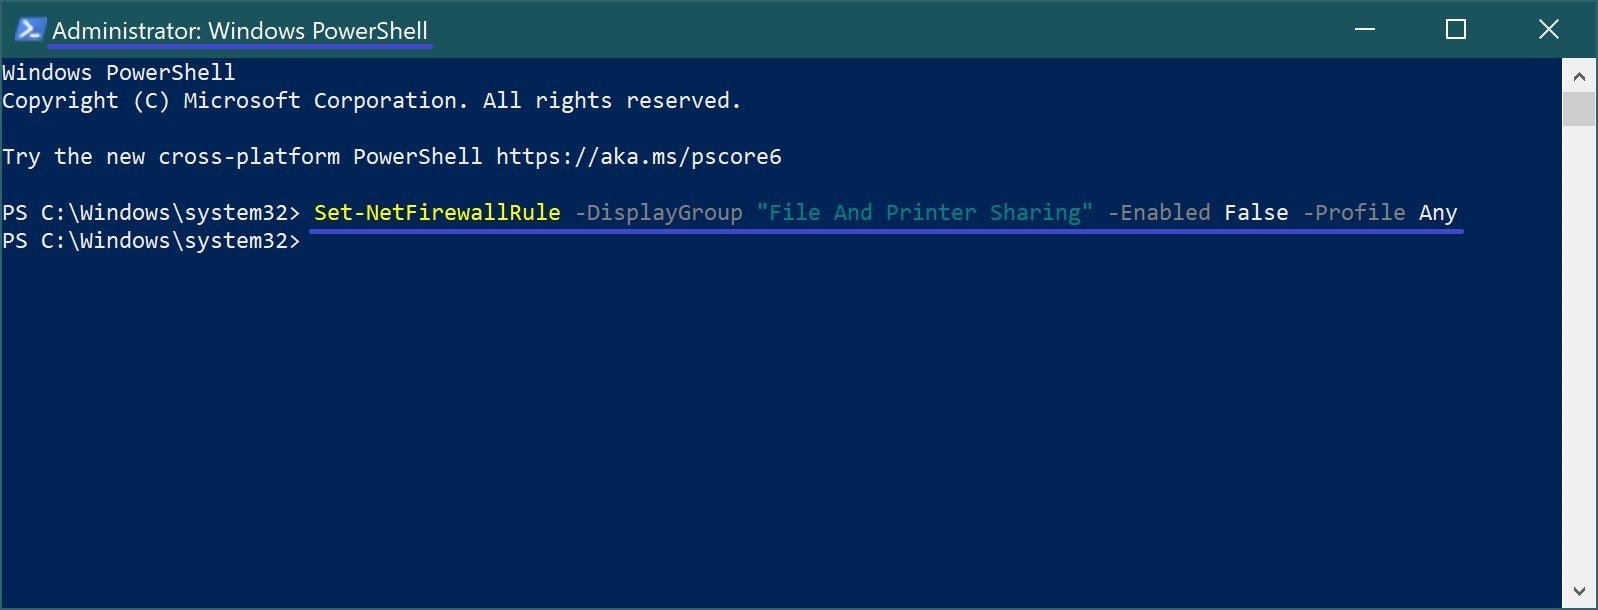
To disable file and printer sharing for all network profiles, run the command:
Set-NetFirewallRule -DisplayGroup “File And Printer Sharing” -Enabled False -Profile Any
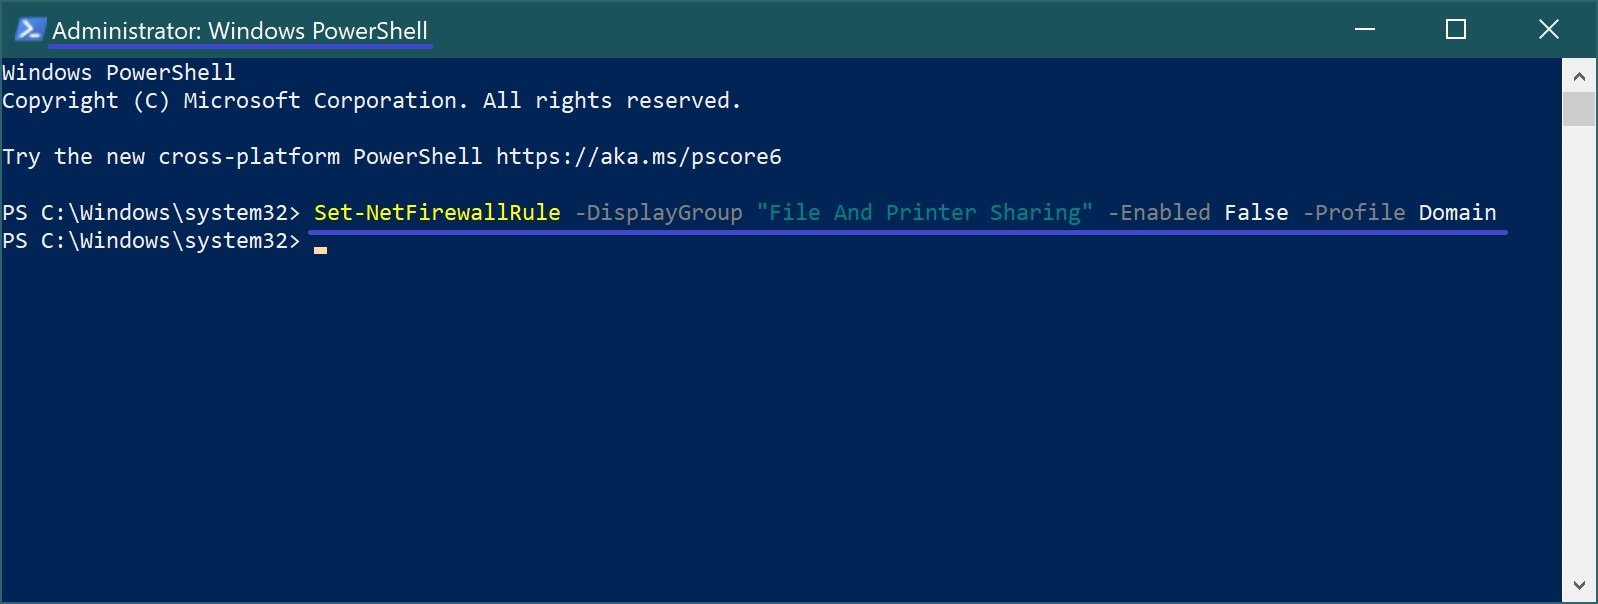
To disable file and printer sharing for the Domain network profile, run the command:
Set-NetFirewallRule -DisplayGroup “File And Printer Sharing” -Enabled False -Profile Domain
To disable file and printer sharing for the Private network profile, run the command:
Set-NetFirewallRule -DisplayGroup “File And Printer Sharing” -Enabled False -Profile Private

To disable file and printer sharing for the Public network profile, run the command:
Set-NetFirewallRule -DisplayGroup “File And Printer Sharing” -Enabled False -Profile Public

Configuring Sharing on Microsoft Networks
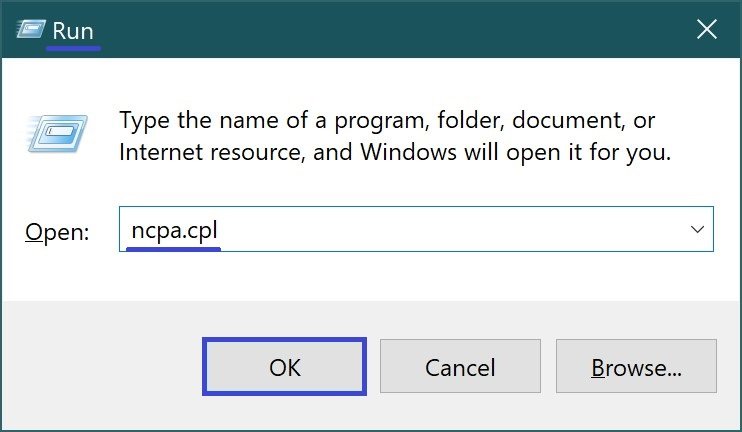
To enable file and printer sharing on Microsoft networks, press the keyboard shortcut Win+R, type ncpa.cpl in the Run window that opens, and press Enter↵.
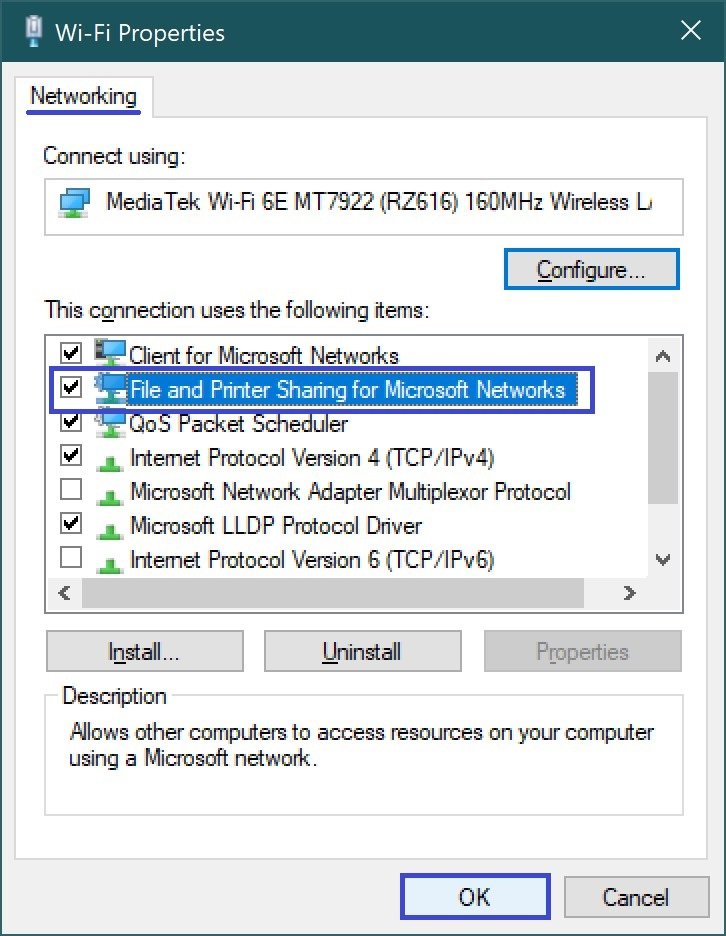
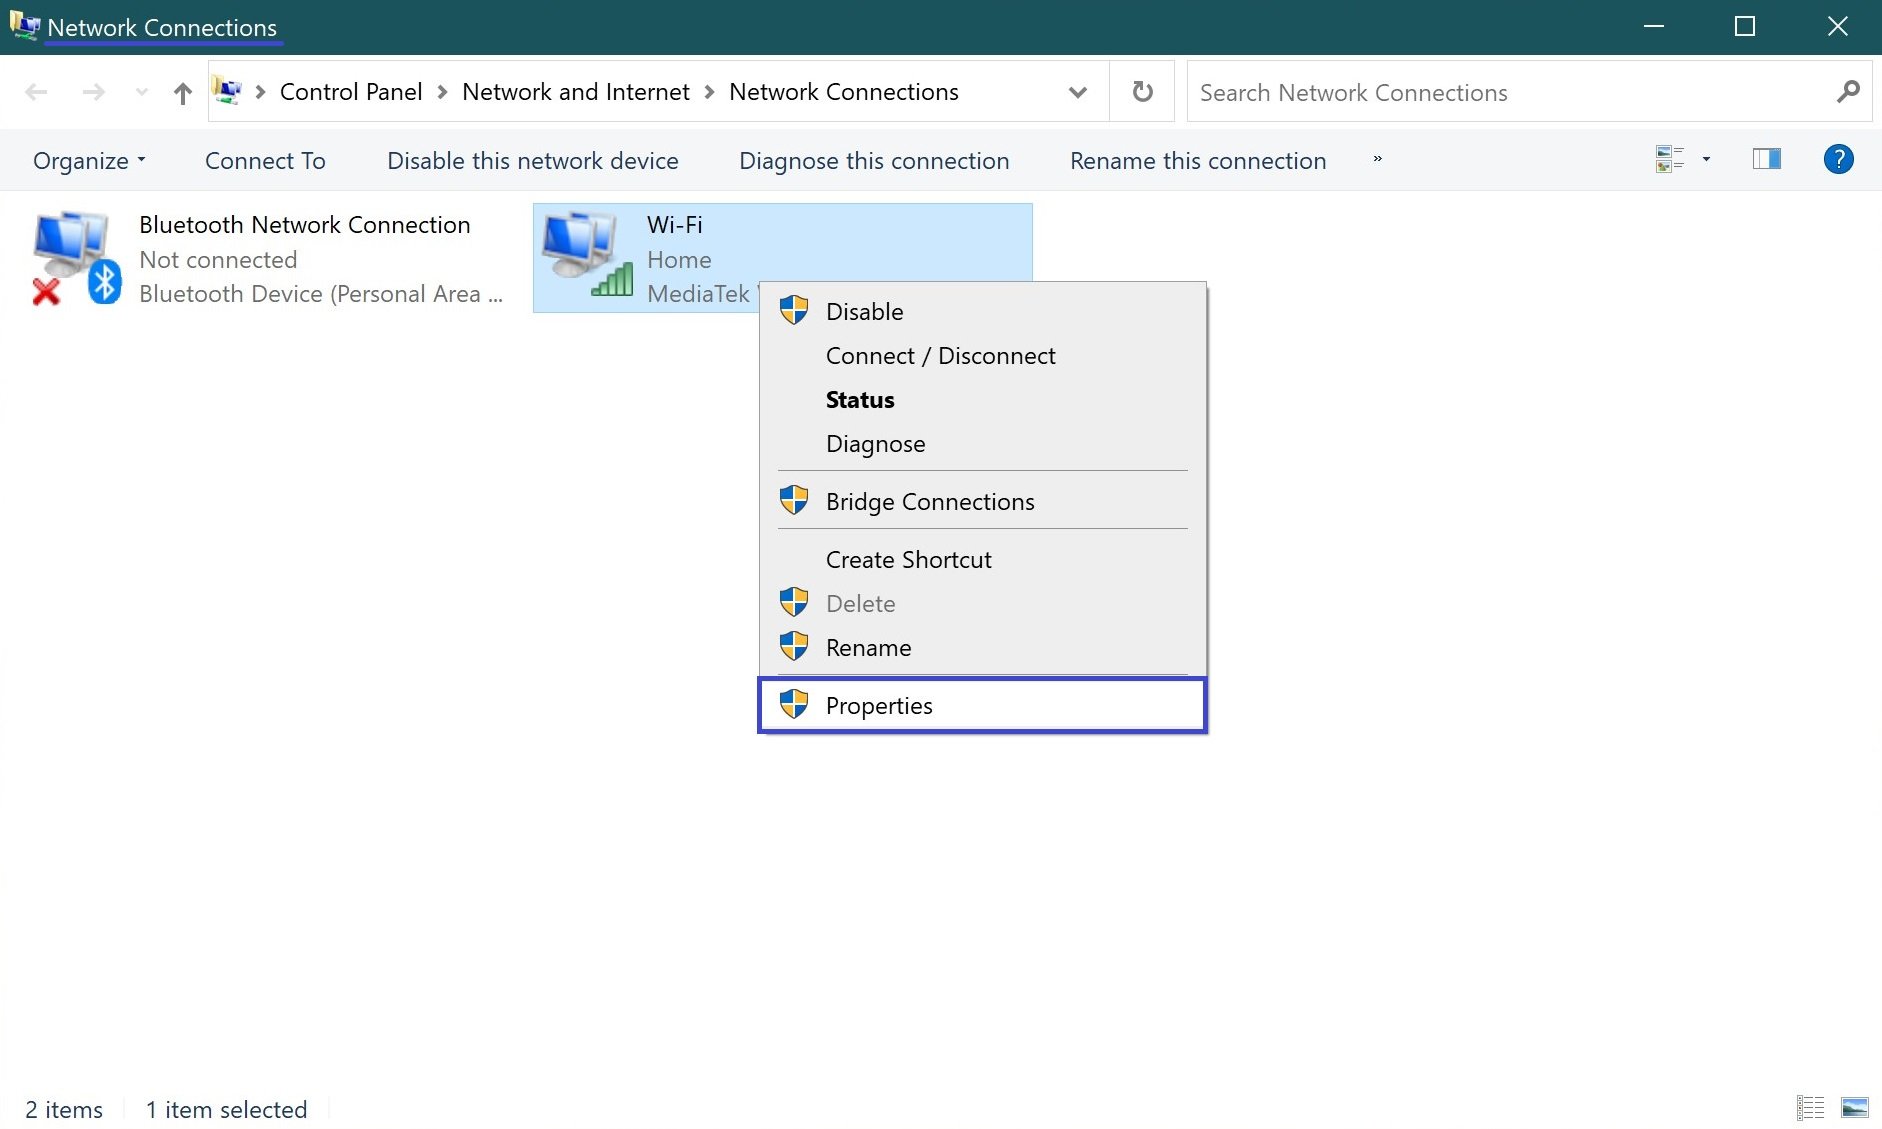
In the Network Connections window that opens, right-click the network adapter (Wi-Fi in this example) for which you want to enable or disable file and printer sharing for Microsoft networks, and from the context menu that appears, select Properties.
In the Network Adapter Properties window that opens, on the Network tab, to enable (enabled by default) file and printer sharing check the File and Printer Sharing on Microsoft Networks check box and click OK.
To disable file and printer sharing, clear the File and printer sharing on Microsoft networks check box and click OK.