By default, Windows 10 automatically downloads and installs drivers from the Windows Update center.
In some cases, individual drivers may cause problems on your device. If a particular driver causes system crashes or makes the operating system unstable, you can prevent the automatic installation of drivers by using the several methods discussed in this article.
- How to disable automatic driver installation using the Local Group Policy Editor gpedit.msc
- How to disable automatic driver installation using the registry editor (regedit.exe)
- How to disable automatic driver installation using “Device Installation Options”
- How to disable driver installation using the “Show or hide updates” utility
How to disable automatic driver installation using the Local Group Policy Editor gpedit.msc
You can disable automatic driver search and installation in Windows 10 using the local group policy editor (gpedit.msc). The following section will describe how to change several policy settings. This method is not available in Windows 10 Home.
Open the Local Group Policy Editor by pressing Win+R and then enter gpedit.msc in the Run window that opens and click OK.

In the editor window expand the following list items:
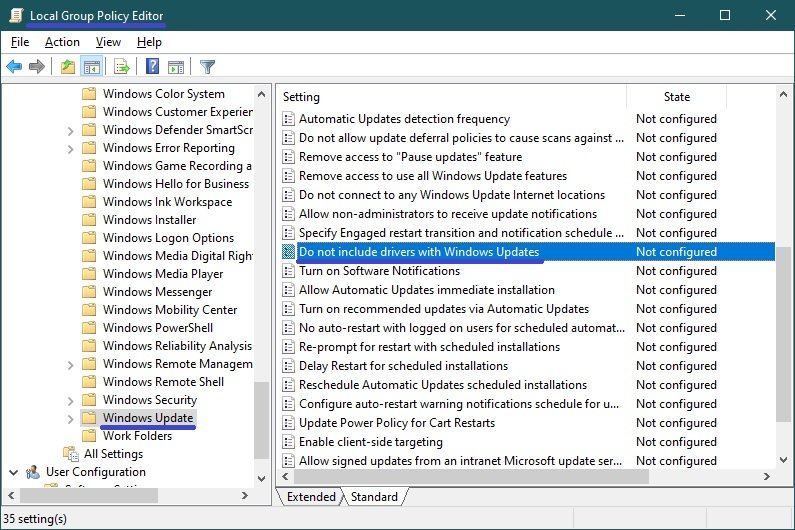
Computer configuration ➯ Administrative templates ➯ Windows components ➯ Windows Update
Then, on the right side of the editor window, find the policy setting called Do not include drivers with Windows Updates and double-click it.
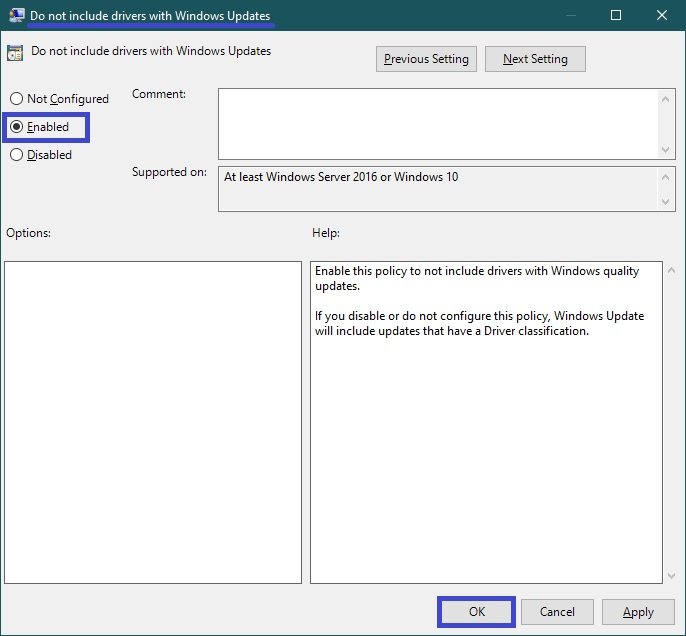
In the Don’t include drivers with Windows Updates window, set the switch to Enabled and click OK.
For the changes to take effect, close the Group Policy Editor window and restart your computer.
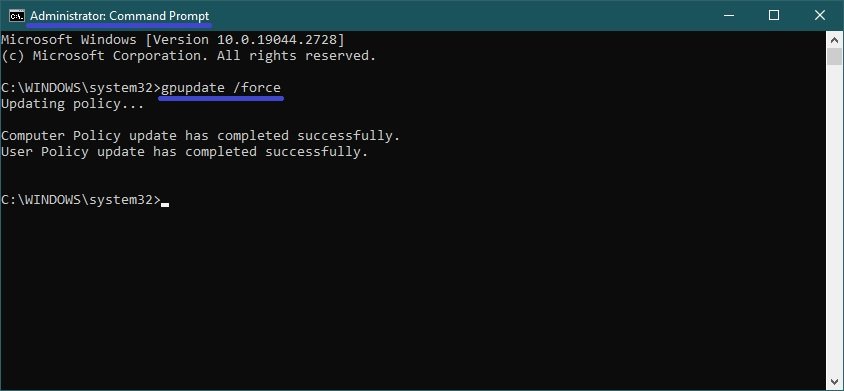
To apply the changes without rebooting the computer, run the command prompt as administrator and run the command:
gpupdate /force
By enabling the following policy setting, you can also disable automatic driver installation by expanding the following list items in the Group Policy Editor:
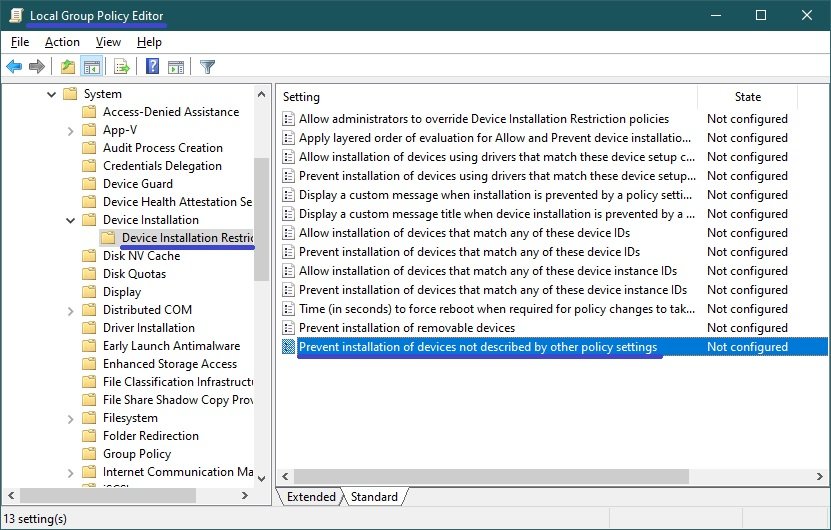
Computer configuration ➯ Administrative templates ➯ System ➯ Device installation ➯ Device installation Restrictions
Then, on the right side of the editor window, find the policy setting called Prevent installation of devices not described by other policy settings and double-click it.
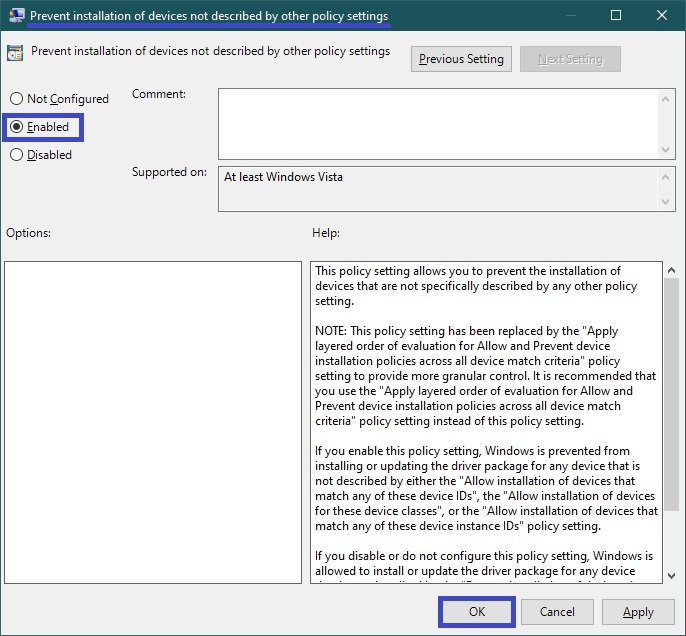
In the “Prevent installation of devices not described by other policy settings” window, set the switch to Enabled and click OK.
For the changes to take effect, close the Group Policy Editor window and restart your computer.
How to disable automatic driver installation using the registry editor (regedit.exe)
You can also use the registry editor to disable driver installation. This method is applicable to all editions of the Windows 10 operating system.
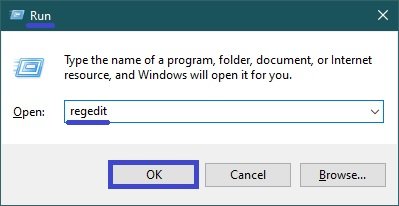
Open the registry editor by pressing Win+R and then enter regedit in the Run window and click OK.
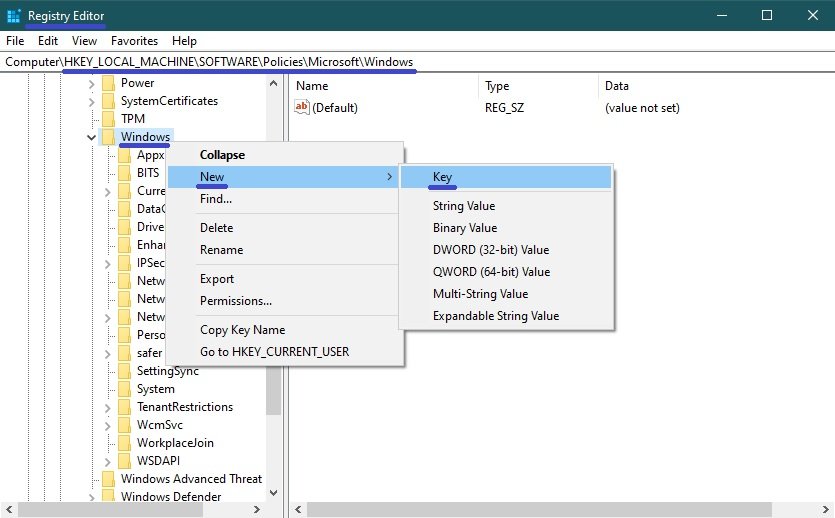
In the Registry Editor window, navigate to the following path:
HKEY_LOCAL_MACHINE\SOFTWARE\Policies\Microsoft\Windows\WindowsUpdate
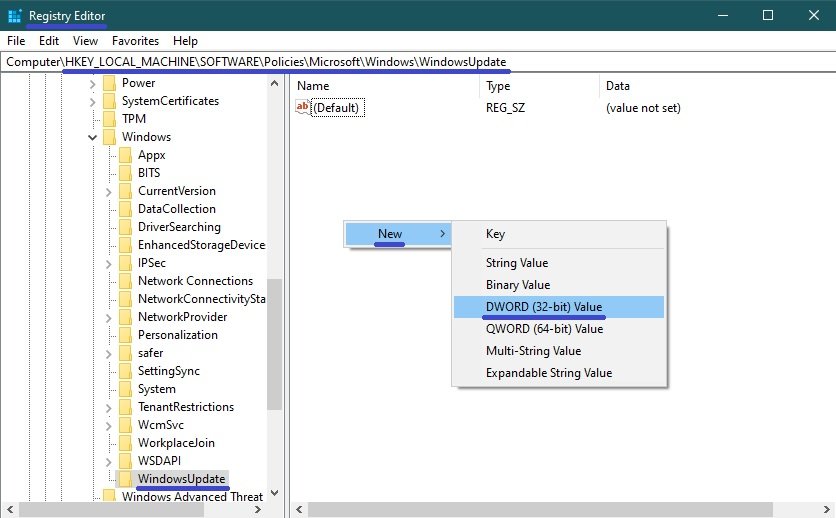
If there is no “WindowsUpdate” partition, create it by right-clicking on your Windows partition and select New > Key in the context menu and give the created partition the name WindowsUpdate.
Next, in the “WindowsUpdate” section, create a DWORD (32-bit) Value and name it ExcludeWUDriversInQualityUpdate.
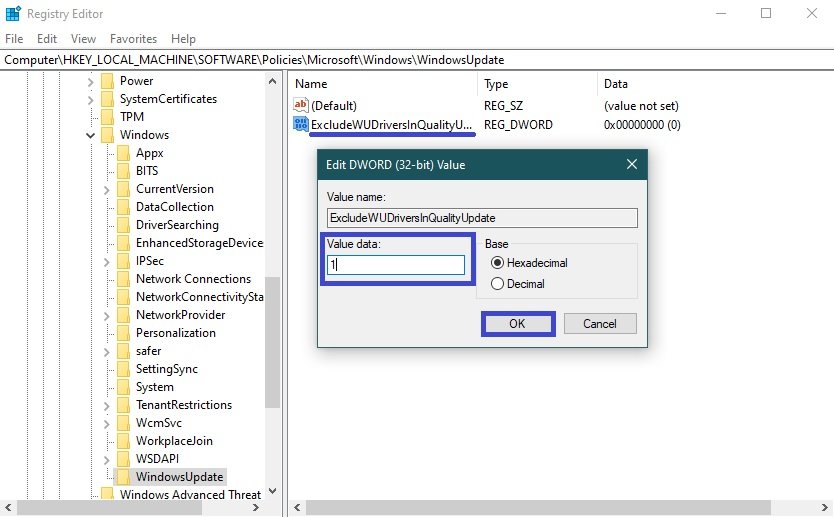
Then double-click the ExcludeWUDriversInQualityUpdate parameter and change its value to 1.
After that, close the registry editor and restart your computer.
If you need to enable automatic driver updates again, change the ExcludeWUDriversInQualityUpdate parameter to 0 or delete it.
You can also create and apply the following registry file to disable driver installation:
Windows Registry Editor Version 5.00.
[HKEY_LOCAL_MACHINE\\SOFTWARE\\Policies\\Microsoft\\Windows\\WindowsUpdate].
“ExcludeWUDriversInQualityUpdate”=dword:00000001
To enable driver installation, create and apply the following registry file:
Windows Registry Editor Version 5.00.
[HKEY_LOCAL_MACHINE\\SOFTWARE\\Policies\\Microsoft\\Windows\\WindowsUpdate].
“ExcludeWUDriversInQualityUpdate”=dword:00000000
After applying the registry file, restart your computer.
The following method will also help to disable automatic driver updates.
To disable automatic driver updates, create and apply the following registry file:
Windows Registry Editor Version 5.00.
[HKEY_LOCAL_MACHINE\\SOFTWARE\\Policies\\Microsoft\\Windows\\DeviceInstall\\Restrictions].
“DenyUnspecified”=dword:00000001
To undo changes and thereby enable automatic driver updates, create and apply the following registry file:
Windows Registry Editor Version 5.00.
[-HKEY_LOCAL_MACHINE\\SOFTWARE\\Policies\\Microsoft\\Windows\\DeviceInstall].
After applying the registry file, restart your computer.
And one more way to disable automatic driver updates using the registry editor.
Open the registry editor and go to the following path:
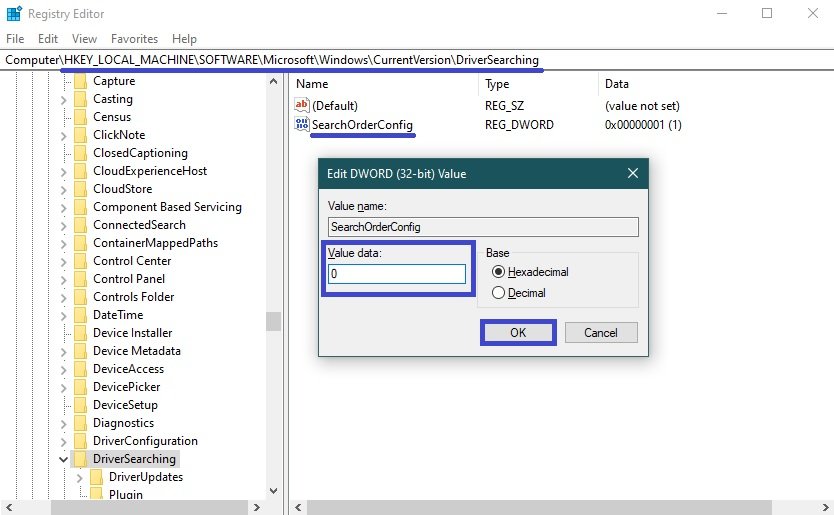
HKEY_LOCAL_MACHINE\\SOFTWARE\\Microsoft\\Windows\\CurrentVersion\\DriverSearching
Next, double-click the SearchOrderConfig parameter on the right side of the registry editor window, change its value to 0 and click OK.
Close the registry editor and restart your computer. After the restart, automatic driver updates will be blocked on the system.
If you need to enable automatic driver updates again, change SearchOrderConfig to 1 and reboot the computer.
How to disable automatic driver installation using “Device Installation Options”
To disable automatic driver updates, you can use the device installation settings.
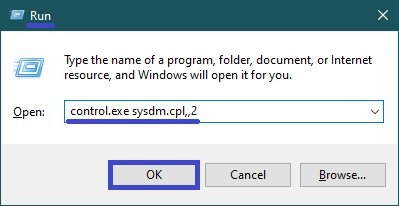
To open the device installation options, press Win+R and in the Run window that opens, type (copy and paste) control.exe sysdm.cpl,,2 and click OK.
Then in the System Properties window, on the Hardware tab, click the Device Installation Settings button.

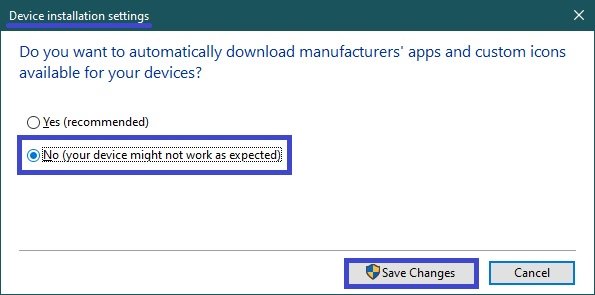
Next, in the “Device installation settings” window that opens, set the switch to No (your device might not work as expected) and click Save Changes.
After doing this, restart your computer.
Changing the device installation settings, also appears in the registry, that is, to disable automatic installation of drivers, you can create and apply a registry file with the following content:
Windows Registry Editor Version 5.00.
[HKEY_LOCAL_MACHINE\\SOFTWARE\\Microsoft\\Windows\\CurrentVersion\\Device Metadata].
“PreventDeviceMetadataFromNetwork”=dword:00000001
To enable driver installation, create and apply the following registry file:
Windows Registry Editor Version 5.00.
[HKEY_LOCAL_MACHINE\\SOFTWARE\\Microsoft\\Windows\\CurrentVersion\\Device Metadata].
“PreventDeviceMetadataFromNetwork”=dword:00000000
After applying the registry files, restart your computer.
How to disable driver installation using the “Show or hide updates” utility
To temporarily disable driver reinstallation until a new patch package becomes available, you can use the Troubleshooter, which provides an interface to hide and display Windows and driver updates for Windows 10.
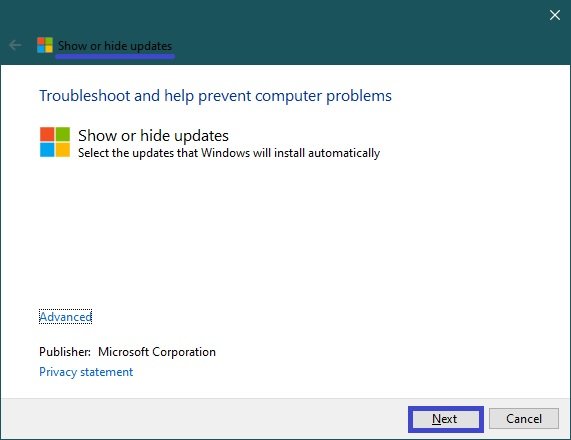
Launch the troubleshooter by double-clicking the wushowhide.diagcab file, then click Next.
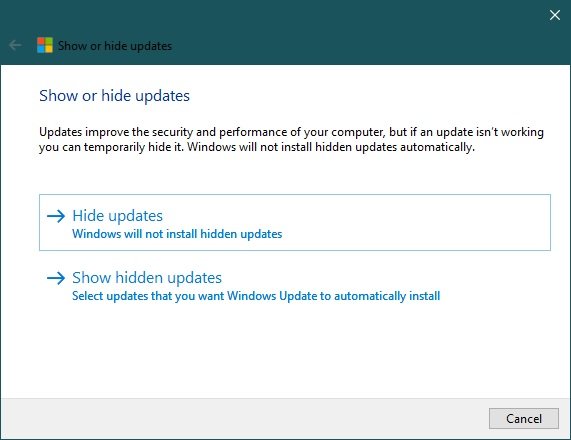
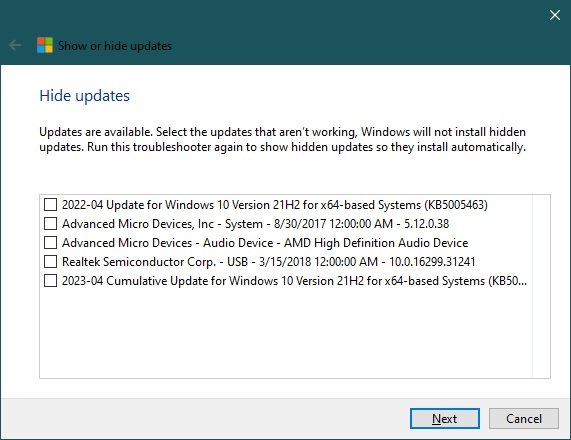
Then follow the instructions to hide the problematic driver or update.
You can download the “Show or hide updates” troubleshooter package by following ➯ this link.
Using the above steps, you can prohibit the automatic installation of drivers in the Windows 10 operating system.