
When you change the user name, only the display name that you see in the Start menu and on the Welcome screen when you log into Windows changes, but the name of the user folder does not change, you can read about how to rename it in the article ➯ How to rename the user folder in Windows 10.
The following article describes the different ways you can change your local account username in Windows 10.
To change the user name of the local account, you must log in with administrator privileges.
- How to change your account name
- How to change user name of the local account using the Classic Control Panel
- How to change the user name of the local account using the “Power User Account” snap-in (netplwiz.exe)
- How to change name of the local account on the command prompt
- How to change name of the local account in Windows PowerShell
How to change your account name
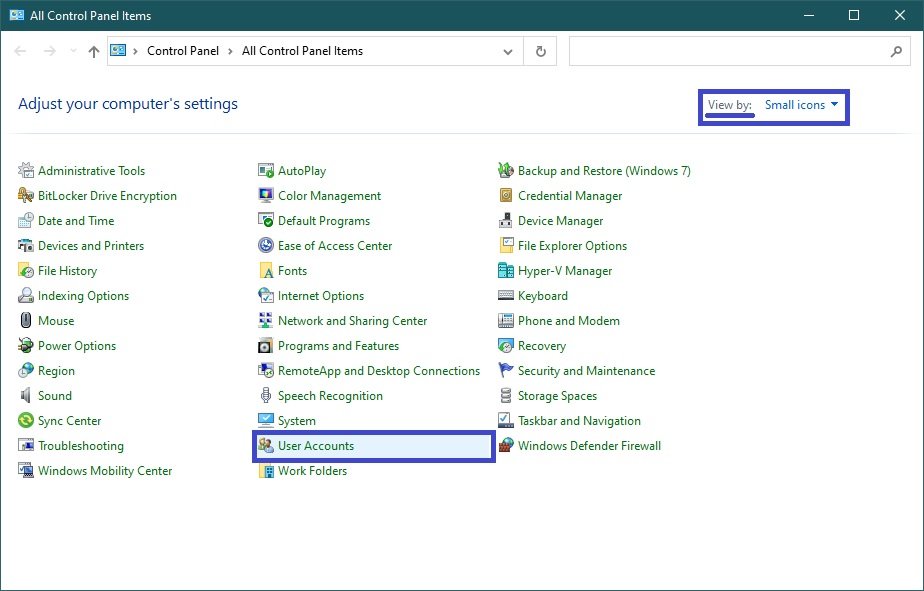
Open the Classic Control Panel, select Small Icons from the View by: drop-down list and click User Accounts.
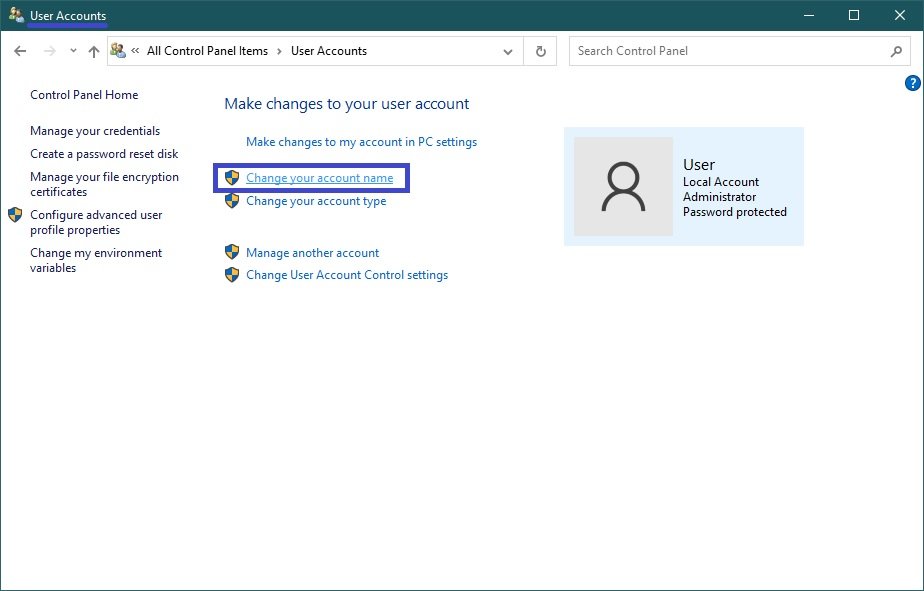
In the User Accounts window, click the Change your account name link.
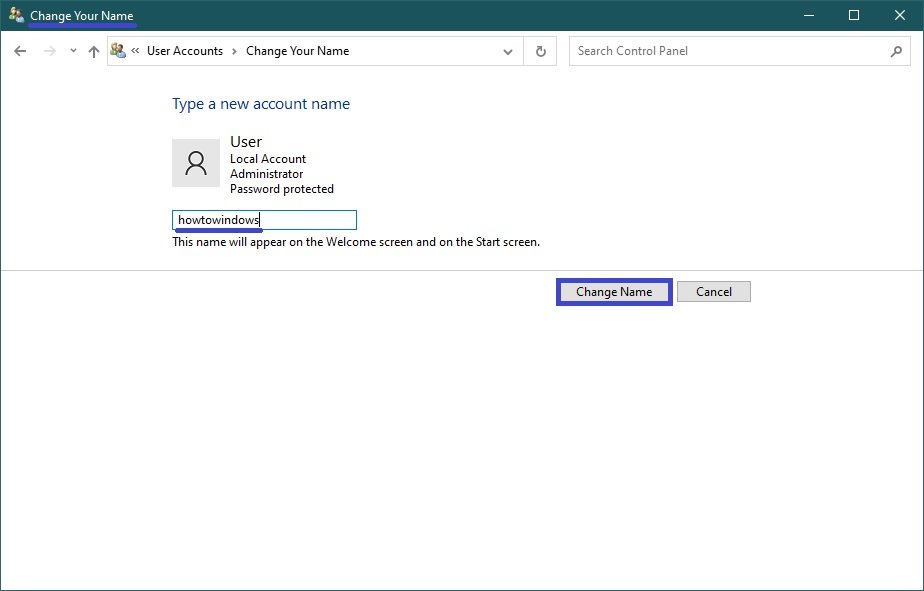
Then, in the Change Your Name window, enter the new account name in the input field and click Change Name.
How to change user name of the local account using the Classic Control Panel
Using this method you can rename both your (current) account and other computer accounts.
Open the Classic Control Panel, select Small Icons from the View by: drop-down list and click User Accounts.
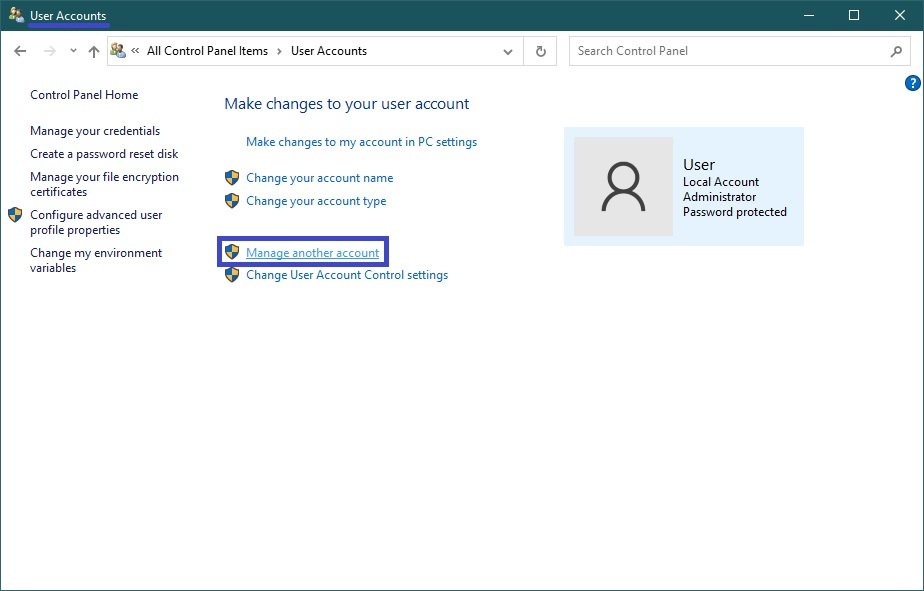
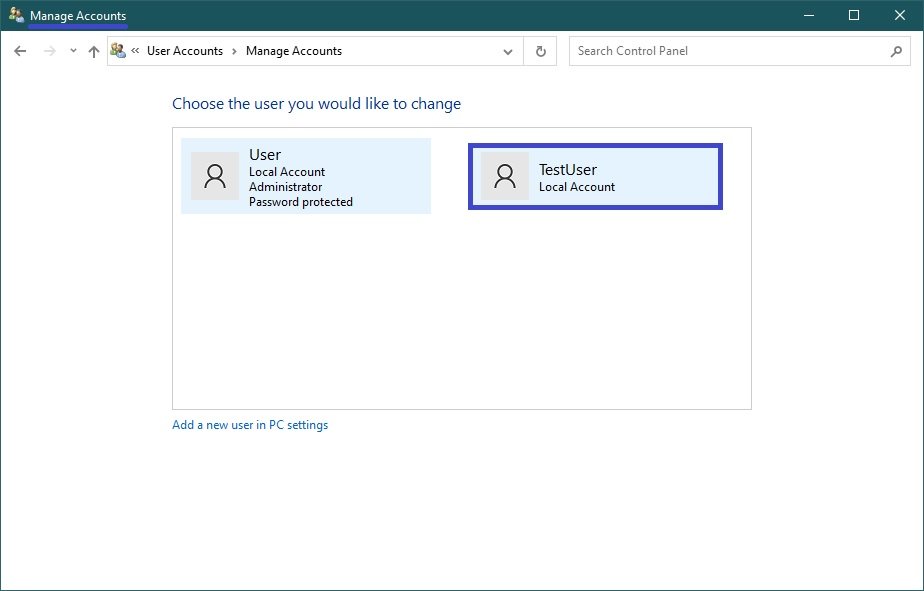
In the User Accounts window, click the Manage another account link
In the next window, select the account you want to rename.
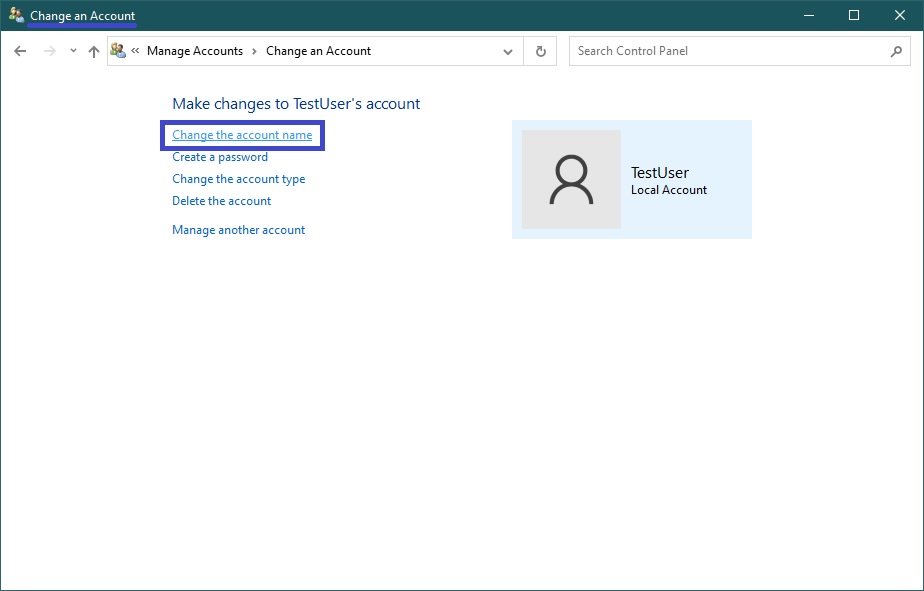
Then click the Change the account name link.
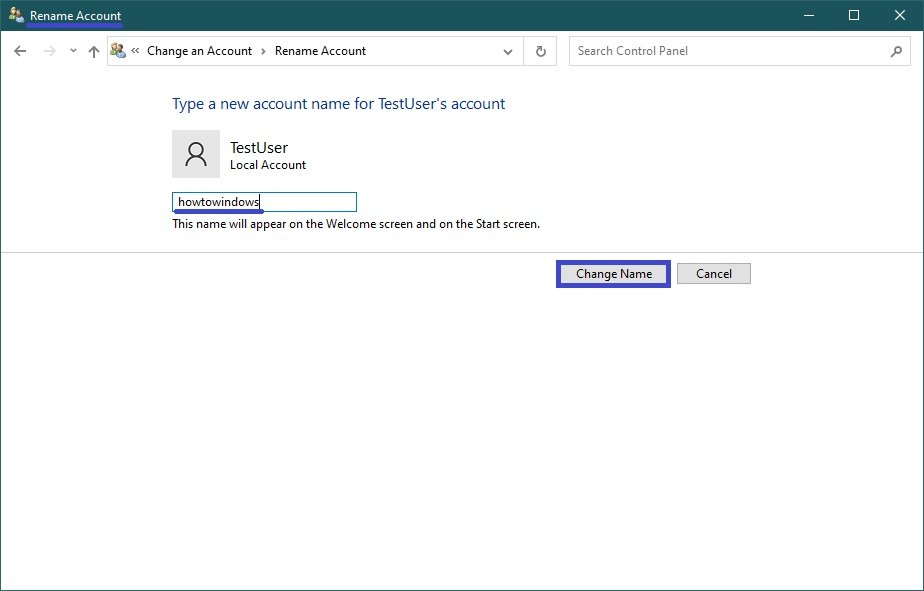
Now, in the Rename Account window, enter a new account name in the input field and click Change Name.
How to change the user name of the local account using the “Power User Account” snap-in (netplwiz.exe)
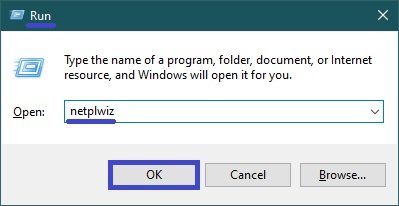
Open the “Power User Account” snap-in by pressing Win+R and then enter netplwiz in the Run window that opens and press Enter↵.
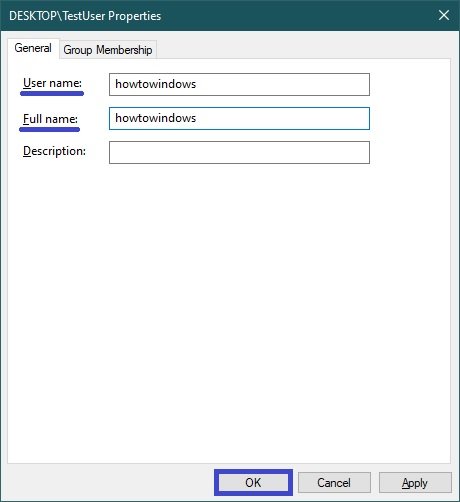
In the User Accounts window that opens, select the account you want to rename and click Properties.

Then enter a new account name in the User name: input field, enter a new account name in the Full Name: input field as well, and click OK.
How to change name of the local account on the command prompt
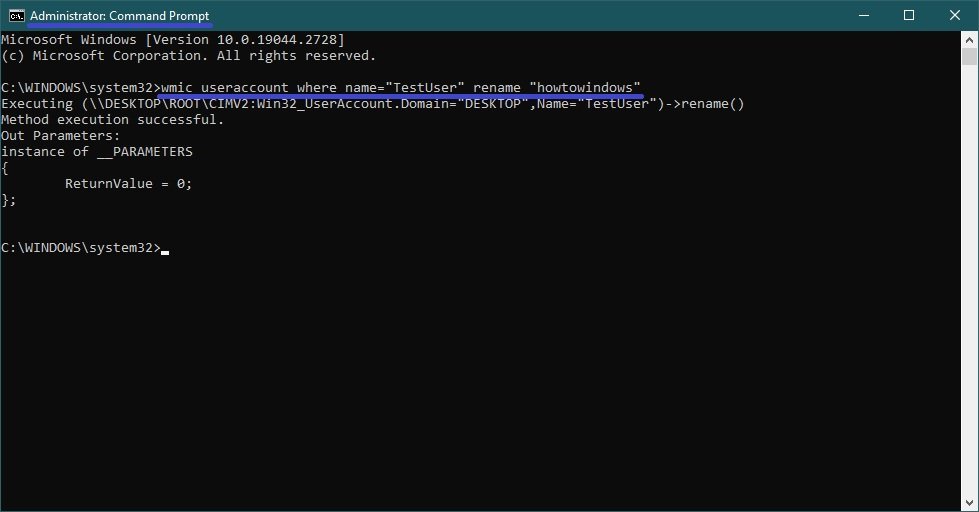
Run the command prompt as administrator and run the following command:
wmic useraccount where name=”Old_Name” rename “New_Name”
Replace Old_Name in the command with the user name of the local account you want to rename.
Replace New_Name in the command with the new account name.
In this example, the command would look like this:
wmic useraccount where name=”TestUser” rename “howtowindows”
How to change name of the local account in Windows PowerShell
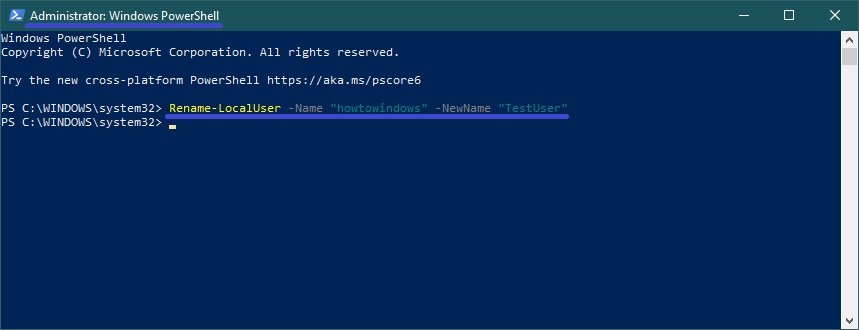
Open the Windows PowerShell console as an administrator and run the following command:
Rename-LocalUser -Name “Old_Name” -NewName “New_Name”
Replace Old_Name in the command with the user name of the local account you want to rename.
Replace New_Name in the command with the new account name.
In this example, the command would look like this:
Rename-LocalUser -Name “howtowindows” -NewName “TestUser”
Now, using the above methods, you can change the user name of your local Windows 10 account.


