Group Policy is a set of rules whose application can make it easier to manage users and computers.
Group Policy settings are used to control the configuration of the operating system, and to disable options and user interface controls for settings controlled by Group Policy. Most Group Policy settings are stored in registry sections associated with Group Policies.
There are two types of group policies: local group policies and Active Directory service group policies. Local Group Policy is used to manage local machine settings and Active Directory Service Group Policy is used to manage computer settings for sites, domains, and organizational units.
Local Group Policies apply to all users and administrators logged on to the computer. Local Group Policy is managed through a Group Policy Object (GPO). The local Group Policy Object is stored on each computer in the hidden %SystemRoot%\\System32\\GroupPolicy folder.
Additional user and group objects of local Group Policy are stored in the %SystemRoot%\\System32\\GroupPolicyUsers folder.
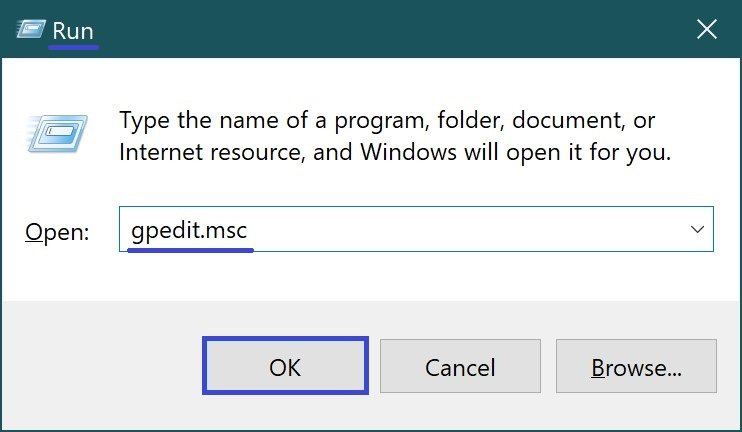
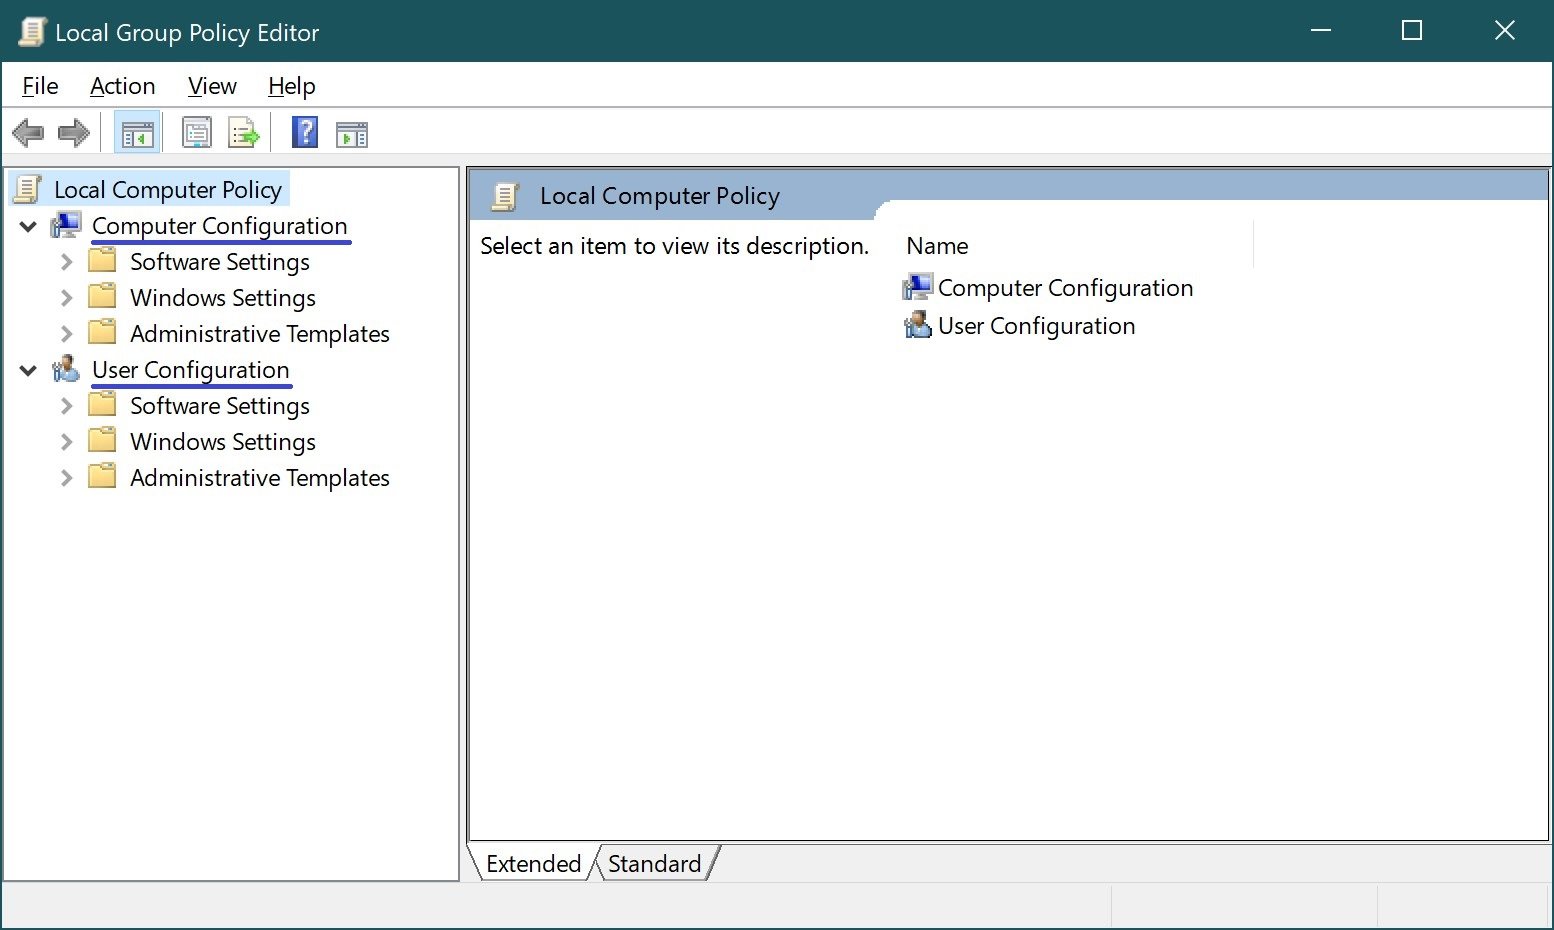
Local policies (local GPO) can be edited using the gpedit.msc snap-in, the Local Group Policy Editor. To launch the policy editor, press the Win+R key combination, enter the gpedit.msc command in the Run window that opens, and press Enter ↵.
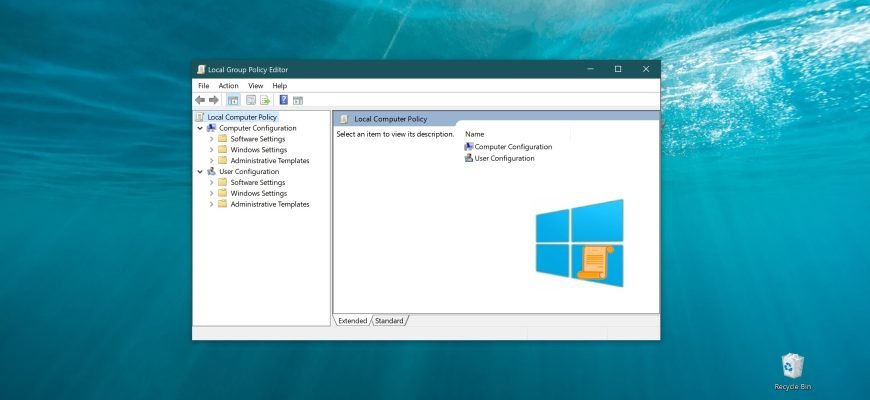
In the Local Group Policy Editor window that opens, you can edit the computer configuration and user configuration. The first section (computer configuration) contains system-wide settings and the second section contains user settings.
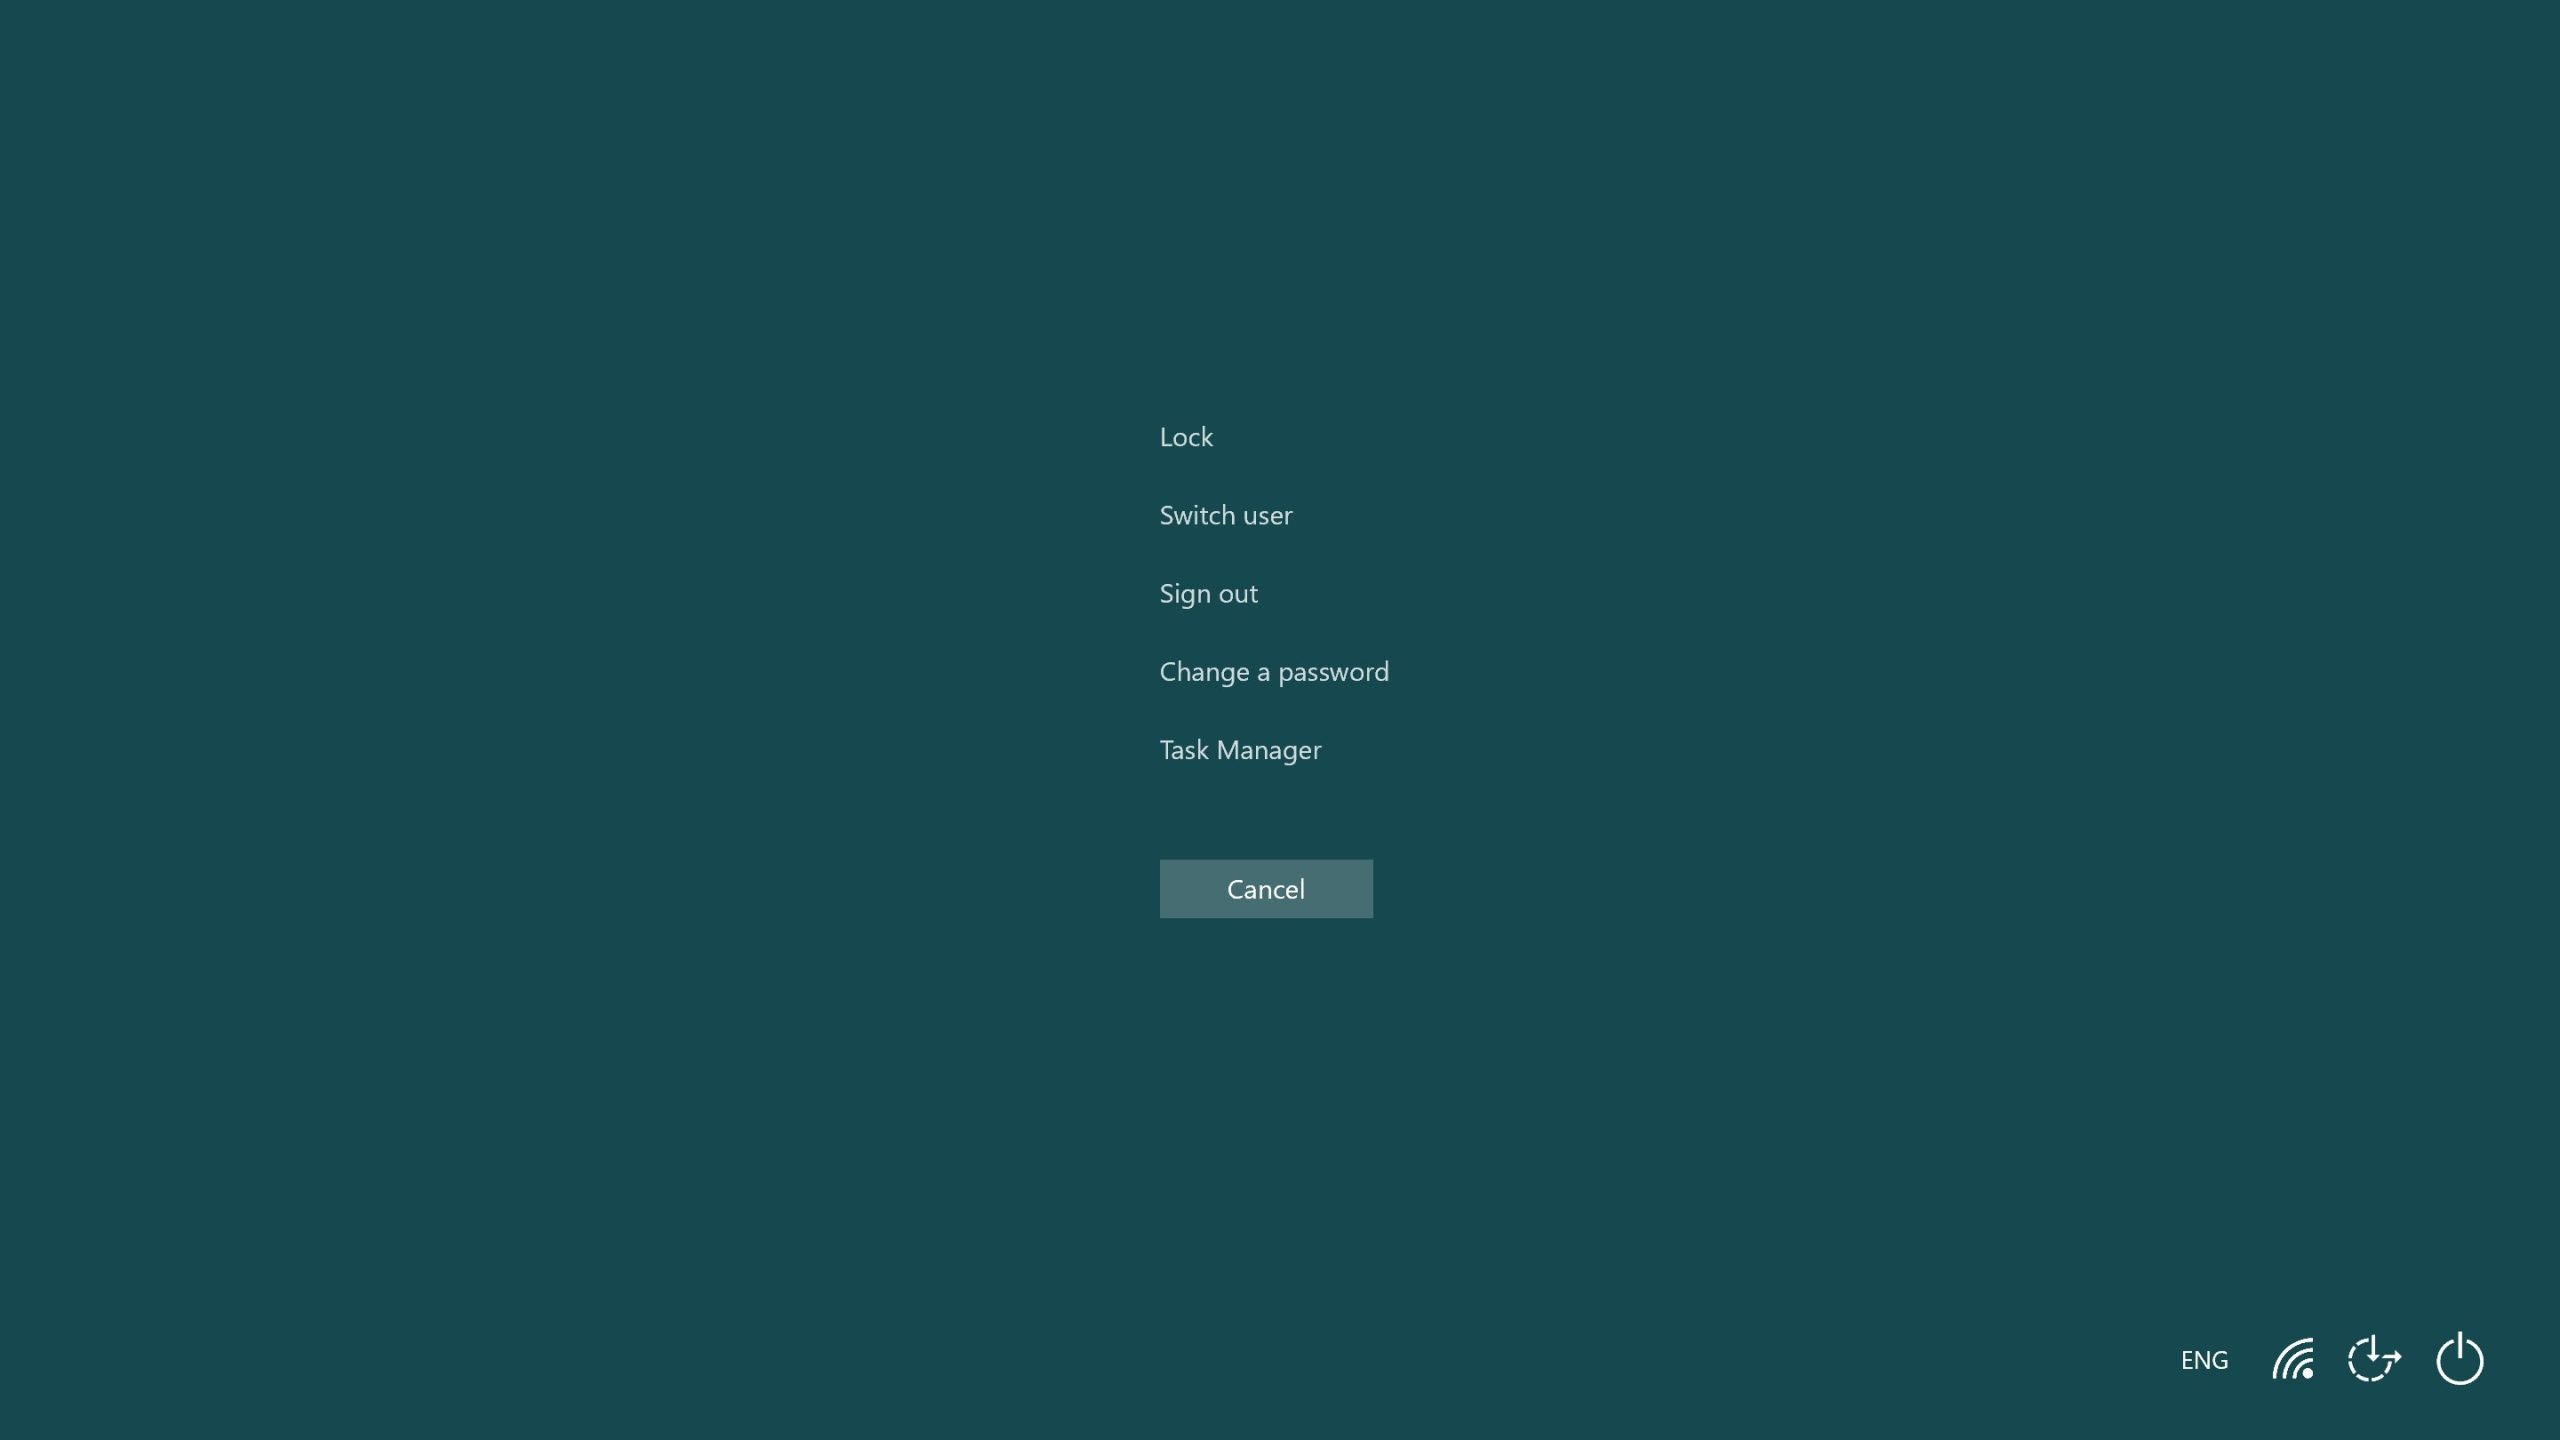
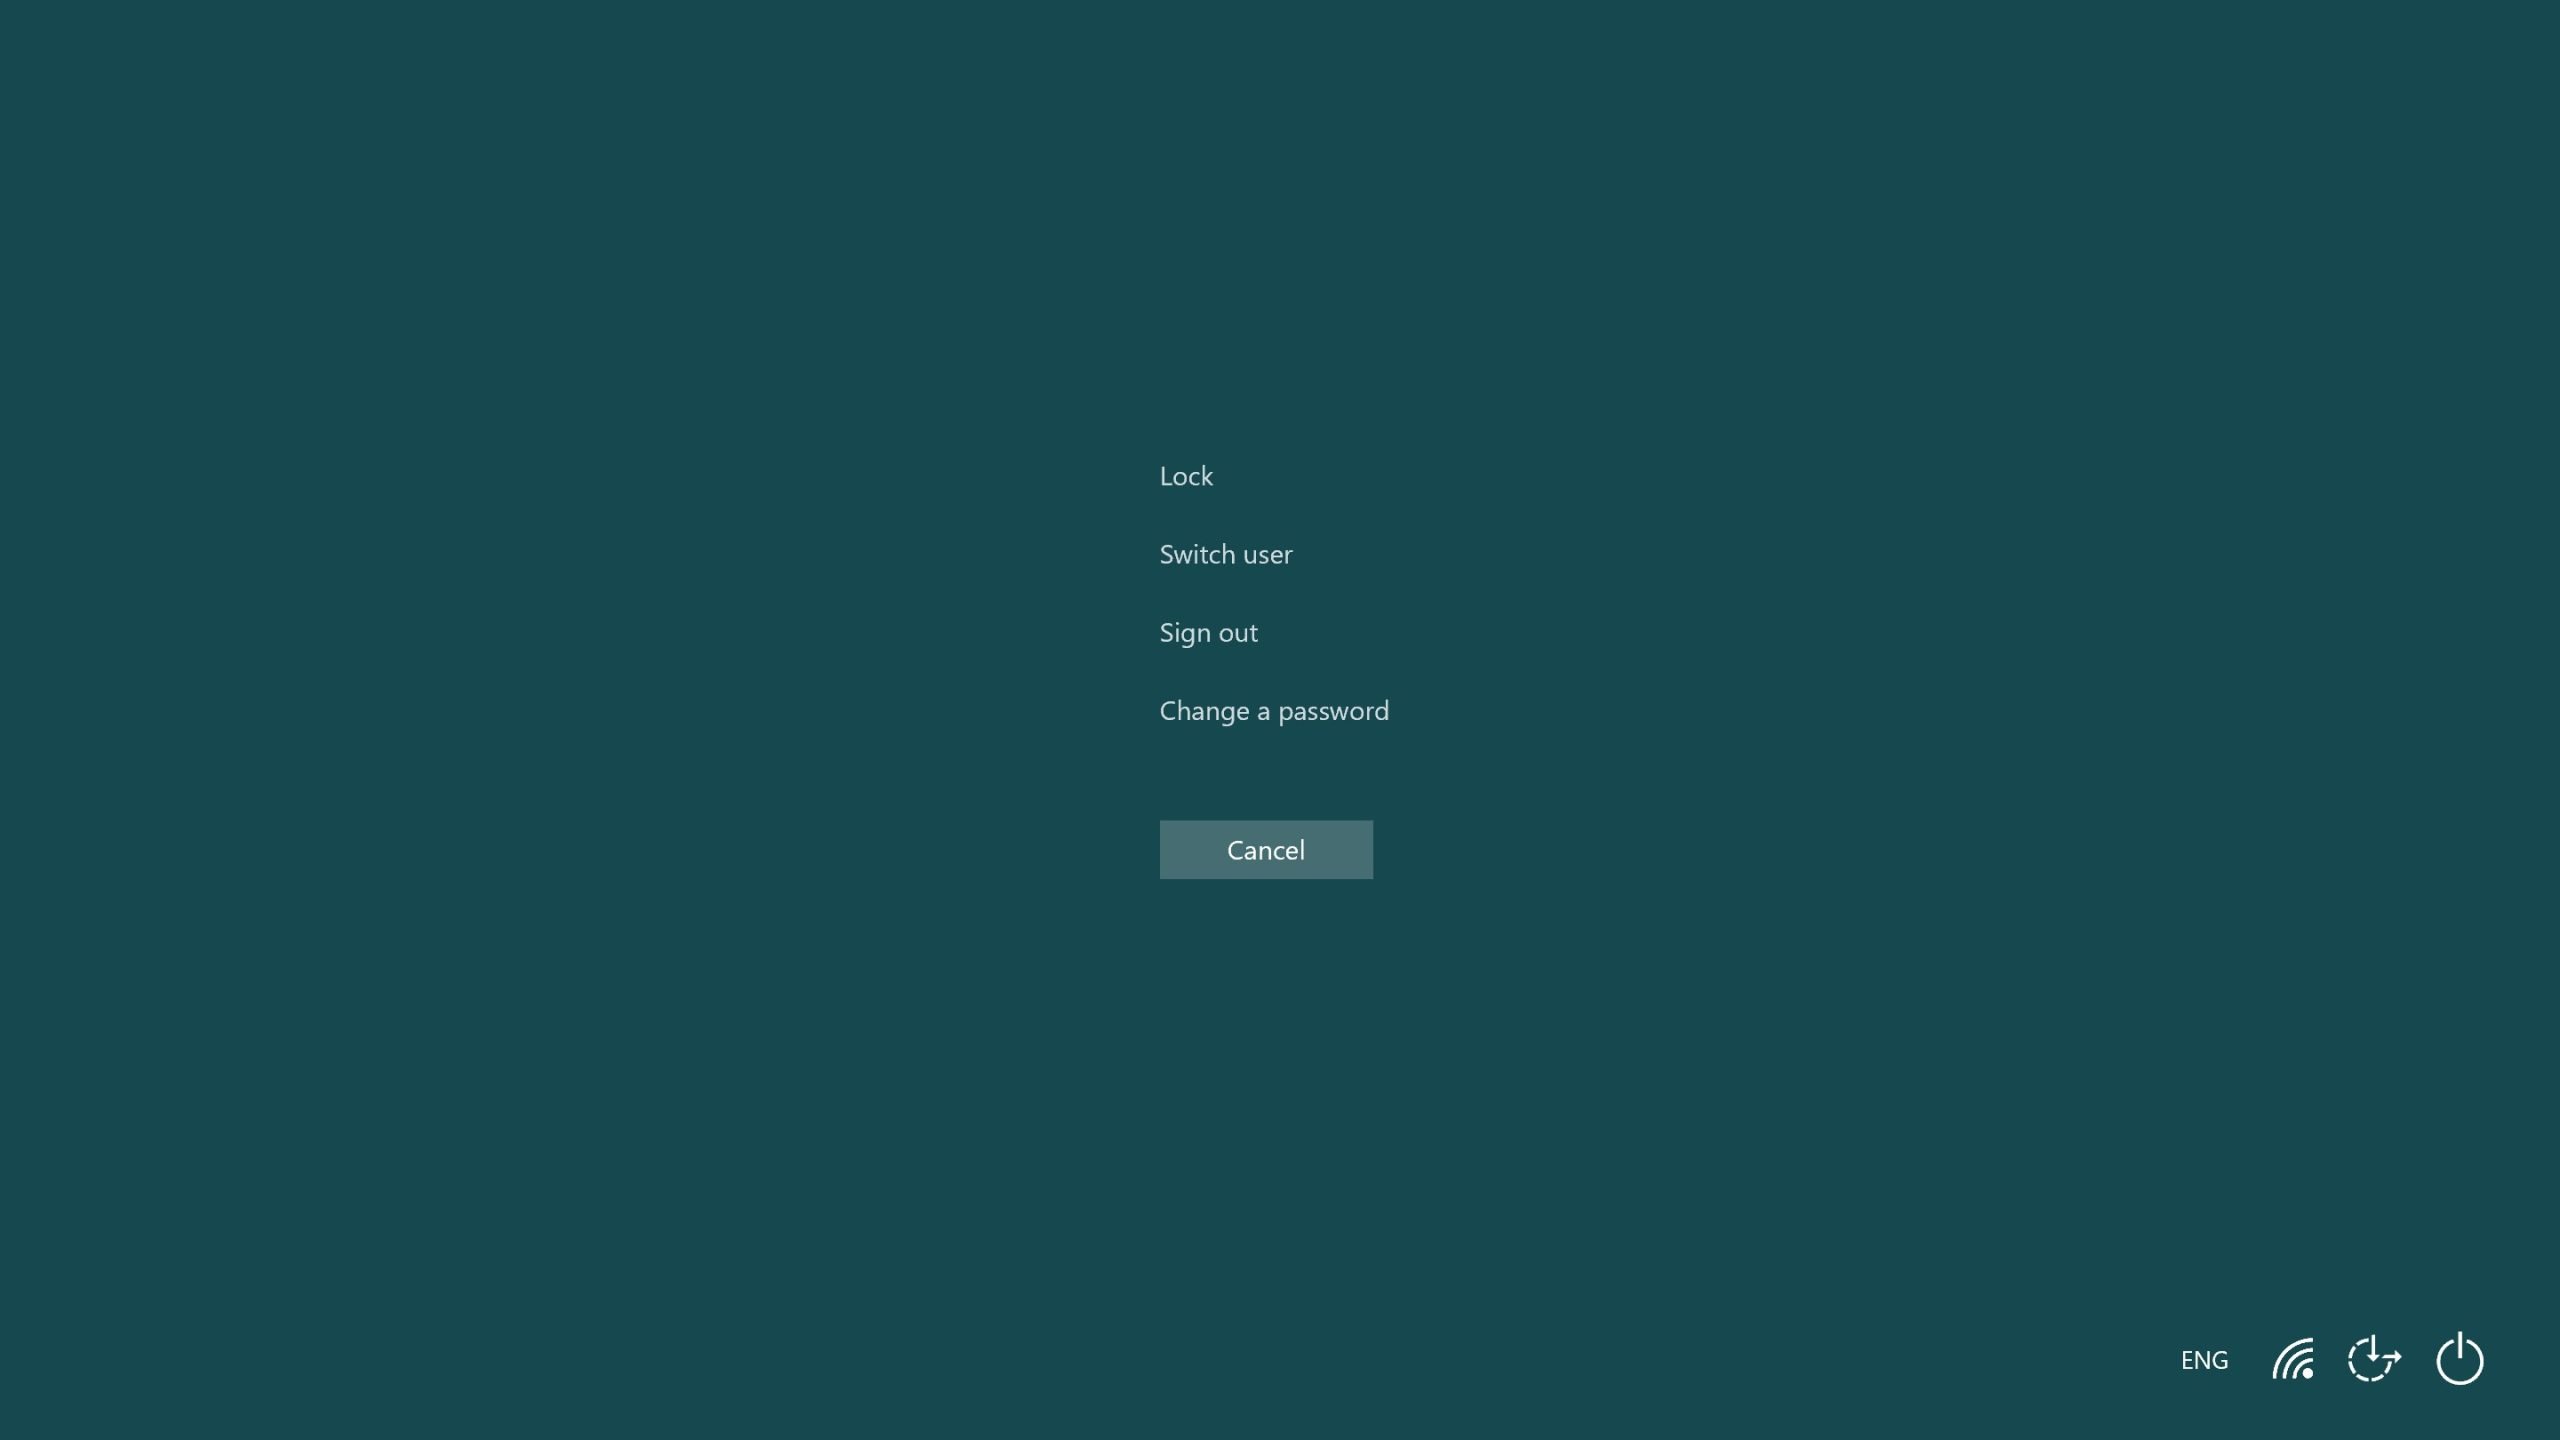
Let’s look at a small example of using the Policy Editor. Suppose we want to disable Task Manager for a user. When the user presses Ctrl + Alt + Del, a menu is displayed that allows the user to launch the Task Manager window.
Why do I need to disallow Task Manager? The user may close the process, which will lead to data loss (especially when the person does not understand what he/she is doing). And then they will be annoyed with the request to restore this data, which is not always possible. That’s why it’s easier to prohibit the ability to close processes than to deal with data loss and its recovery.
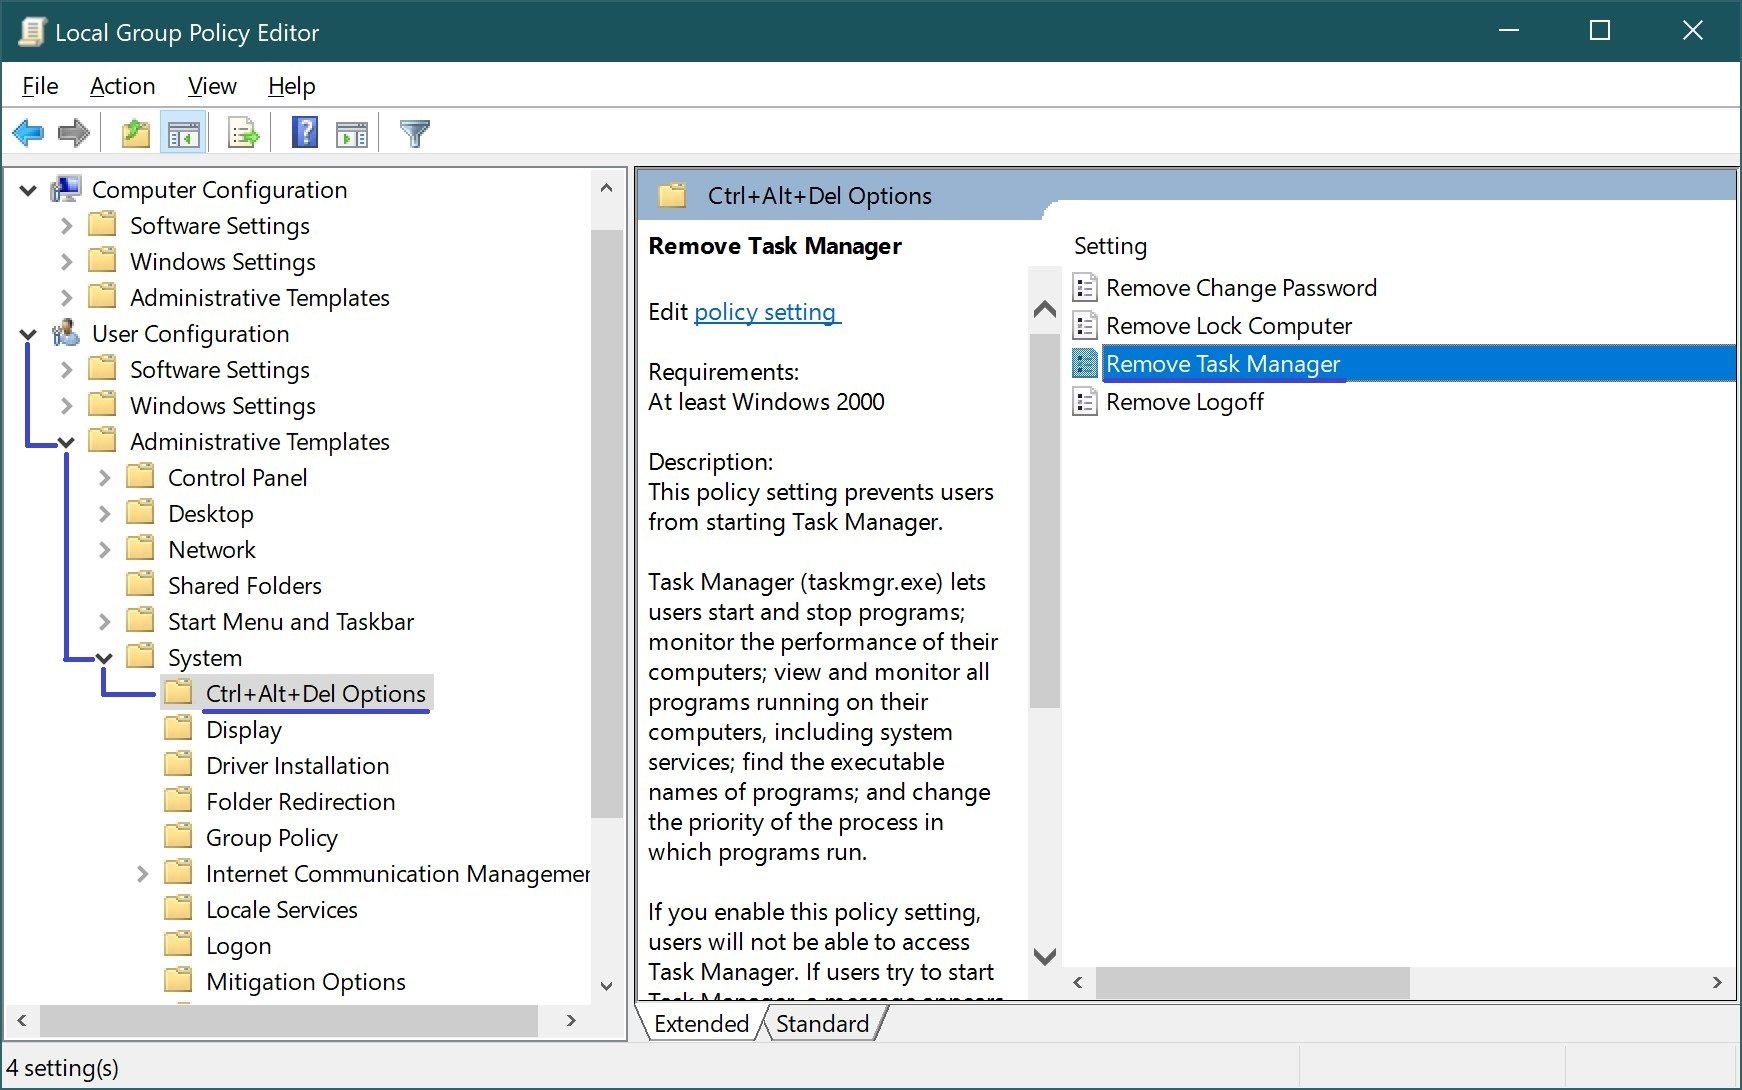
To disable Task Manager, launch the Policy Editor and select User Configuration ► Administrative Templates ► System ► CTRL+ALT+DEL Options. In the right pane, you will see the action options after pressing Ctrl + Alt + Del. Double-click the Remove Task Manager policy.
By default, no policy is set. To disable Task Manager, select Enable and click OK.
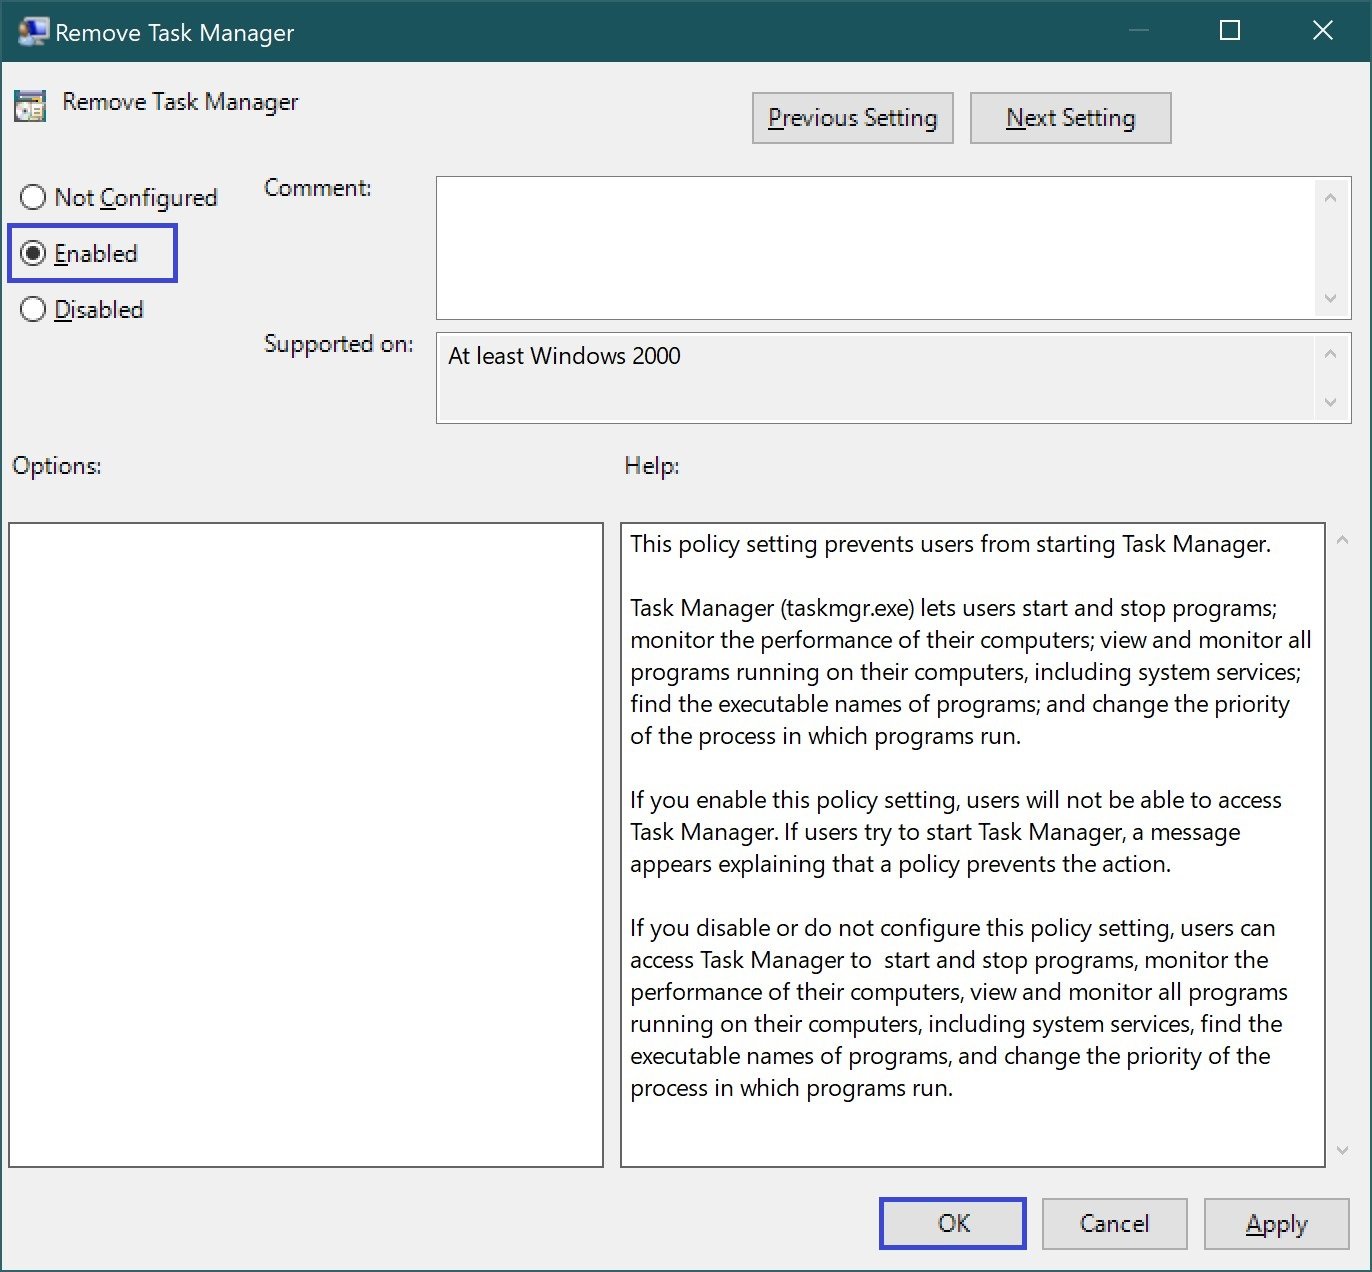
After that, you will not be able to start Task Manager.
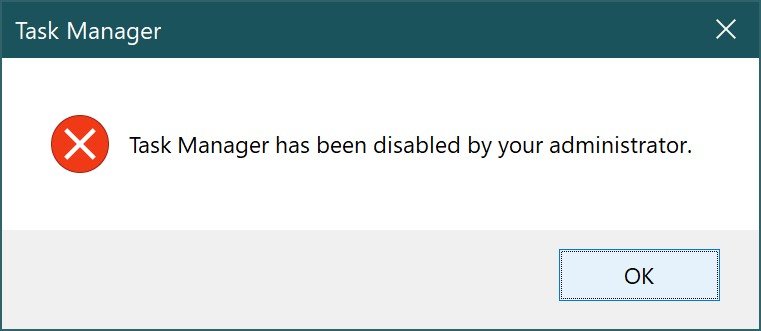
You will also not be able to launch Task Manager by pressing Ctrl + Shift + Esc, or by typing taskmgr in the Run window, in which case you will get a message that Task Manager has been disabled by your administrator.
If you want to disable Task Manager, you can also disable it through the registry. In fact, policies are registry add-ons. What is the difference between customizing the system through policies and through the registry? Nothing, by and large. Policies are created for more convenient registry editing. For example, if you disable Task Manager through the policy editor, the HKEY_CURRENT_USER\Software\Microsoft\Windows\CurrentVersion\Policies\System registry section will be created, and the DisableTaskMgr parameter of DWORD type with the value 1 will be added to it.
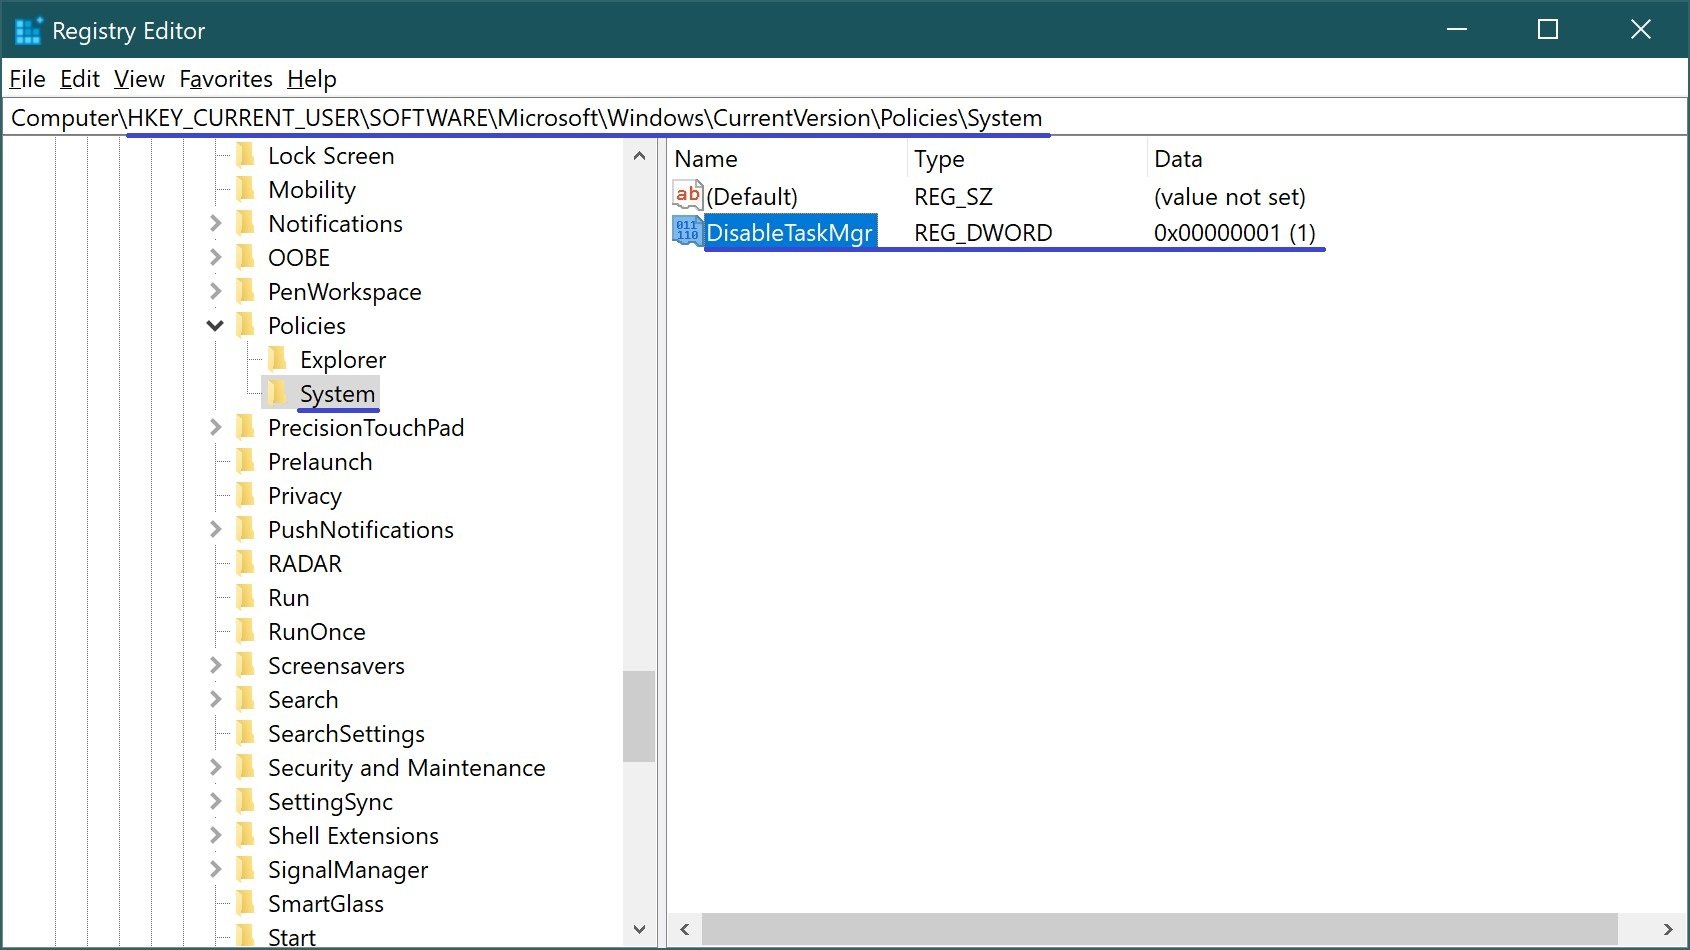
To enable Task Manager, you need to enter the registry section HKEY_CURRENT_USER\Software\Microsoft\Windows\CurrentVersion\Policies\System to set the DisableTaskMgr parameter to 0 or use the Policy Editor to set it to Disable.
To disable the Task Manager not for a specific user, but for the whole system, you need to create the DWORD parameter DisableTaskMgr with the value 1 in the registry section HKEY_LOCAL_MACHINE\SOFTWARE\Microsoft\Windows\CurrentVersion\Policies\System.