Microsoft has enhanced the ability to pin open windows in Windows 10 through a new feature called “Snap Assist”.
What is Snap Assist?
The Snap feature, introduced in Windows 7, allows users to pin applications or windows to the sides and corners of the screen. This makes it easier to work with multiple windows open at the same time on the desktop. With Snap Assist, screen space can be used more efficiently.
For example, you can split the monitor vertically between two application windows. You can also divide the screen into conventional “quarters” and pin an application in each corner. At the same time, the user has access to more information, which significantly increases the efficiency of work.
Universal apps in Windows 10 run in desktop windows. On touch devices, the pinning function is optimized for touch interfaces. In the desktop version, the same functionality is implemented via Snap to maintain uniformity in interfaces.
How to use “Snap Assist”
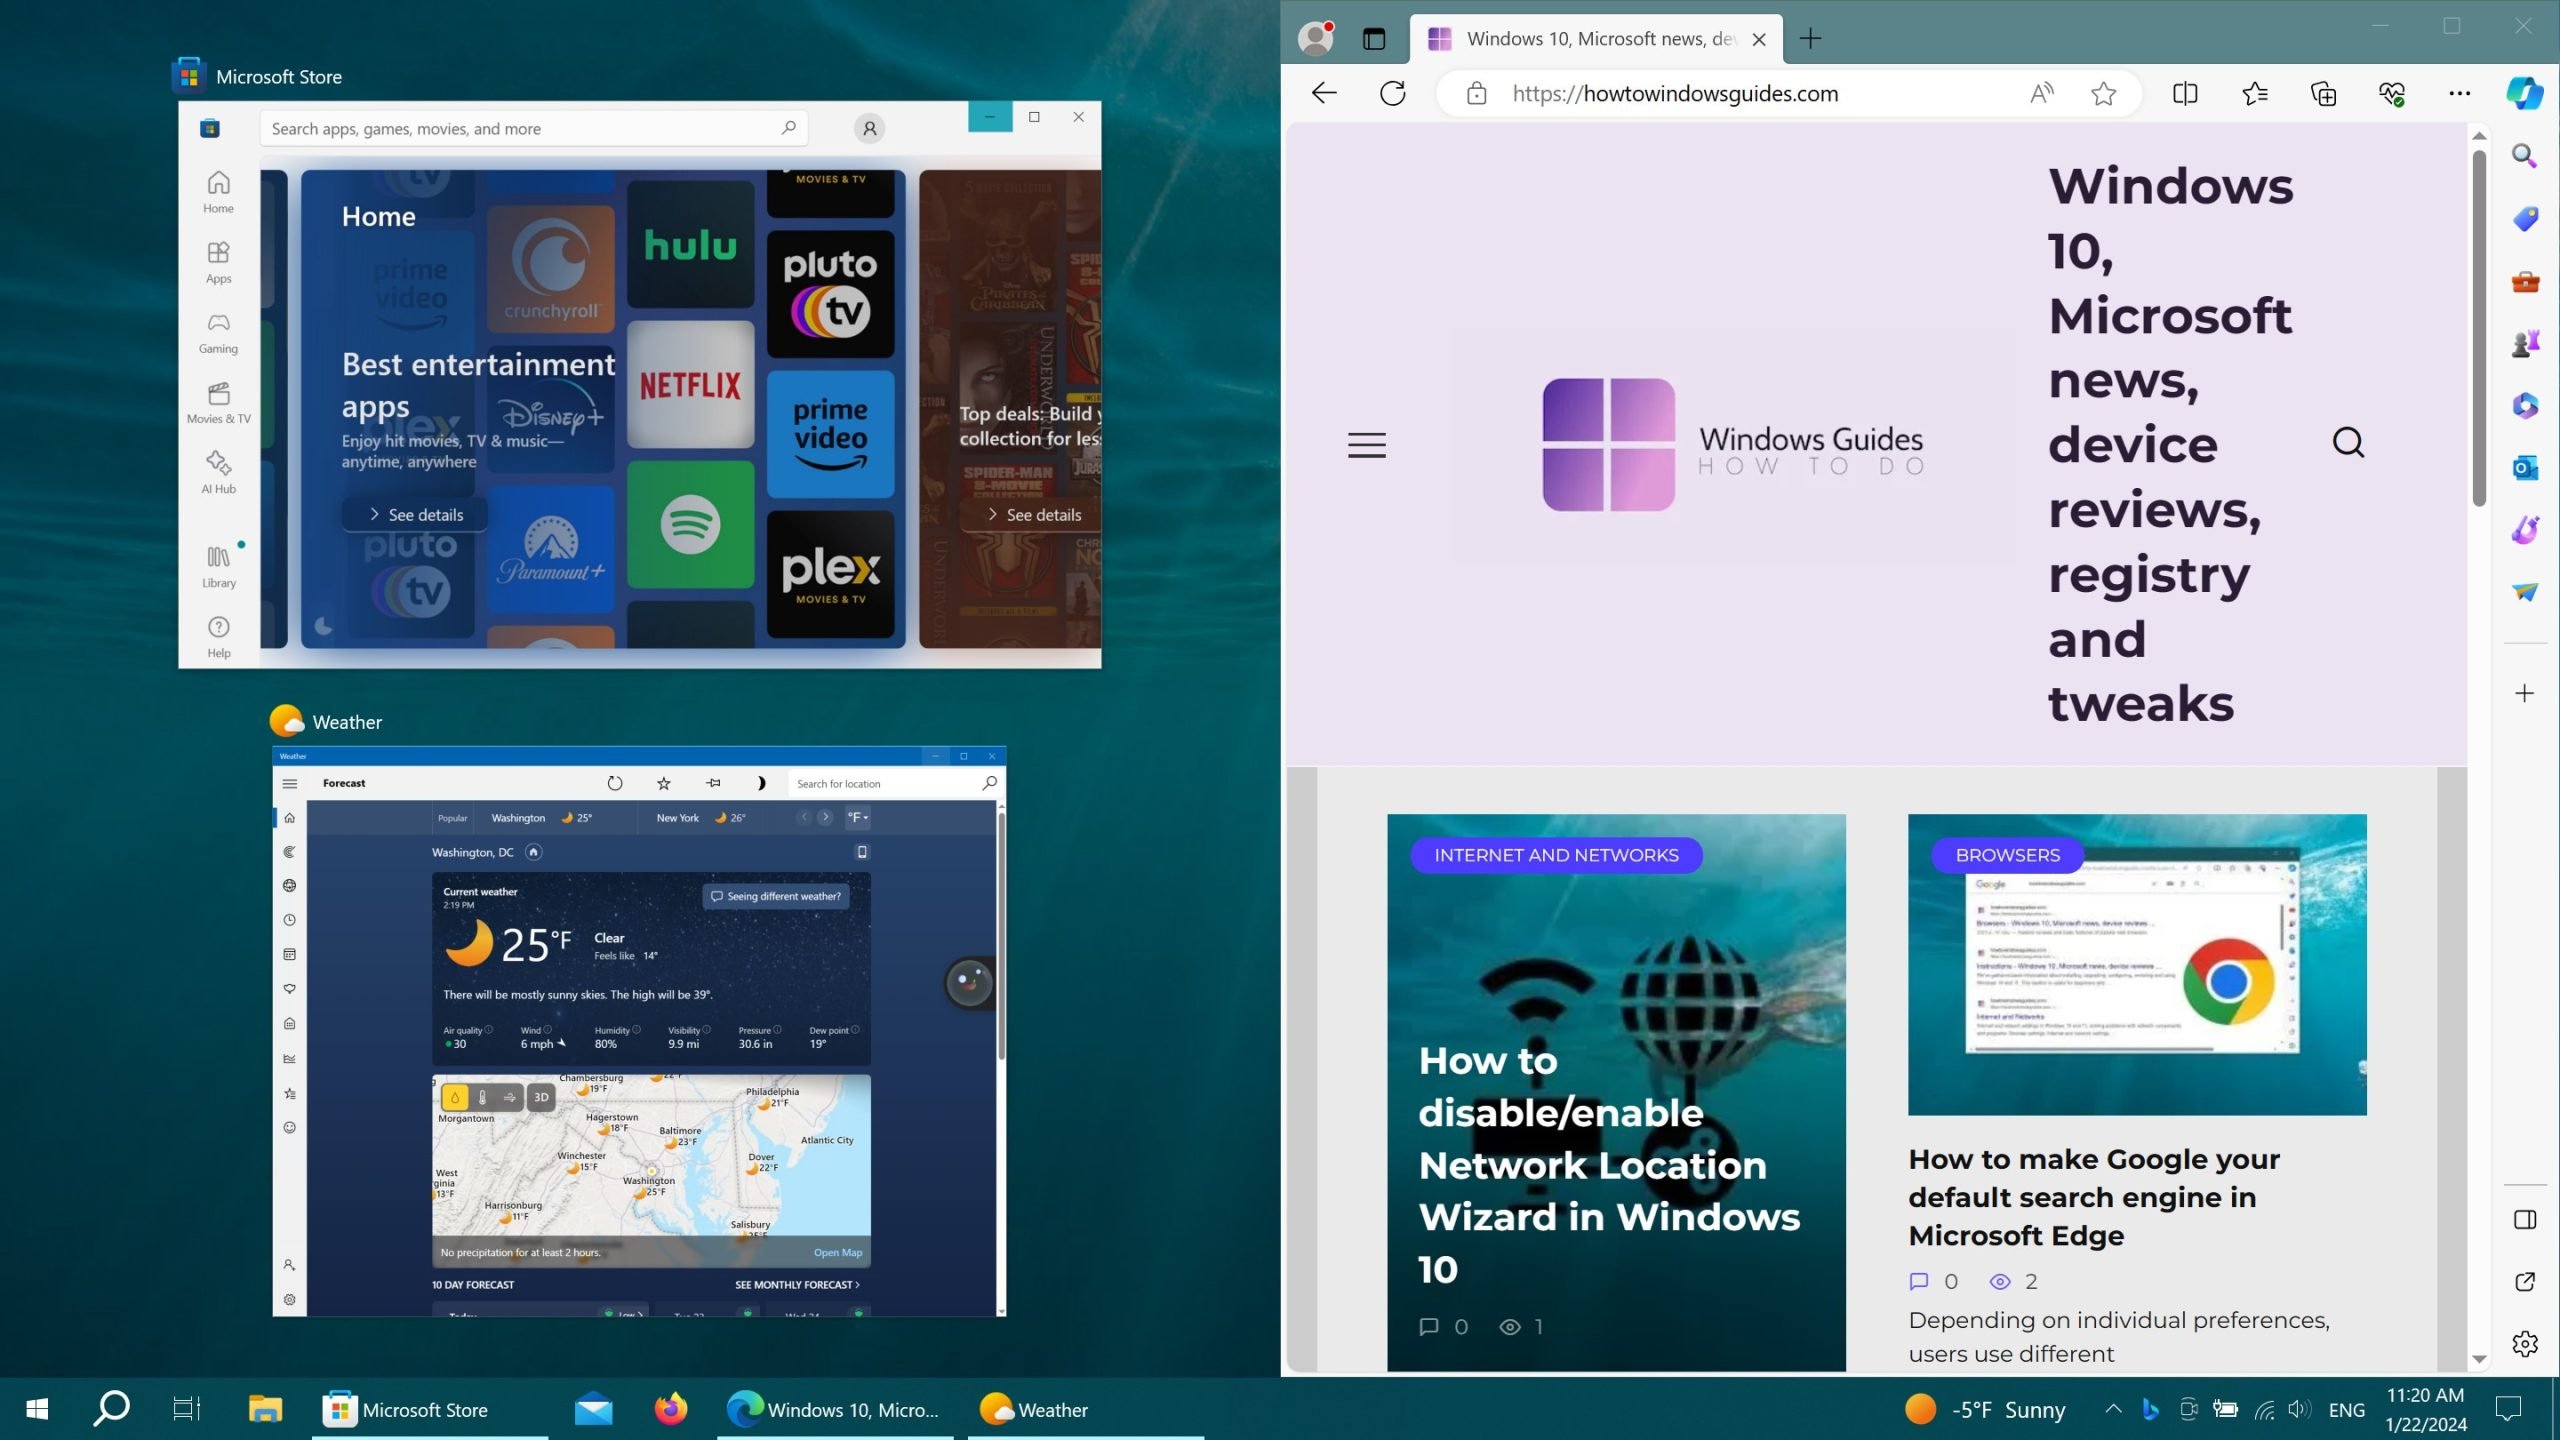
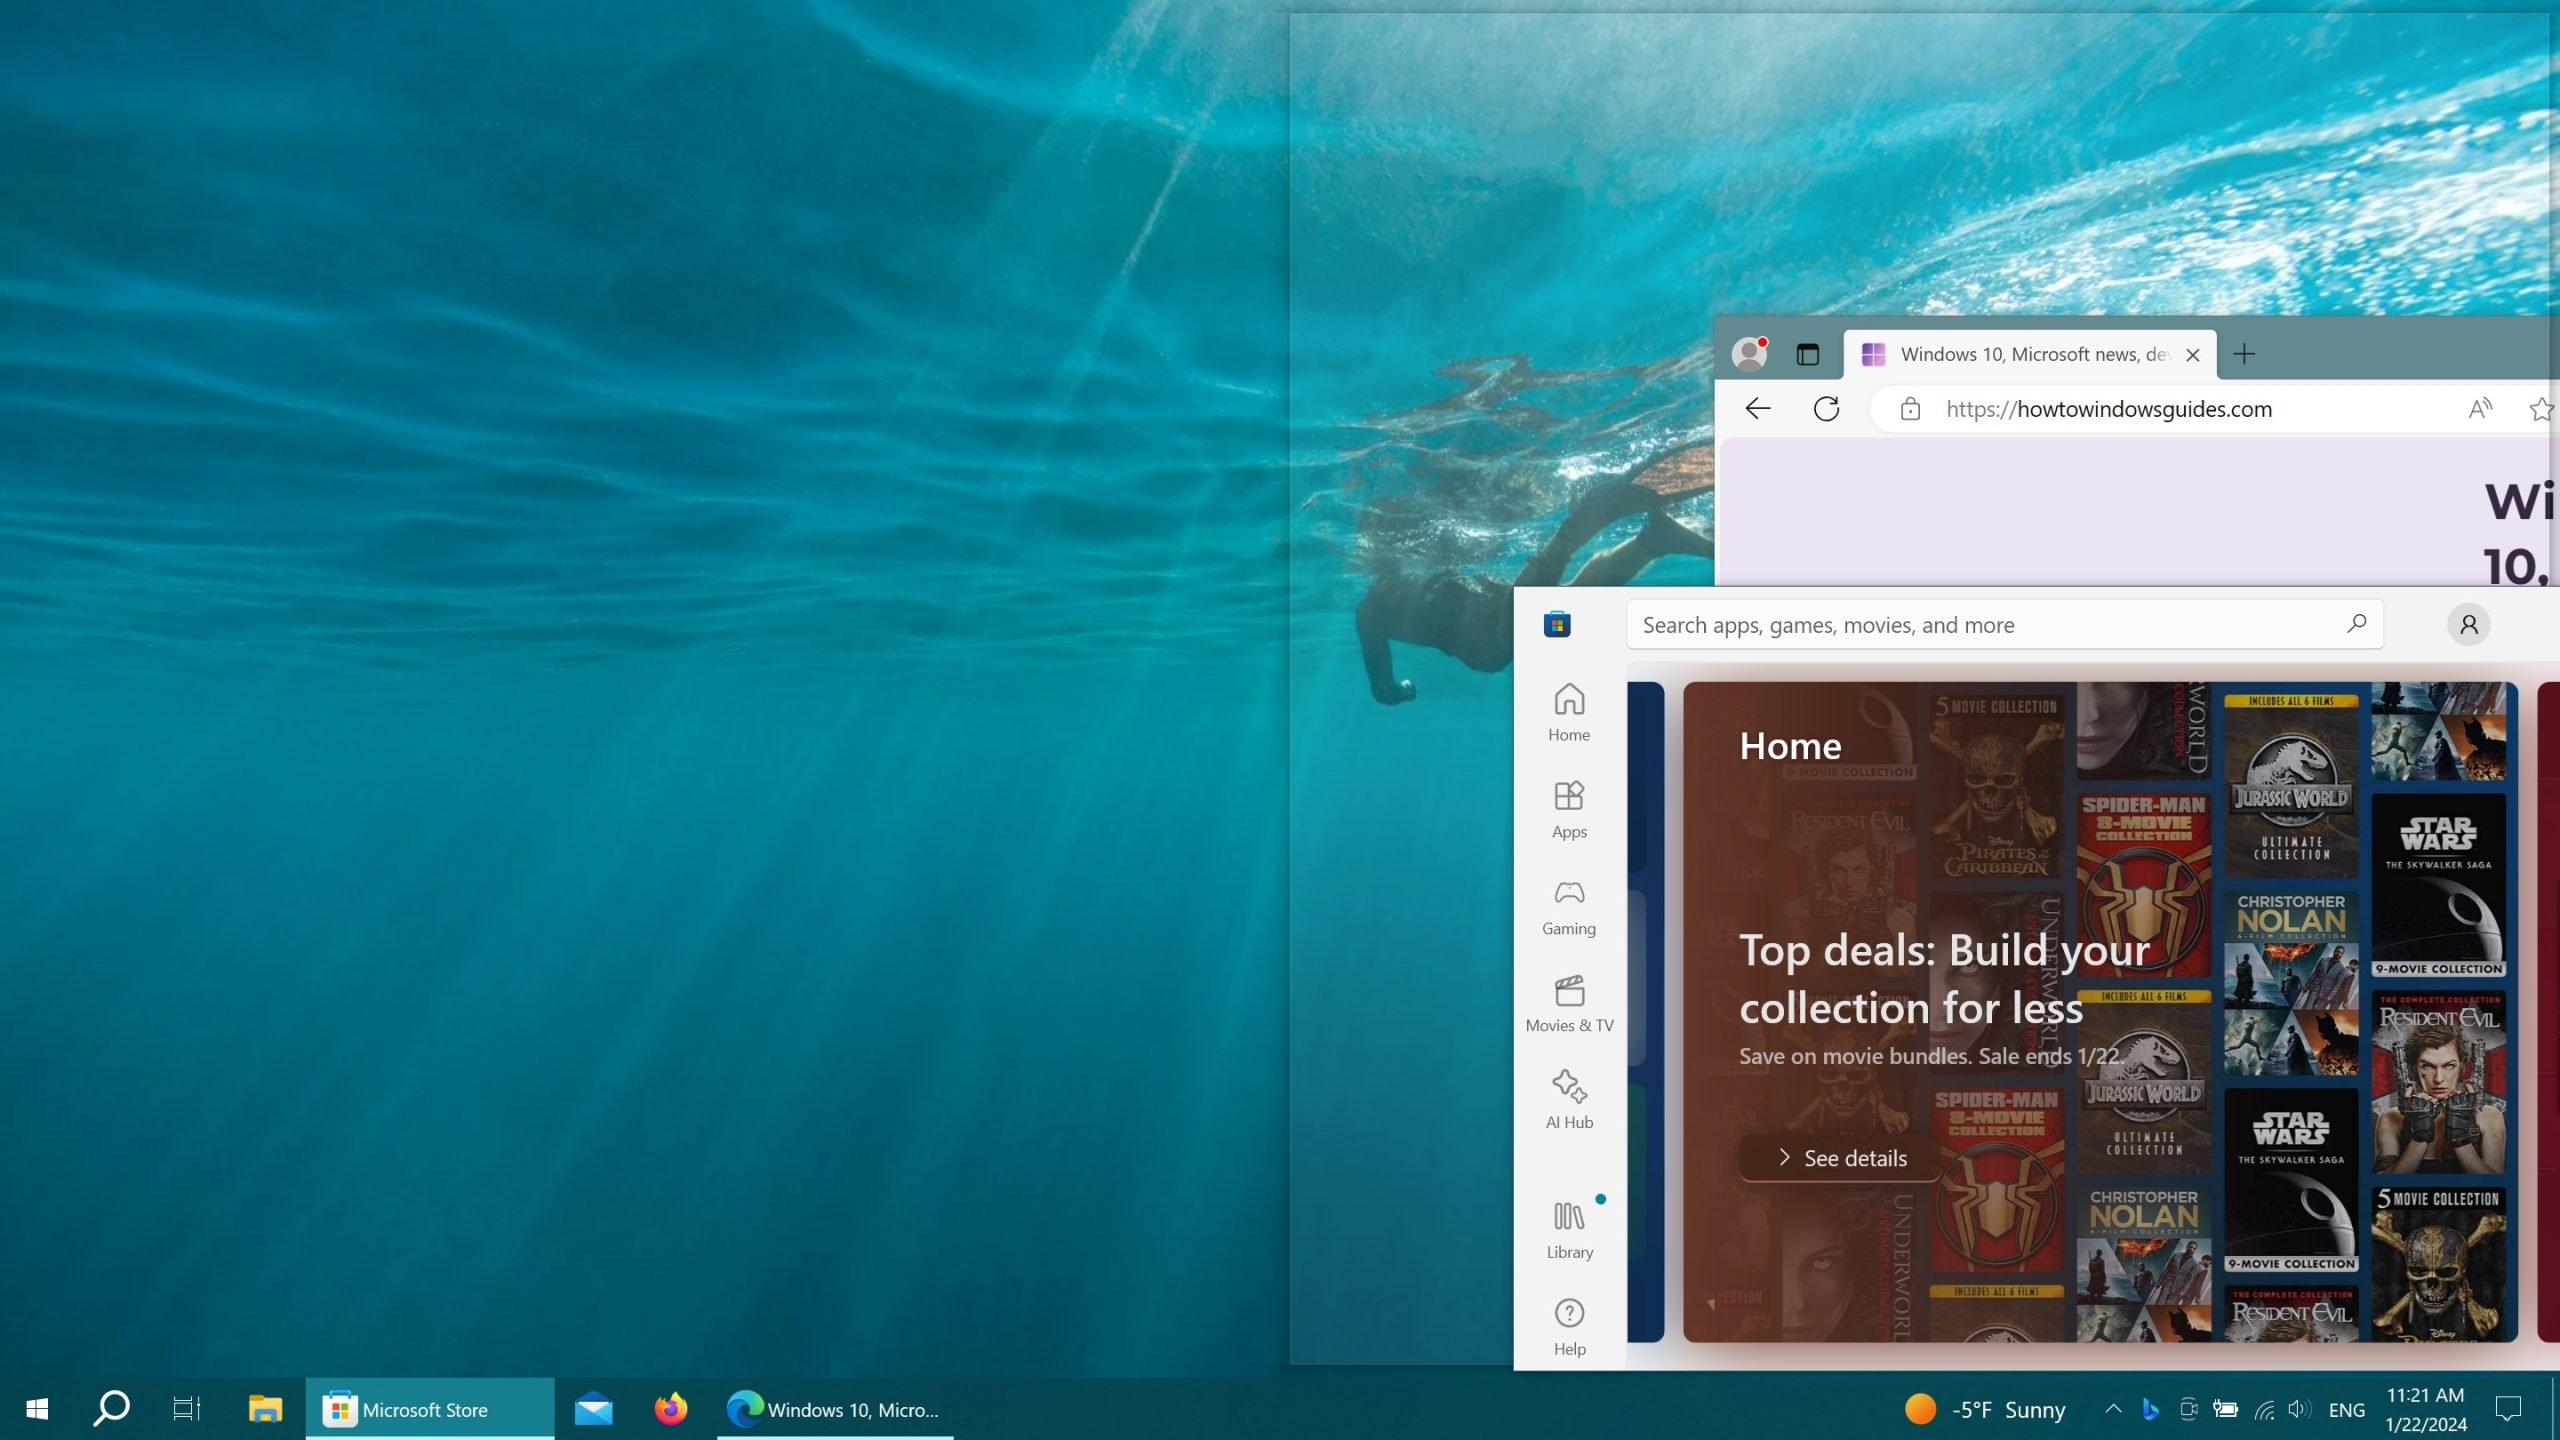
To attach a window, click the title bar with the left mouse button and hold the button down while dragging the window. The application window should be dragged to the right or left side of the monitor. When the window enters the fixation zone, a semi-transparent frame will appear, showing exactly where the application will be attached if the key is released. If the window position is satisfactory, release the mouse – the window will be attached in the specified area.
The guide frame appears some time after clicking and dragging the window. You don’t have to wait for it to appear. You can save a few seconds by quickly dragging the window to the left or right side of the monitor. The window will also be attached, resized to occupy exactly half of the screen area. This part of the functionality works identically to how it did in earlier versions of Windows.
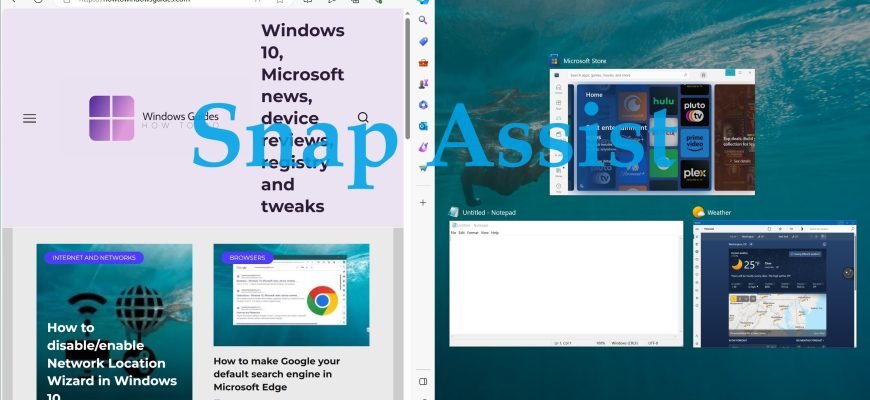
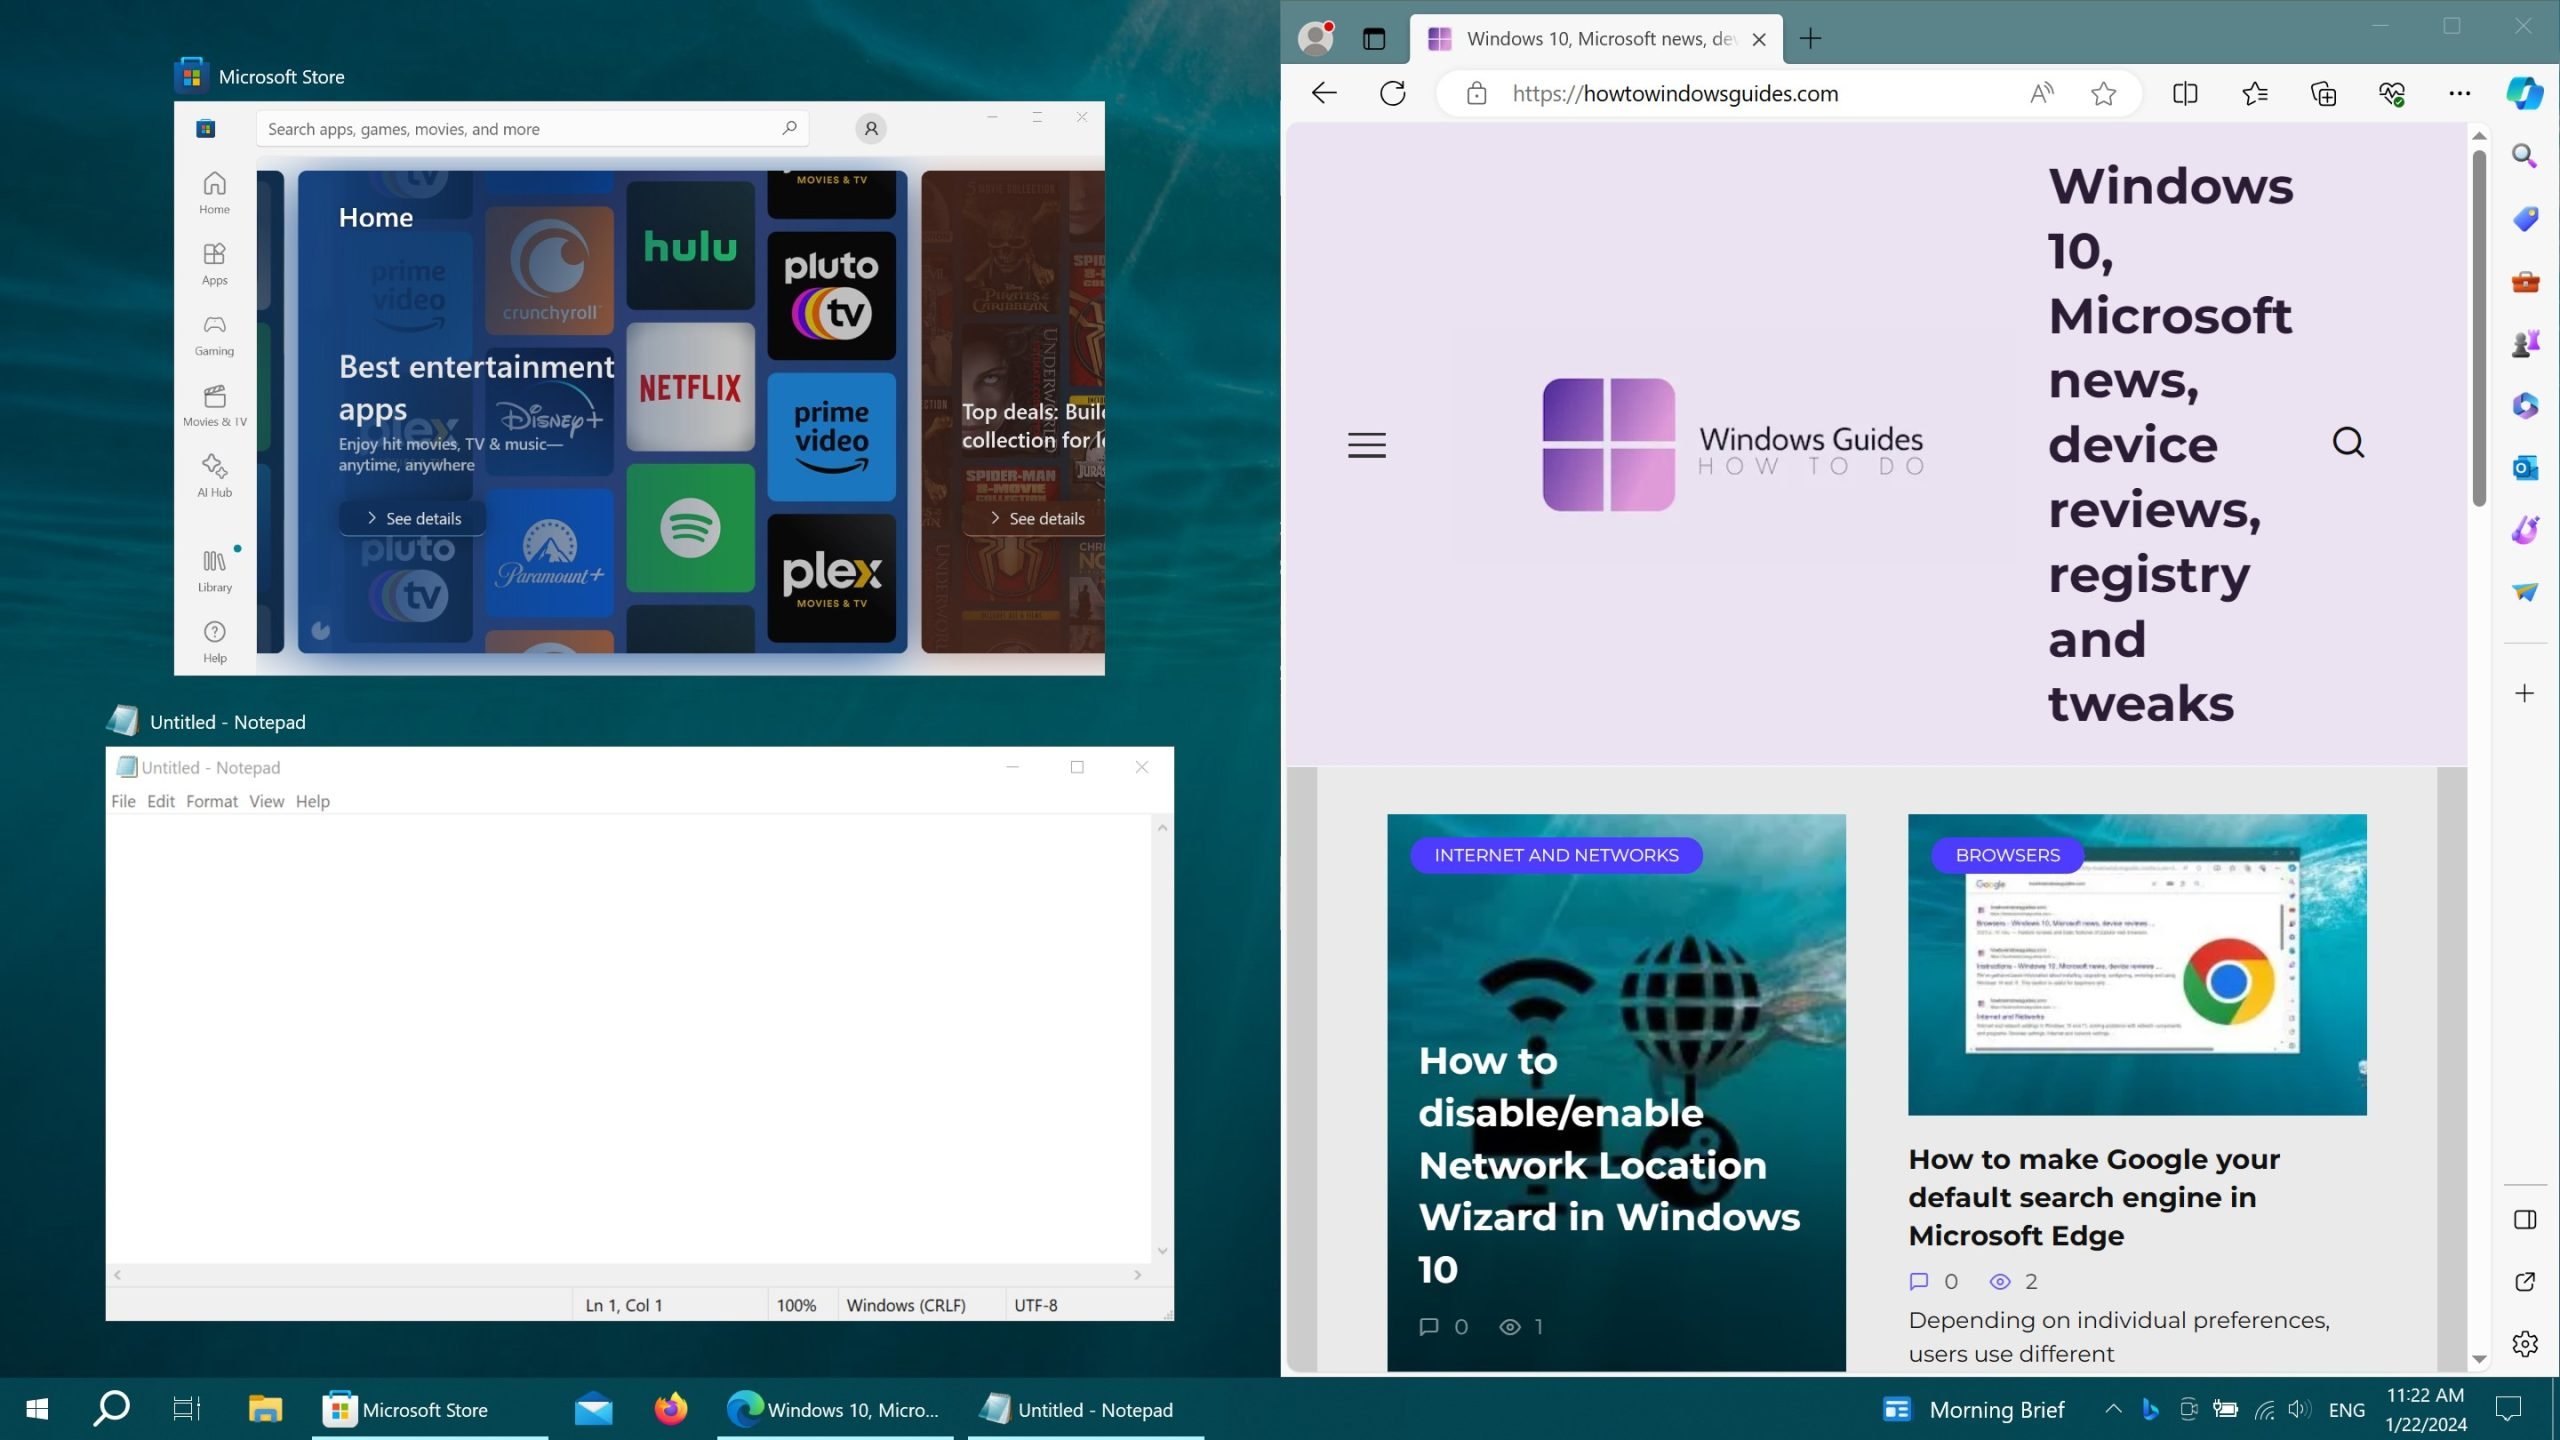
Snap Assist, a new feature of Windows 10, is launched when windows are dragged and dropped. The user is presented with a panel that shows all the currently open windows. You can click on any of them, and the selected application will automatically go to the second – still free – part of the screen.
This approach is much more rational and understandable than the implementation of previous versions of the operating system (each window had to be attached “manually”, repeating the manipulation of selecting an application and dragging it to the desired part of the screen). Due to the ability to “reselect” a program, several precious seconds of user time are saved.
You can also attach windows using hotkeys. To do this, use the combination (the key with the logo  ) and the arrow (right or left, depending on which part of the screen you want to send the application to). However, you can’t use Snap Assist functionality when attaching windows in this way – it is available only when windows are fixed by dragging.
Another difference for the better from Windows 8.1 is that “universal” apps can be pinned just like “classic” apps. In Windows 10, they run in “system” windows that obey common rules.
Fixing (attaching) windows vertically
You can attach windows not only on the right or left side of the screen, but also vertically split the screen. In this case, one of the applications will be placed in the upper half of the monitor, the other will be attached at the bottom. Attachment can be performed using hotkeys by pressing the key and the up or down arrow respectively.
Pressing the key and the arrow key again will perform another action. If you select the up arrow, the active window will occupy the whole screen, if you press the down arrow, the selected application will be minimized on the taskbar.
You cannot achieve the same result by dragging and dropping; you can only use hotkeys to attach vertically. If you try to drag the window to the top of the monitor, the application will expand to the full screen. If you drag the window to the bottom border, no changes will occur.
It is worth remembering that the window position and its “functionality” depends not only on the quality of the function implementation in Windows, but also on the application itself. Thus, some “universal” programs are not too adapted for such use. Attached vertically or “by quarters”, such applications may not work quite correctly.
Attaching windows in screen quarters
Changes to Snap make it even easier to work with large monitors. Now you can place up to 4 applications on one screen in a 2×2 arrangement, with a window on each corner of the monitor. Such solutions were already offered by various managers for “mosaic” placement of applications, but Microsoft has made this functionality standard and integrated into the operating system “out of the box”.
To attach an application in the corner of the screen, you just drag the window to the corner (not to the side, as with horizontal attachment). To fix each new window, you will have to drag and drop again, the “assistant” does not work here.
Once again, hotkeys can help. To pin a window, simply press the + horizontal arrow key and then the + vertical arrow key (for example, + left arrow and + up arrow will fix the window in the upper left quarter of the monitor).
It is not necessary to fill the entire monitor with applications. For example, you can fix one or two applications in the minimum size on the left side, and fill the right side with a single window, which will occupy the entire allotted space.
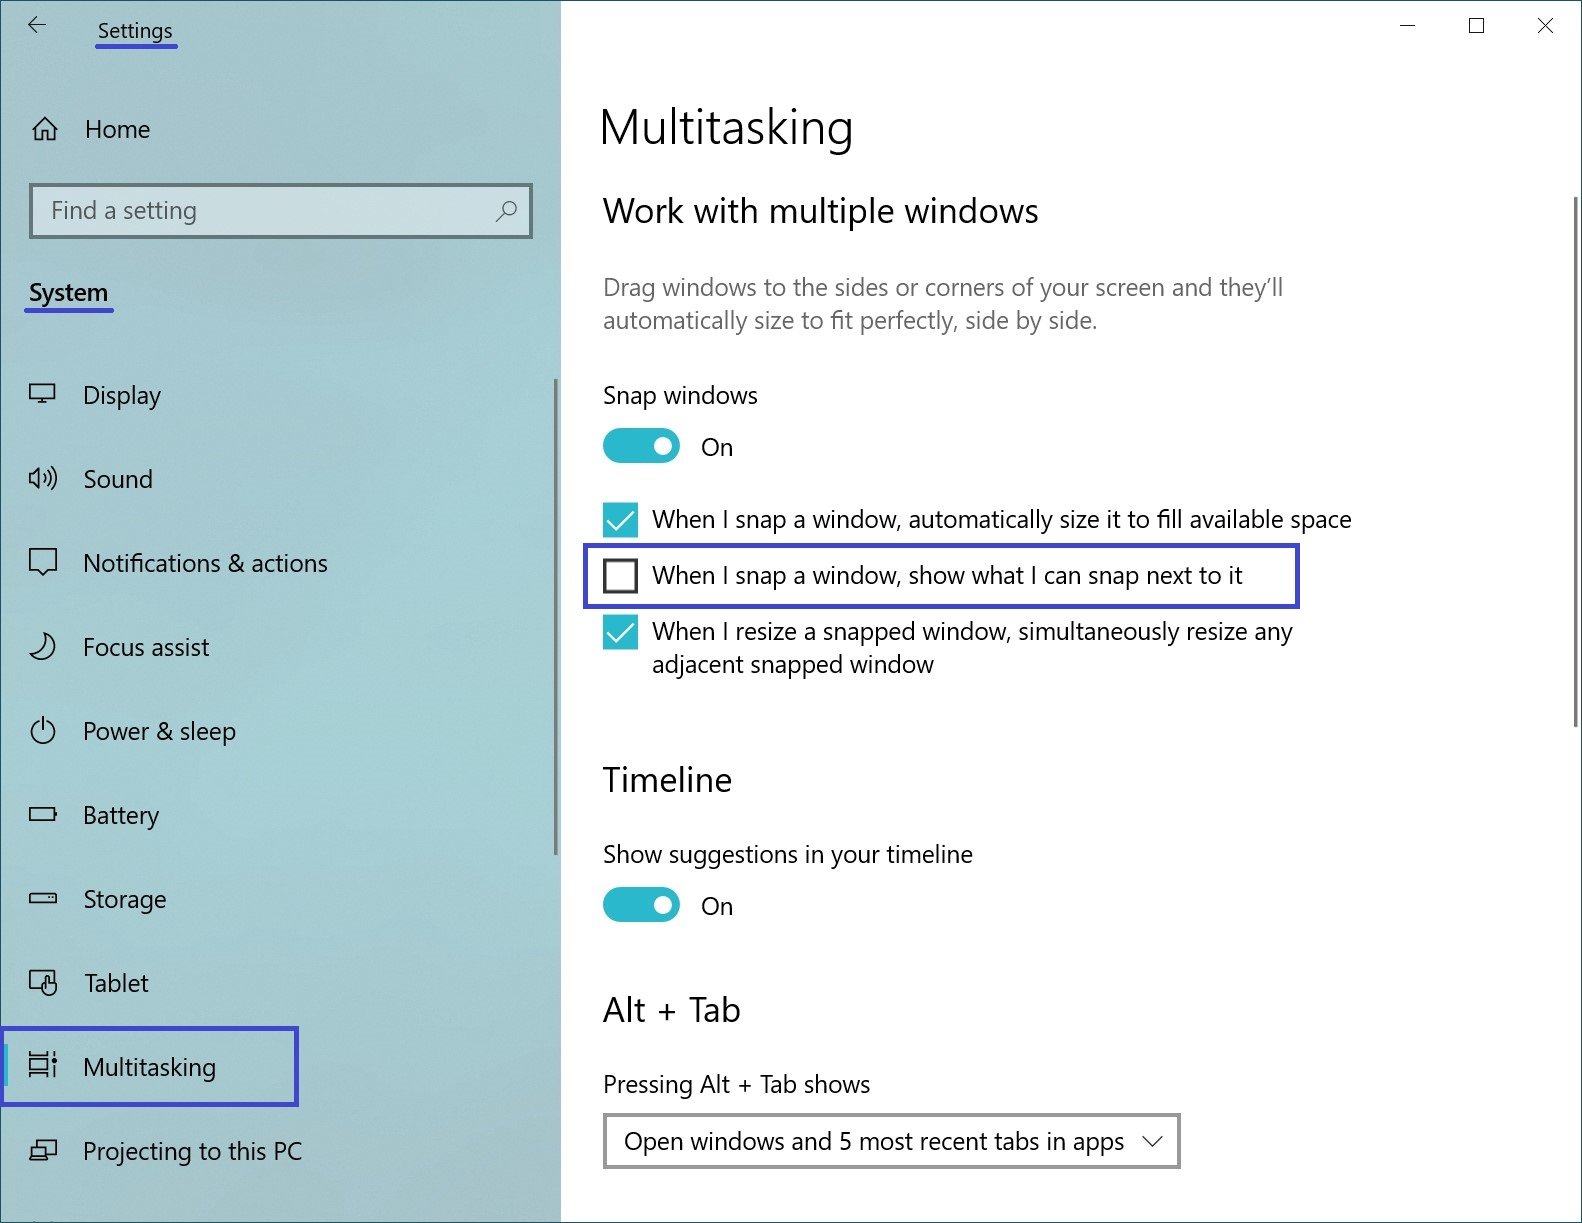
How to disable “Snap Assist”
You can also disable Snap Assist in Windows 10 settings, to do so, open it sequentially:
Start ➯ Settings ➯ System ➯ Multitasking
On the right side of the window, disable the option When I snap a window, show what I can snap next to it. This will disable Snap Assist, and the changes will take effect immediately.
When you disable Snap Assist, try pinning some application or window on one of the sides or corners of your desktop. You will find that the application attaches normally, but the rest of the desktop space remains as it was, without displaying the applications recommended by Shap Assist.


