- How to take a screenshot using the Win+Print Screen key combination
- How to take a screenshot using the Print Screen key
- How to take a screenshot using the Win+Shift+S key combination
- How to take a screenshot in Windows 10 using Windows Ink Workspace
- How to take a screenshot in Windows 10 using the “Snipping Tool” program
- How to take a screenshot in Windows 10 using the game menu (game panel) Win+G
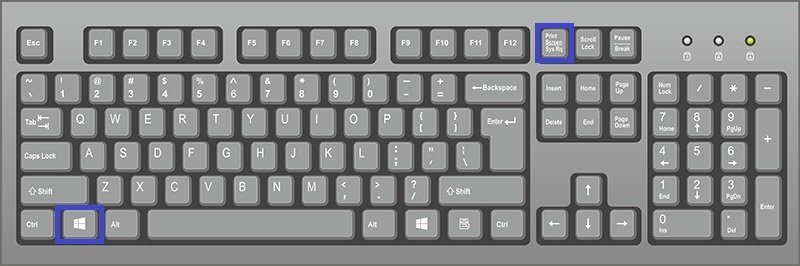
How to take a screenshot using the Win+Print Screen key combination
The most common way to take a screenshot is to press Win+Print Screen on your keyboard.
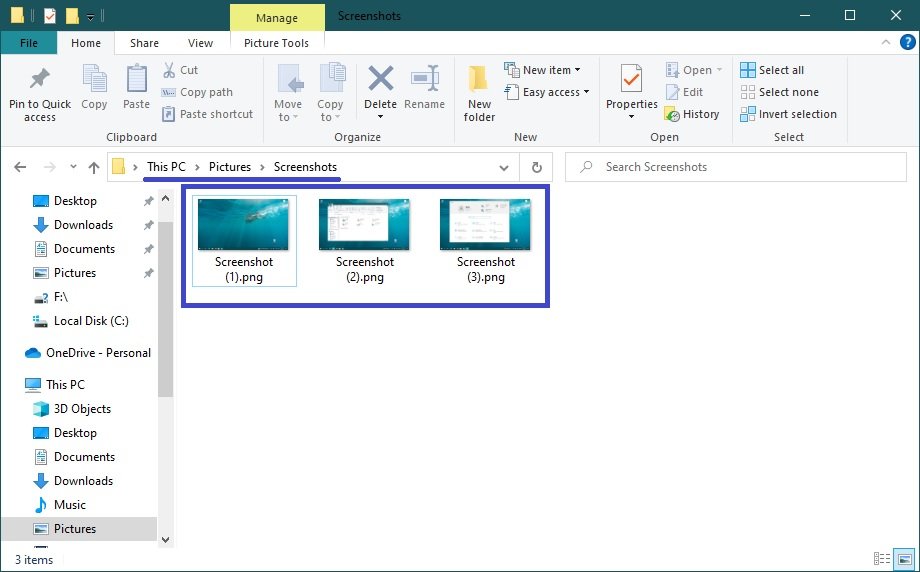
When you press Win+Print Screen, the screen darkens for a second and the screenshot is saved immediately in *.png format to the user’s profile in the following folder:
This PC ➯ Pictures ➯ Screenshots
Depending on the keyboard manufacturer or device manufacturer (laptop, netbook), the Print Screen key may have different abbreviations, for example: PrtSc, PrtScr, PrtScn, PrintSc.
How to take a screenshot using the Print Screen key
Also, to take a screenshot, you can simply press the Print Screen key and the screenshot will be copied to the clipboard.
To save a screenshot to a file, you can use any graphics editor, such as “Paint”, to create a new image and paste the contents of the clipboard into it.
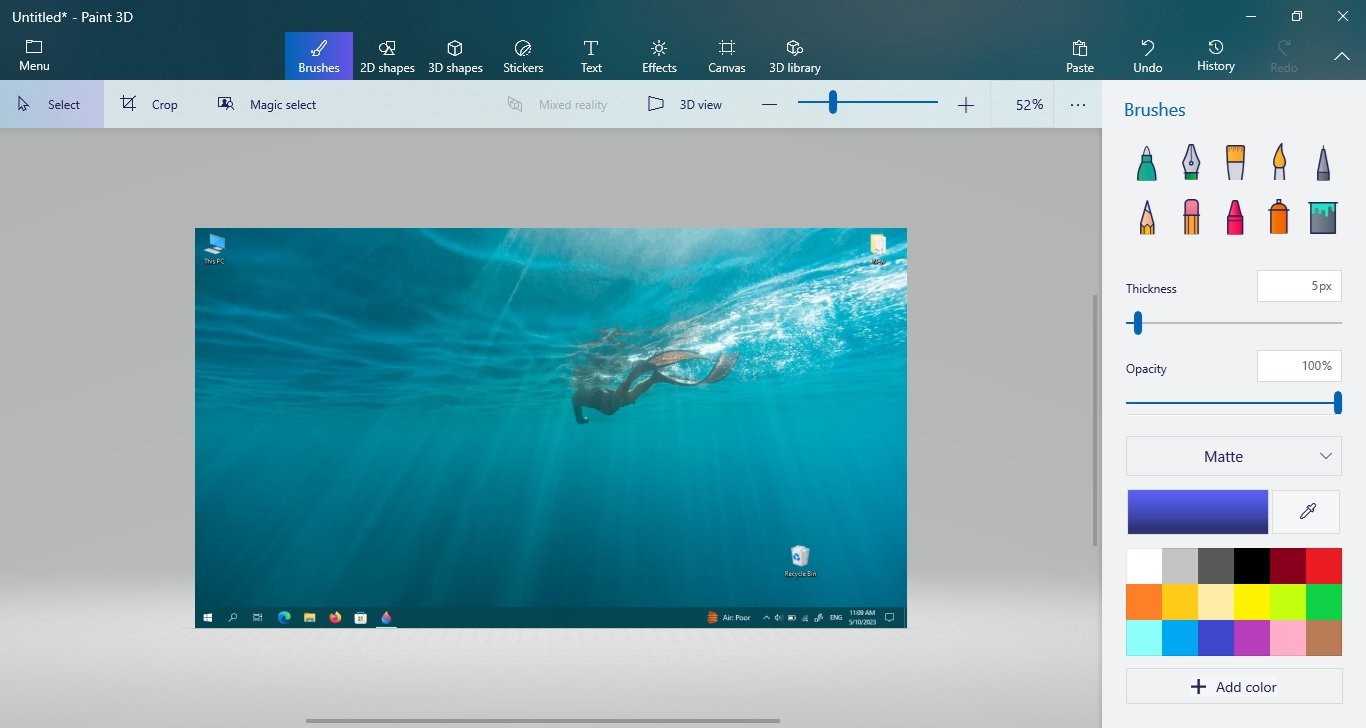
Also in Windows 10 you can create a screenshot only of the active window and not the entire screen, you can do this by pressing Alt + Print Screen, the image will be copied to the clipboard.
To save it to a file, as in the example above, you can use any graphics editor, for example “Paint”, creating a new image and paste into it the contents of the clipboard.
How to take a screenshot using the Win+Shift+S key combination
Also in Windows 10, starting with version 1703, another additional way to take a screenshot is to use the Win+Shift+S shortcut
Press Win+Shift+S, the screen will turn gray, the mouse pointer will change to a “cross” and you can select any rectangular area of the screen you want to take a screenshot of by holding down the left mouse button.
After you release the mouse button, the selected screen area is placed on the clipboard and can be pasted into a graphical editor or a document.
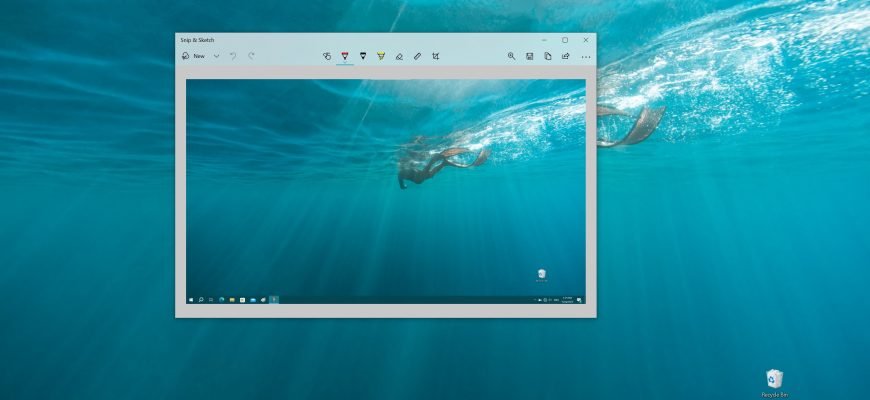
How to take a screenshot in Windows 10 using Windows Ink Workspace
To create screenshots, you can use Windows Ink Workspace.
Windows Ink Workspace is a workspace where all handwriting-related features and applications are gathered together to make them easier to find.
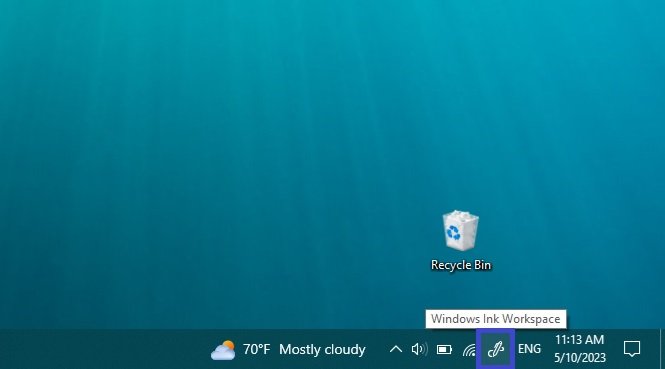
To open Windows Ink Workspace, click its button in the system tray of the taskbar.
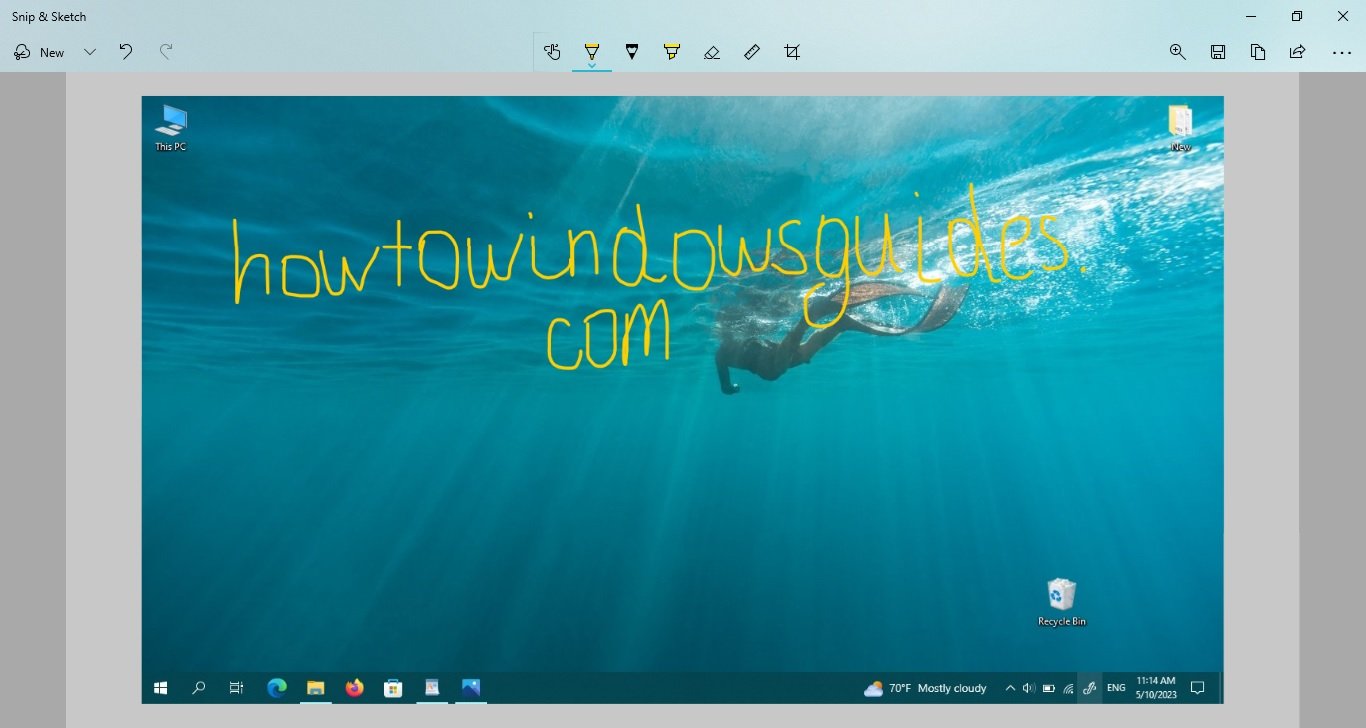
Next, in the WINDOWS INK WORKSPACE panel that opens, left-click on the Fullscreen snip thumbnail.

This will open a window with your screenshot, in which you can draw something on the picture and save it.
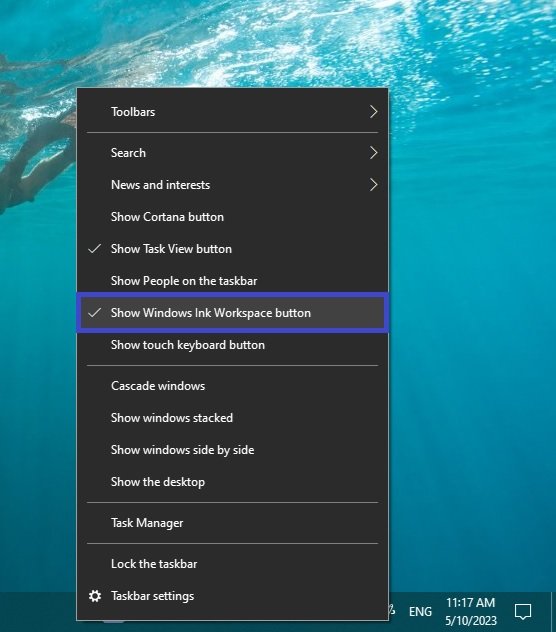
If there is no Windows Ink Workspace button on the taskbar, you can enable it by right-clicking on the taskbar and checking the Show Windows Ink Workspace button box on the context menu that opens
How to take a screenshot in Windows 10 using the “Snipping Tool” program
You can also take a screenshot (snapshot) in Windows 10 using the standard “Snipping Tool” program, which allows you to create screenshots of the screen (or areas of the screen), including delayed ones, edit them and save them in the desired format.
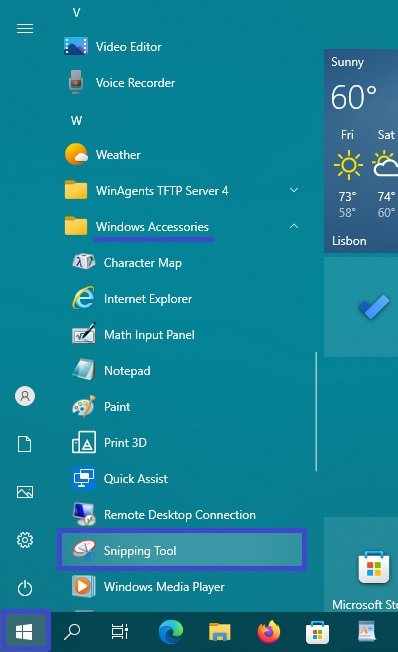
You can run the “Snipping Tool” application from the Start menu, the application is located in the Windows Accessories folder or use the Search in Windows.
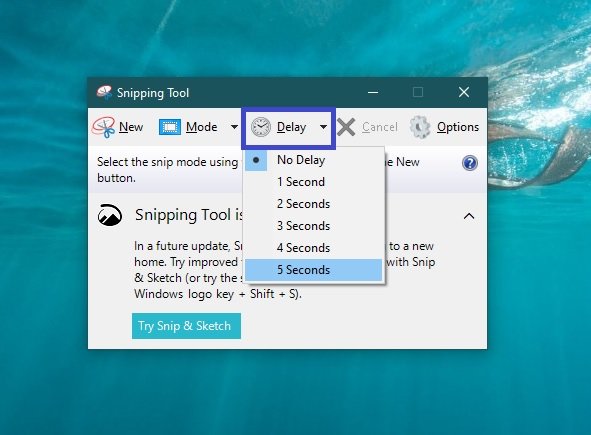
After starting the application, you can select the scissor mode by clicking on the Mode button, and a drop-down list will open where you can select the screenshot you want to take: Free-form, Rectangle, Window, Full-screen

Press the Delay button to set the screen shot to be delayed for a few seconds.
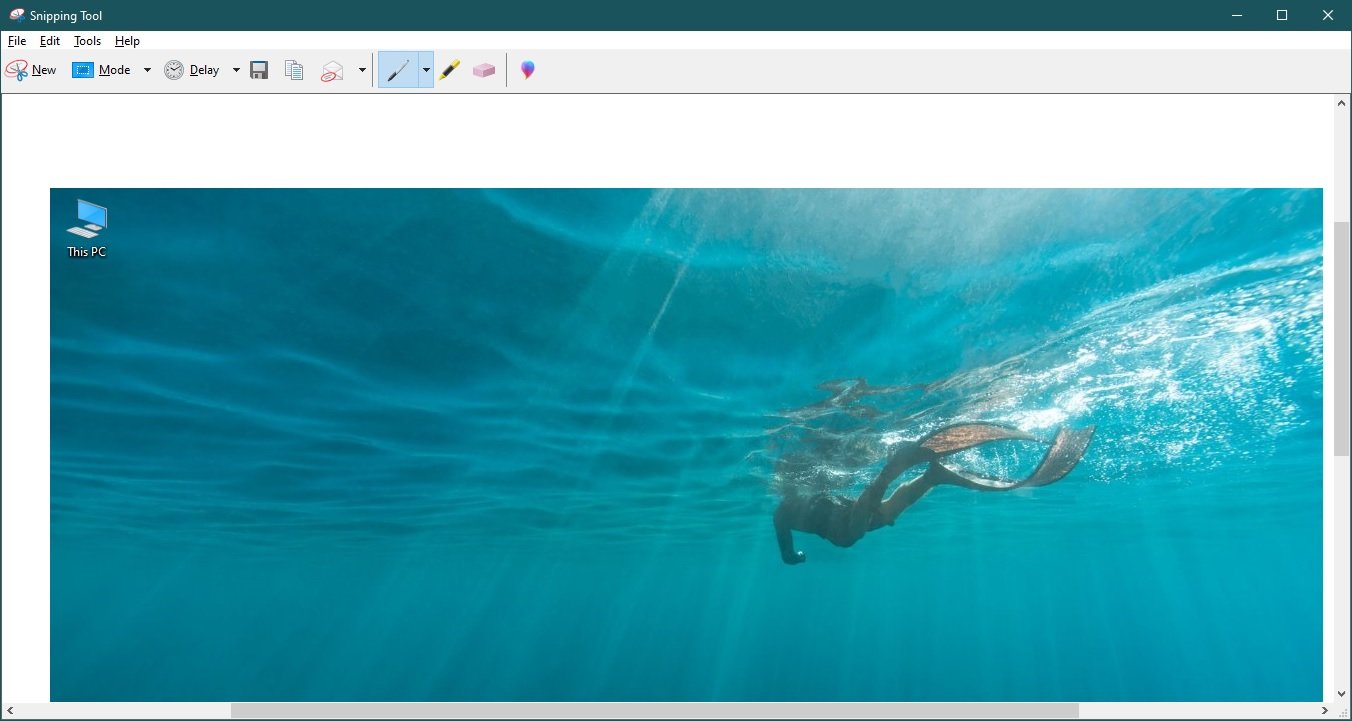
After creating a snapshot, the “Scissors” application window opens with your screenshot, on which you can add various annotations with the pen and marker, erase any information and save (in the File – Save As… menu) as an image file of the desired format (*.PNG, *.GIF, *.JPG).
How to take a screenshot in Windows 10 using the game menu (game panel) Win+G
You can take a screenshot (snapshot) of the screen with the game panel (Game Menu), which you can call by pressing Win+G.
Press the Win+G key combination, and if the notice Open game menu? is displayed, confirm that it is a game.
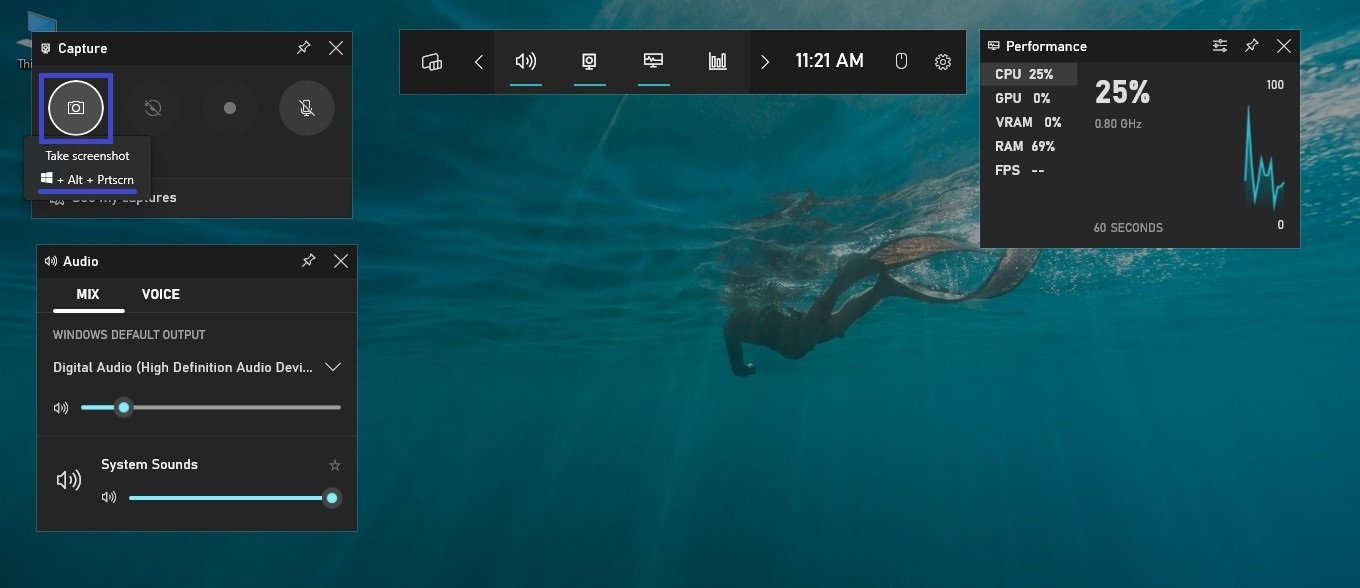
In the game panel that opens, you can take a screenshot with the corresponding button on it or with the key combination Win+ALT+PRTSCN.
If the game panel (Game Menu) does not open, it is possible that your video card does not support this mode or the drivers for it are not installed.
Using the methods described above, you can take a screenshot in Windows 10.


