The Windows operating system has a security setting called “Interactive Logon: Machine inactivity limit” whereby Windows determines when a login session is idle and if that idle time exceeds the specified limit, a lock screen is triggered that locks the session and thereby protects the computer from unauthorised use.
This security option applies to all users (accounts) on the computer and is disabled by default.
To enable automatic locking of a computer after a set period of inactivity, you must be logged in as an administrator.
How to enable automatic locking of a computer using local security policy (secpol.msc)
The “Local Security Policy” snap-in is available in Windows 10 Pro, Enterprise, and Education editions.
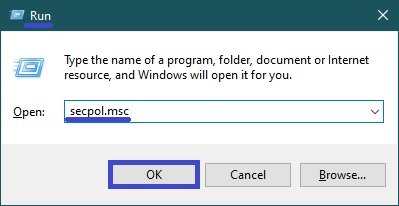
To enable the automatic locking of a computer after a specified period of inactivity, open the Local Security Policy snap-in by pressing Win + R, in the Run window that opens type (copy and paste) secpol.msc and click OK.
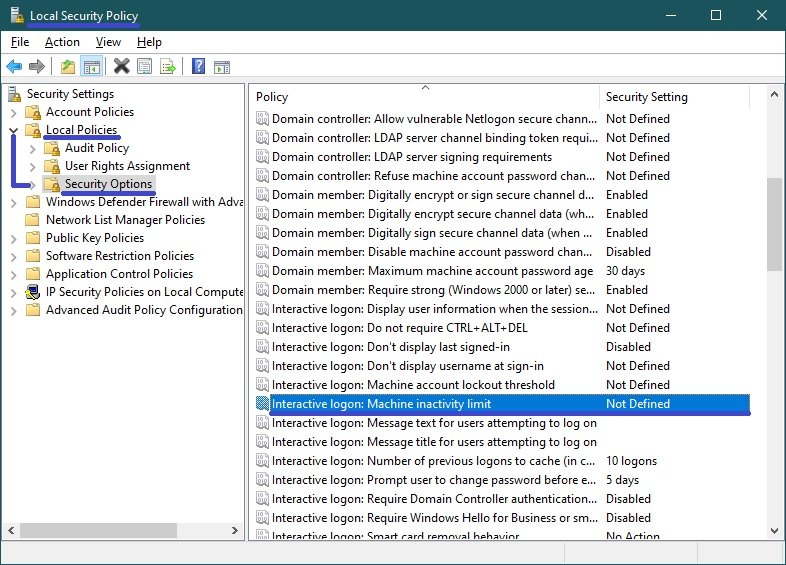
In the Local Security Policy window, expand the following items in the list:
Local Policies → Security Options
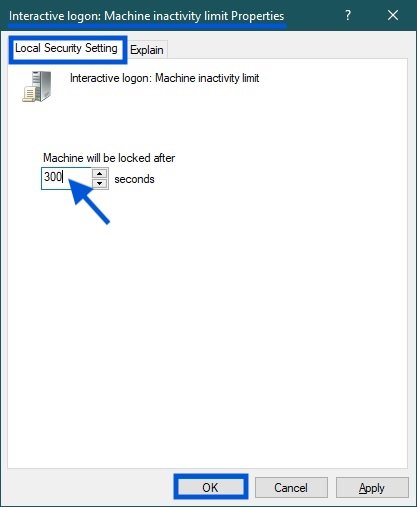
Next, on the right-hand side of the window, double-click on the policy named Interactive Logon: Machine inactivity limit.
In the window “Interactive Logon: Machine inactivity limit Properties”, in the input field Machine will be locked after expiry, enter the required number of seconds and click OK.
You can enter a value in seconds from 0 to 599940. If you set the value to 0, the automatic computer lockout will be disabled.
For the changes to take effect, restart your computer.
How to lock computer automatically in the registry editor
This method is suitable for all editions of the Windows operating system, and allows you to automatically lock the computer after a set period of inactivity, by making changes to the Windows registry.
Before making any changes to the registry, it is strongly recommended that you create a system restore point.
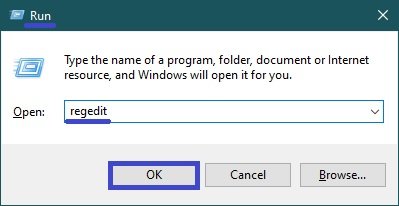
To enable the automatic locking of the computer after a set period of inactivity, open the registry editor by pressing Win + R, enter (copy and paste) regedit in the Run window that opens and click OK.
In the Registry Editor window that opens, navigate to the following path:
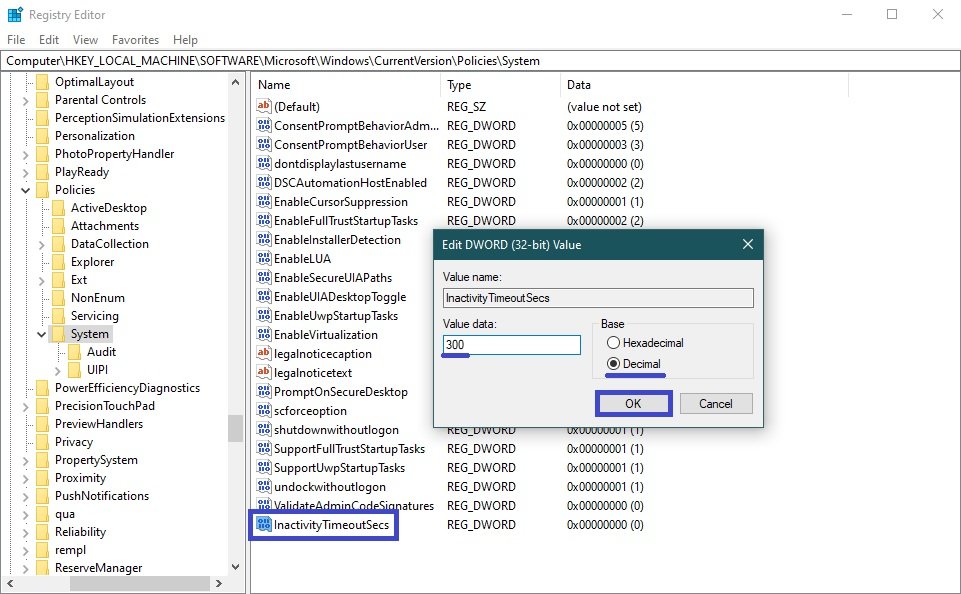
HKEY_LOCAL_MACHINE\\SOFTWARE\\Microsoft\\Windows\\CurrentVersion\\Policies\\System
Then right-click on the System section and from the context menu, select New → DWORD (32 bit) Value, give the created parameter the name InactivityTimeoutSecs.

Now double-click on the created parameter InactivityTimeoutSecs, in the opened window select decimal calculation system and in the field “Value data:” enter the required number of seconds after which the computer will be blocked and click OK.
You can enter a value in seconds from 0 to 599940. If you set the value to 0, the automatic computer lockout will be disabled.
For the changes to take effect, restart your computer.
Using the steps above, you can enable the automatic locking of your computer after a set period of inactivity in Windows 10.