Network discovery is a network setting that determines whether your computer can find other computers and devices on the network and whether other computers on the network can detect your computer.
By default, the first time you connect to a new network (wired or wireless), the Network Location Wizard prompts you to allow other computers and devices on that network to discover your PC.
Depending on the selected network location, Windows will automatically assign the network a network discovery state and open the appropriate Windows Firewall ports for that state.
If necessary, you can enable or disable network discovery without changing the network location. For example, for the “Private Network” network profile, by default your computer is discoverable and visible to other computers on the network, but you can make your computer invisible to other devices by disabling network discovery.
Network discovery requires that the services listed below are enabled, configured for automatic mode, and running:
- DNS-Client (DNS-Client – Dnscache)
- Discovery Provider Host (Function Discovery Provider Host – fdPHost)
- Function Discovery Resource Publication (FDResPub)
- SSDP Discovery (SSDP Discovery – SSDPSRV)
Control via shared settings
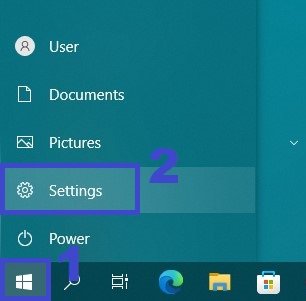
To enable or disable network discovery, click the Start button on the taskbar and then select Settings or press Win + I on your keyboard.
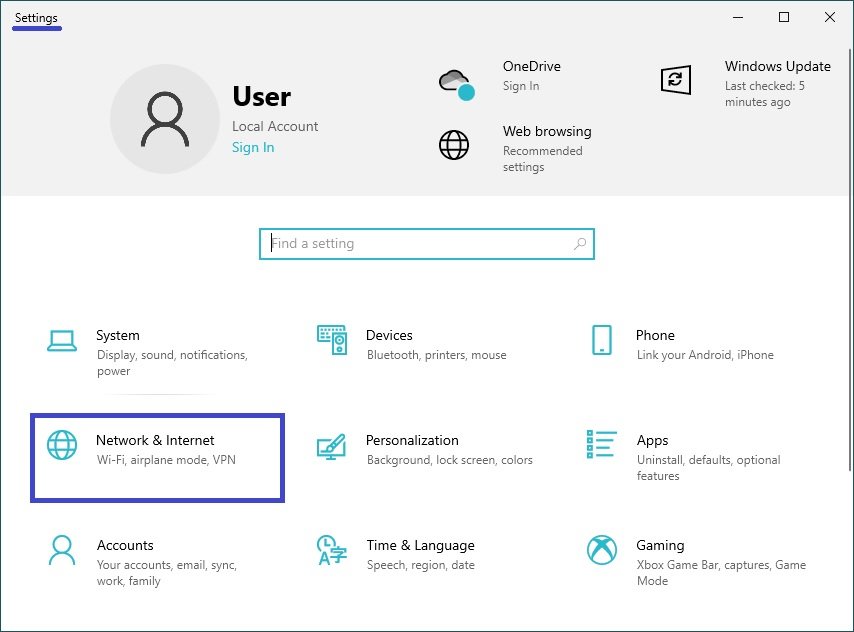
In the “Windows Settings” window that opens, select Network and Internet.
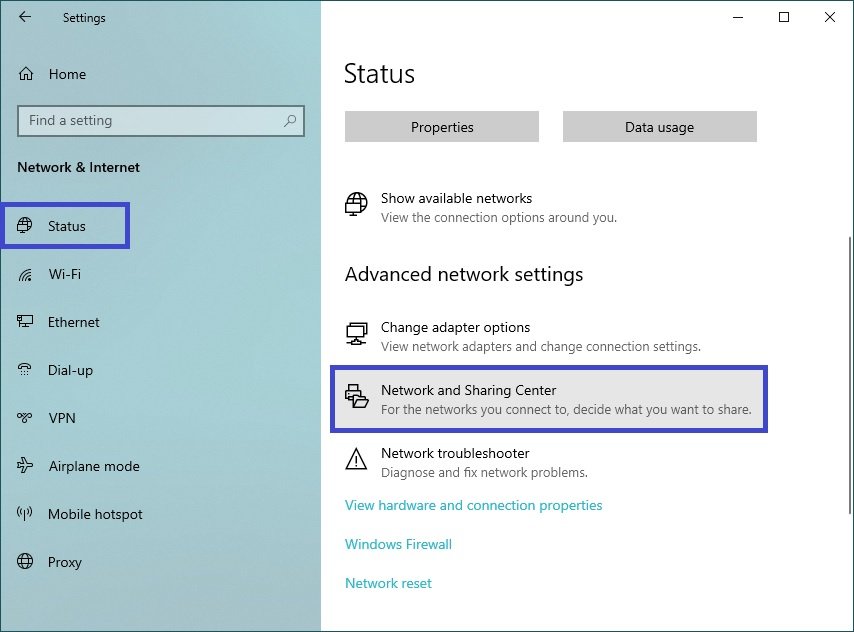
Then on the Status tab, on the right side of the window in the Advanced network settings section, select Network and Sharing Center.
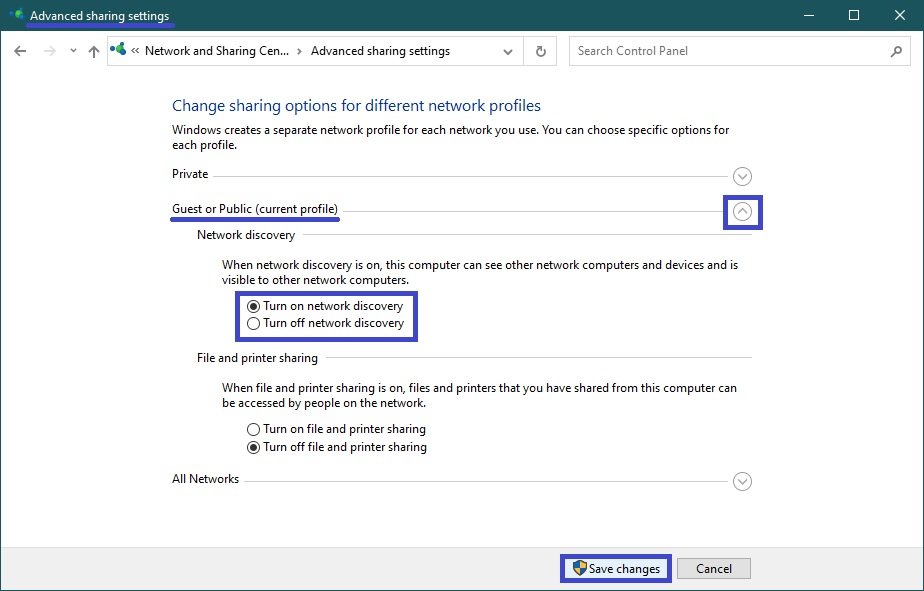
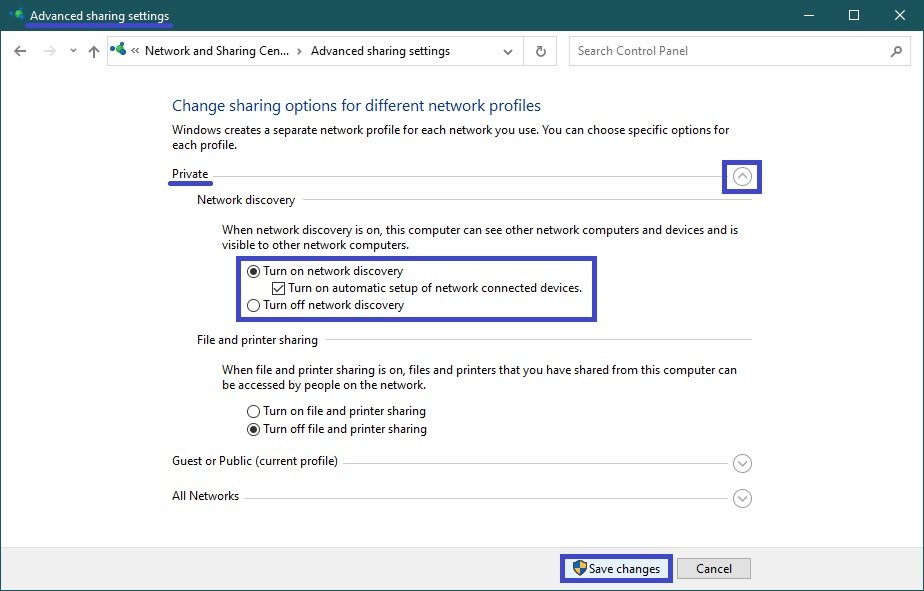
In the “Advanced sharing settings” window that opens, expand the desired network profile (the current profile will open by default) for which you want to enable or disable network discovery, set the switch to the appropriate position and click Save changes.
In the private network profile, you can also enable or disable automatic configuration of devices connected to the network if network discovery is enabled.
Command Prompt and Windows PowerShell Control
This method allows you to enable or disable network discovery for all network profiles.
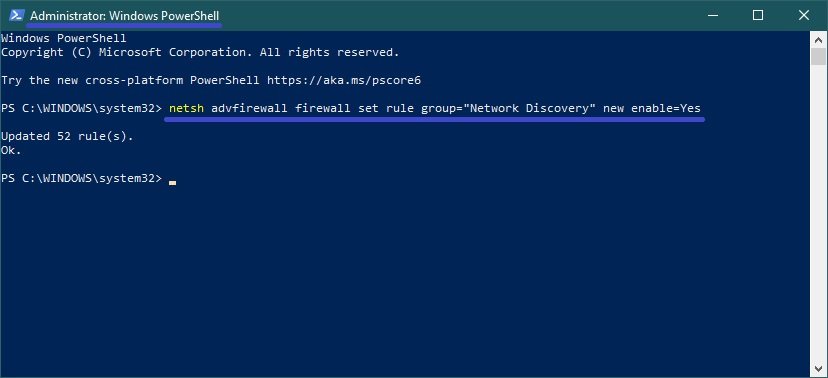
To enable network discovery for all network profiles, open a command prompt or Windows PowerShell console as an administrator and run the following command:
netsh advfirewall firewall set rule group=”Network Discovery” new enable=Yes
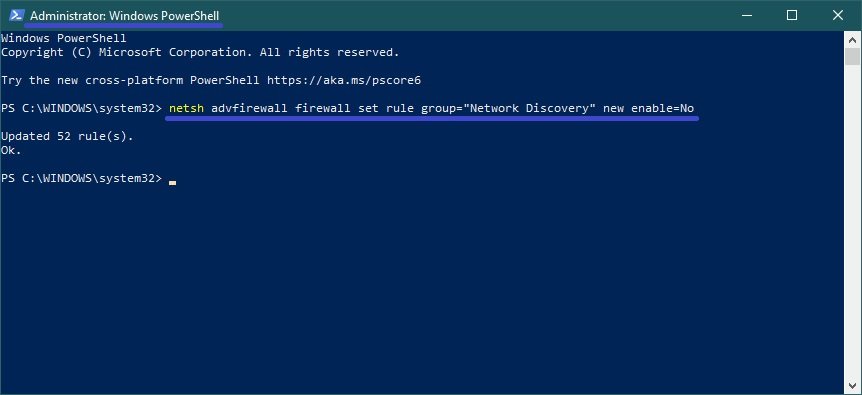
To disable network discovery for all network profiles, open a command prompt or Windows PowerShell console as an administrator and run the following command:
netsh advfirewall firewall set rule group=”Network Discovery” new enable=No