The AirPods wireless headphones are designed for use with other Apple products, but that doesn’t mean you can’t use them on your Windows PC or laptop.
Connecting AirPods to a Windows computer is not intuitive and can be difficult because you need to use the charging case sold with the headphones.
How to pair AirPods with Windows for the first time
To connect AirPods to your Windows 10 laptop or computer, follow these simple steps:
- Insert the headphones into the charging case, making sure they are at least partially charged.
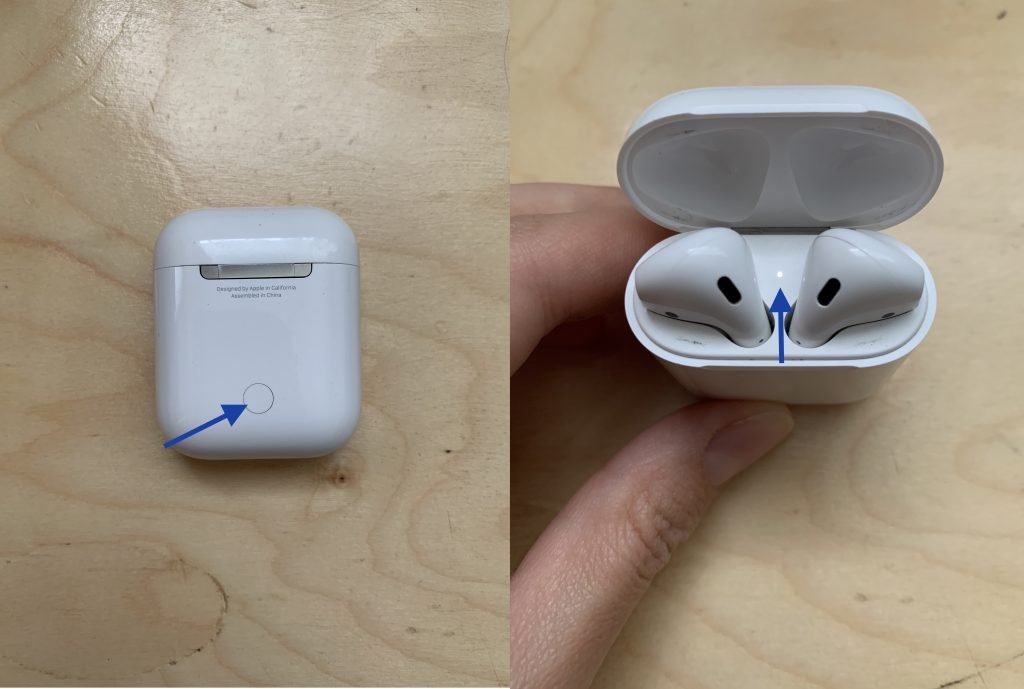
- Open the cover of the case without removing the headphones from it.
- Press and hold the round button on the back of the charging case for a few seconds until its indicator light flashes white.
- Open Bluetooth settings in Windows 10 by clicking on the Bluetooth icon in the taskbar, or by searching for the word “Bluetooth” in the search box in the taskbar and clicking on the “Bluetooth and other device settings” option when it appears.
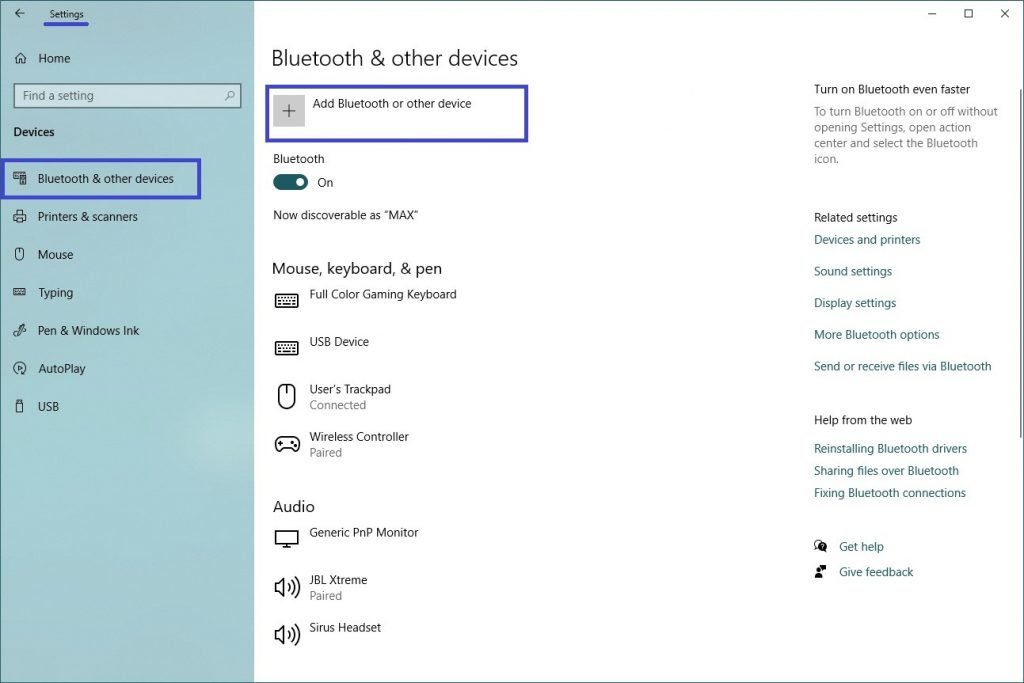
- Tap on Add Bluetooth or other device.
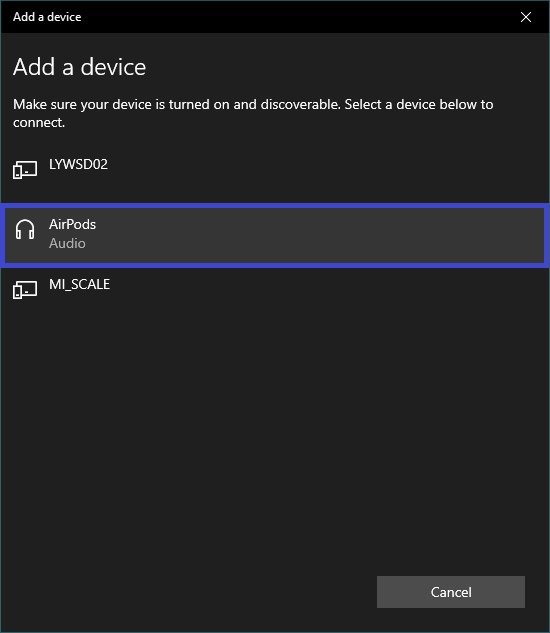
- On the next “Add a device” page, select the first line.
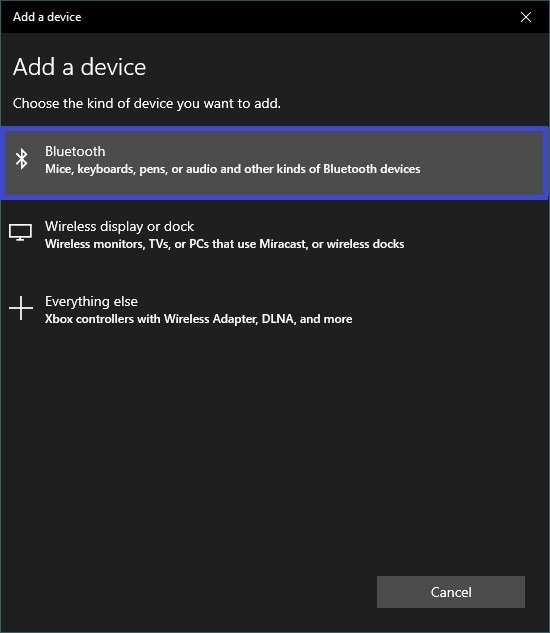
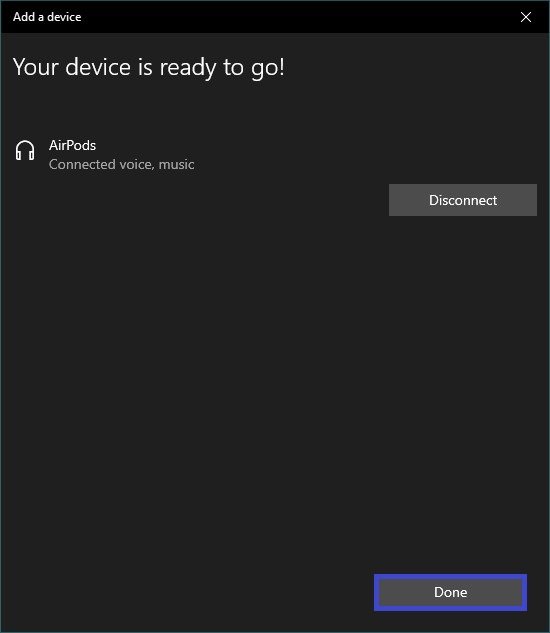
- Select your wireless headphones from the list of detected devices. After a few seconds, you will see a message telling you that the AirPods have been successfully paired and connected to your PC.
Note. If you receive a connection error message, close the AirPods case, restart your computer, and repeat the step-by-step instructions above.
All that’s left is to take the headphones out of the charging case, plug them into your ears, and enjoy the sound.
If the connection was successful, but there is no sound or the AirPods microphone does not work, then open Settings → System → Sound and make sure that the headphones are selected as an output and input device.
Connecting the Apple wireless headphones to your computer is as easy as any other Bluetooth device. To disconnect them, simply put the AirPods back in the charging case and close the cover.
Reconnecting AirPods to your Windows computer
If you have already done the pairing, the Apple headphones should automatically connect to your PC after a few seconds every time you take them out of the case.
If for some reason Windows 10 does not see the AirPods, you need to reconnect them:
- Open the Bluetooth settings of the Windows 10 computer.
- Scroll down to the Audio section of the Bluetooth and other devices list, tap the AirPods list.
- Tap Connect.
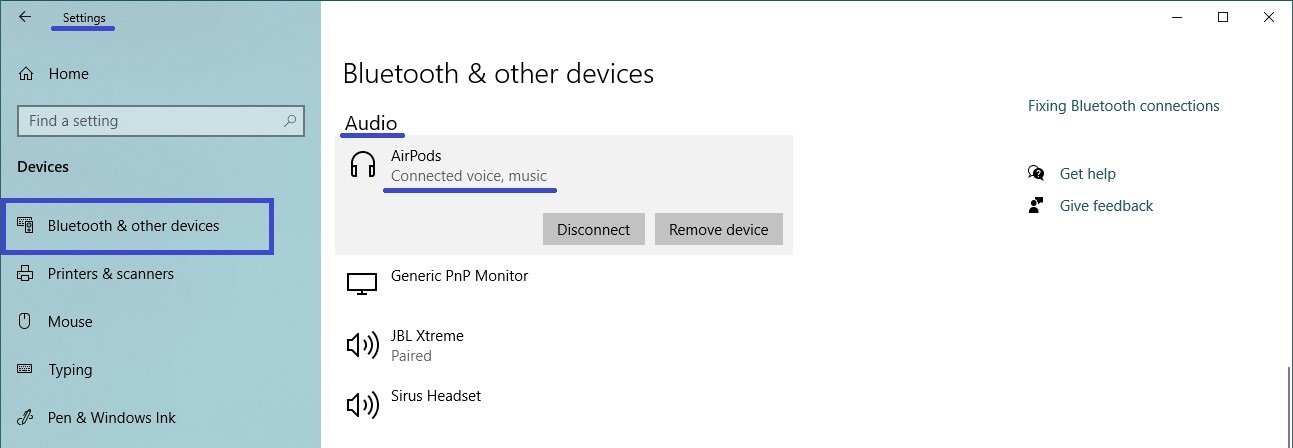
- You will hear an audible confirmation and the Bluetooth settings screen below the AirPods list will indicate “Voice, music connected”.
If for some reason the AirPods are still not reconnecting, place them in their charging case, reboot Windows and repeat the process described.
If the problem persists, in step 3, select “uninstall” to unpair your AirPods and then start the pairing process again as described at the beginning of this article.


