The Windows 10 operating system generates a computer name by default, but you can change it if necessary. First of all, changing the computer name will make it easier to identify the computer, especially if it is a personal computer or laptop on an organisation’s network (i.e. you will see the name on the network and know what kind of computer it is).
To change the computer name, you must be logged in as an administrator.
When renaming a computer, Cyrillic characters, certain special characters and punctuation marks cannot be used.
If you have previously enabled automatic login, disable it temporarily, and after changing the computer name and rebooting, enable automatic login if necessary. Otherwise, you may sometimes experience problems with new accounts appearing with the same name.
How to change the computer name in the “Windows Settings” application
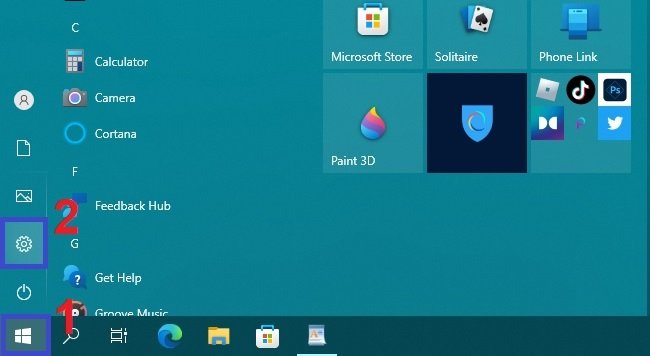
To change the computer name (rename the computer), open the Windows Settings application by pressing the Start button on the taskbar and then select Settings or press the Win + I key combination on your keyboard.
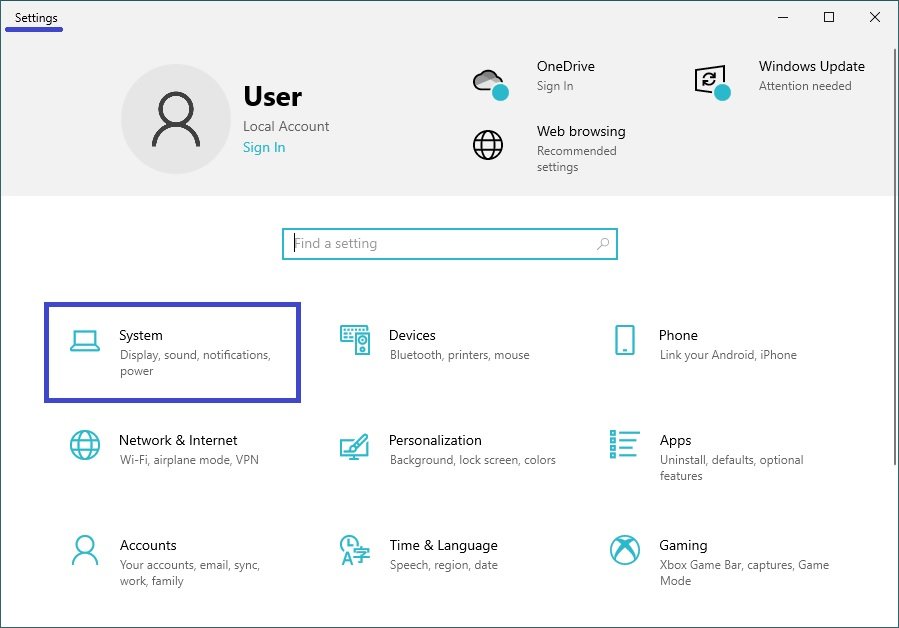
From the Windows Settings window that opens, select System.
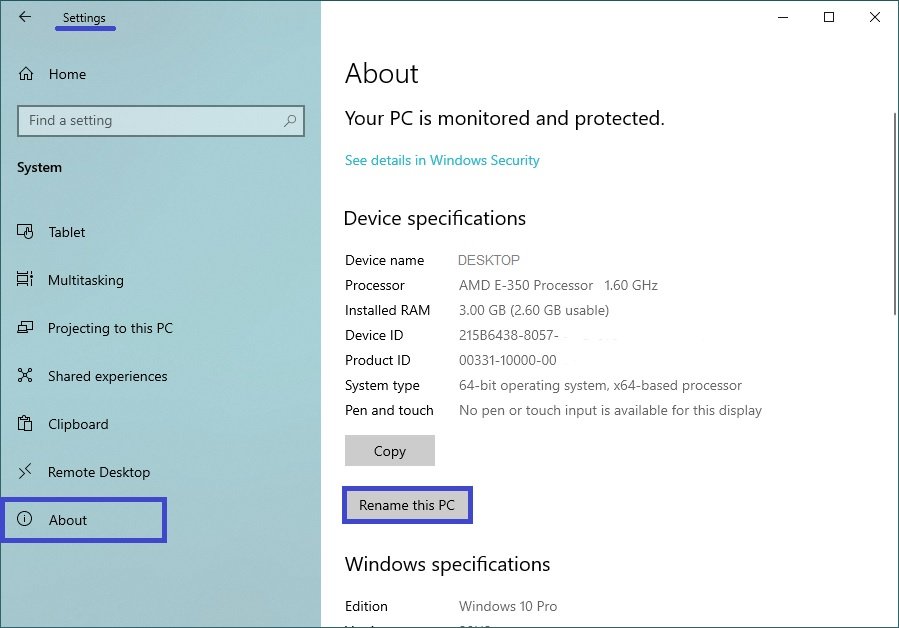
Then select the About tab, and on the right-hand side of the window under “Device specifications” click on Rename this PC.
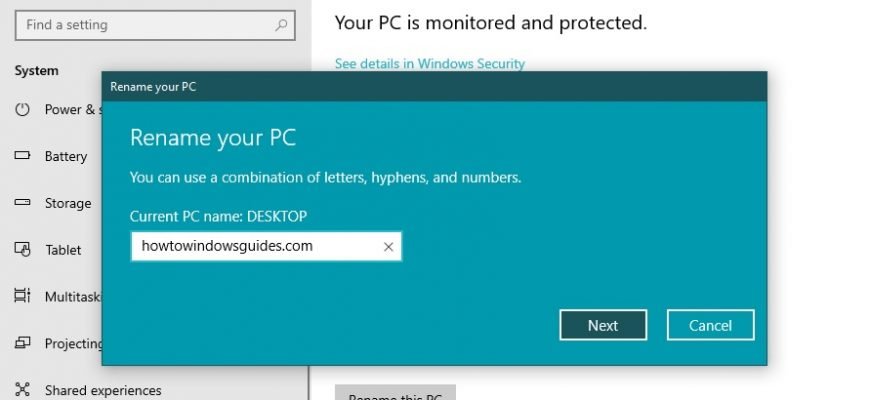
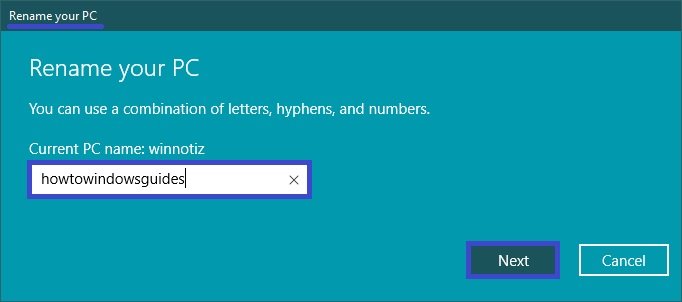
In the Rename your PC window, enter the new computer name and click Next.
The next window will prompt you to restart your computer, click Restart Now. After the restart, the computer name will change.

How to rename a computer in the System Properties window
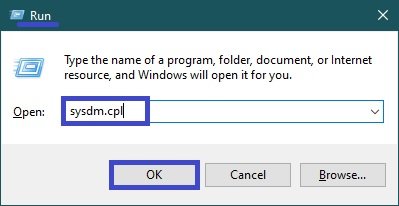
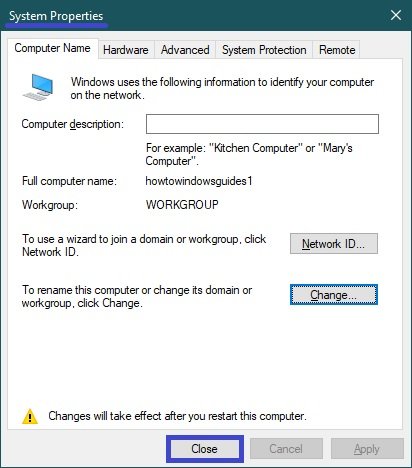
To rename a computer using this method, press Win + R, enter sysdm.cpl in the Run window and press Enter ↵.
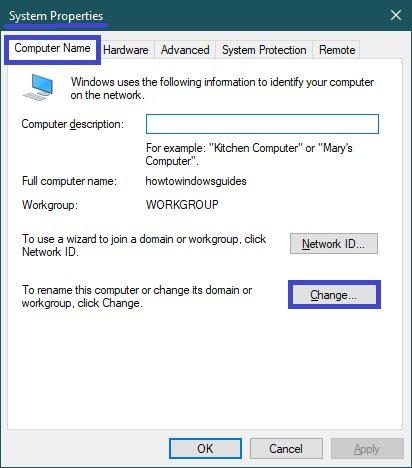
In the “System properties” window that opens, press the Change… button.
Next, enter a new computer name and press the OK button.

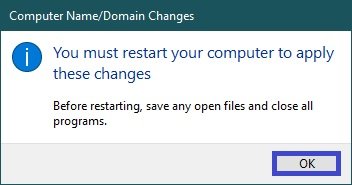
You will be prompted to restart your computer for the changes to take effect. Do this, remembering to save all open files and close all programmes beforehand, press the OK button and the window will close.
Next click on the Close button in the System Properties window, this window will also Close.
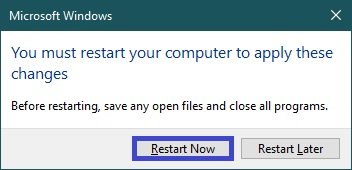
In the next window, click Restart Now. After restarting, the changes will take effect.
How to change the computer name at the command prompt
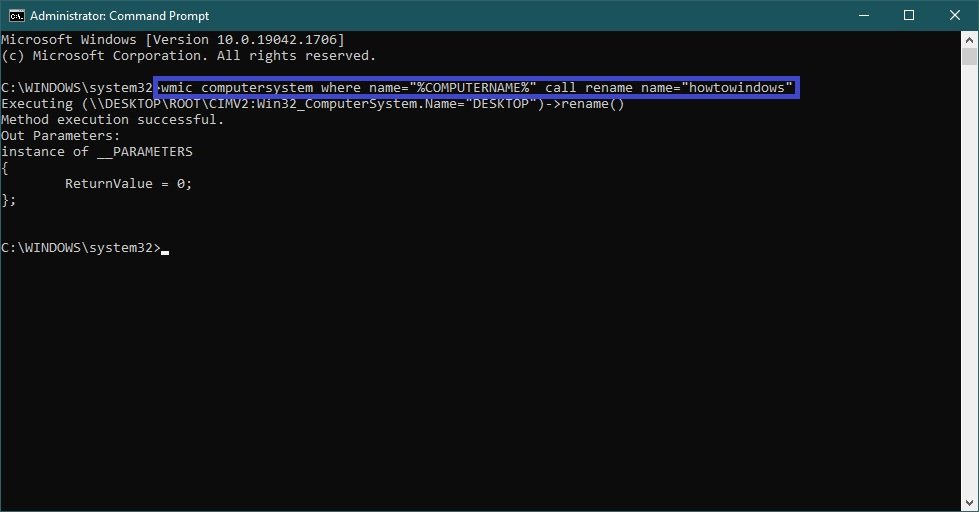
To change the computer name in this way, run the following command from the command line as administrator:
wmic computersystem where name=”%COMPUTERNAME%” call rename name=”New_Name”
Replace New_Name in the command above with the new computer name.
In this example, the command looks like this
wmic computersystem where name=”%COMPUTERNAME%” call rename name=”howtowindows”
How to change the computer name in Windows PowerShell
To change the computer name this way, open the PowerShell console as administrator and run the following command:
Rename-Computer -NewName NewComputerName
Replace NewComputerName in the command above with the new computer name.
In this example the command looks like this:
Rename-Computer -NewName howtowindows
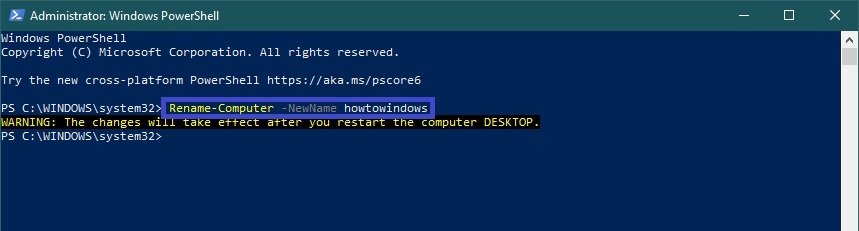
After running the command, the PowerShell console window will warn you that the changes will take effect after you reboot the computer. Close the PowerShell console window and restart the computer.
Changing your computer name in Windows 10 when using a Microsoft account causes a ‘new computer’ to be linked to your online account. This shouldn’t be a problem and you can delete the computer with the old name on your account page on the Microsoft website.
Another possible problem is that two computers appear on the network: one with the old name and one with the new name. In this case, try powering off the router when the computer is switched off and then switch the router and computer back on.