The Reserved Storage feature, introduced in Windows 10 version 1903, ensures that there is enough free space for updates, apps and system cache.
With the default settings, Windows 10 allocates about 7GB for reserved storage, but this will change over time depending on how you use Windows 10.
Two main factors affect the size of the reserved storage, these are additional components and installed languages.
Optional components are components that can be installed by the operating system or installed manually. If any of the installed optional components are not used, you can remove them to make room for the reserved storage. For example, Windows Hello Face Recognition is one of the optional features automatically installed in Windows 10, but if you don’t use face recognition to log in to Windows 10, this feature will be useless to you.
Similarly, language packs also increase the reserved storage space, since enough space is needed to maintain these language packs when installing updates. If you have two or more languages installed, delete the unused language pack.
Now that you know what increases the reserved storage, you can remove unnecessary extra features and languages that you are not using.
Removing additional components
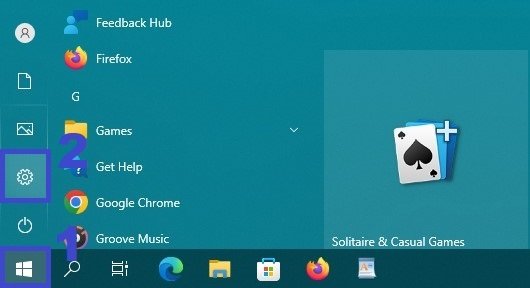
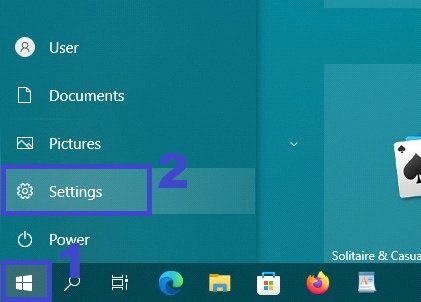
To remove any optional component, open the Settings application by clicking the Start button on the taskbar and then select Settings or press the Win+I key combination on your keyboard.
In the Settings window that opens, select Apps.
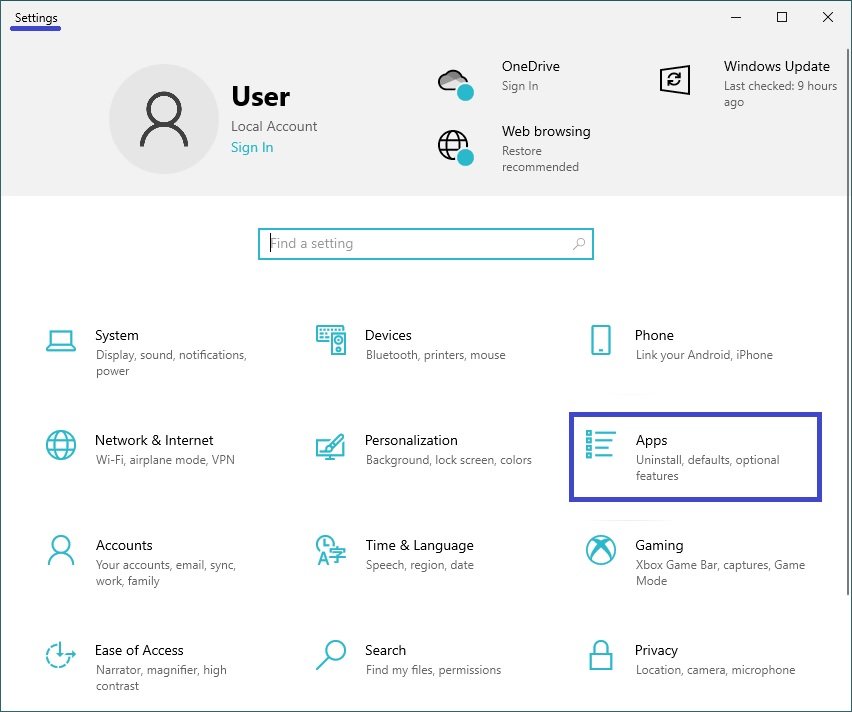
Select the Apps and Features tab, and click the Optional Features link on the right side of the window.
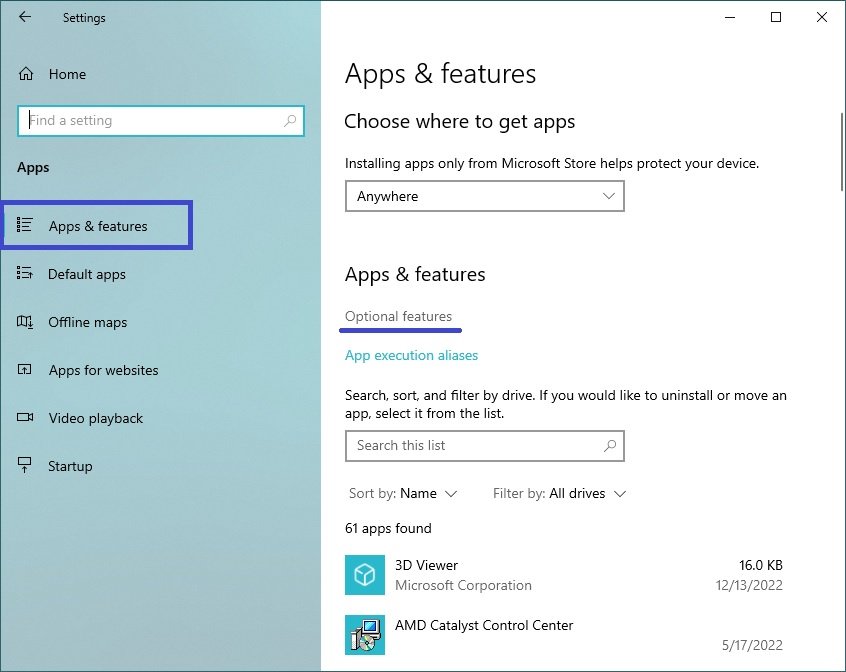
In the Optional features window, you will see all installed extras and features on your device. To delete an item, tap it, and then tap the Unistall button.

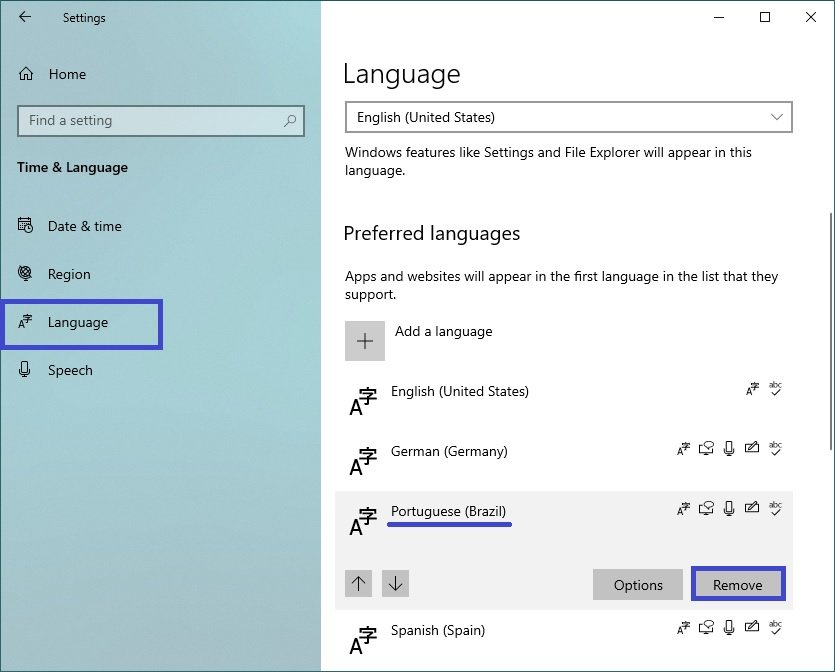
Removing installed languages
To remove any optional component, open the Settings application by clicking the Start button on the taskbar and then select Settings or press the Win+I key combination on your keyboard.
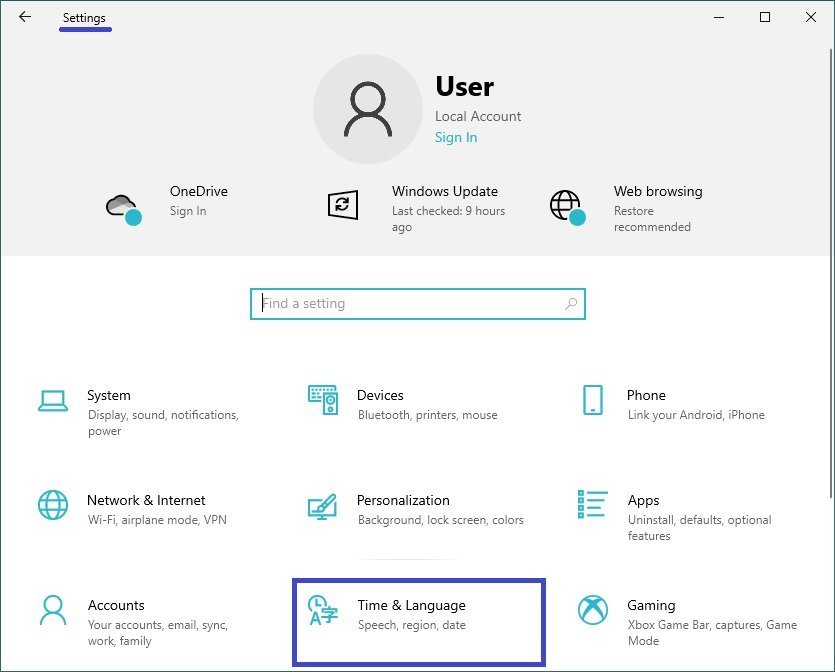
In the Settings window that opens, select Time and Language.
Then select the Language tab, and on the right side of the window, select the language you want to remove and then click Remove to remove the language pack.