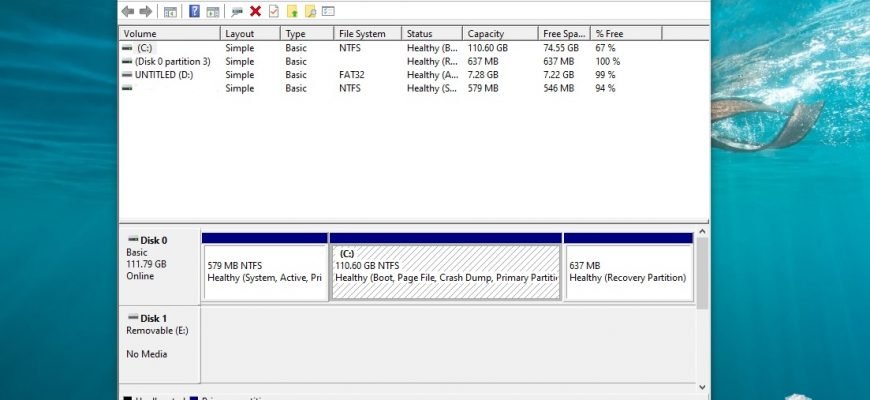
Disk Management is a graphical user interface utility built into the operating system which can be used to perform various tasks on hard disks and their volumes and partitions.
The Disk Management tool allows you to define total capacity, free space, status and other properties of disks, create partitions and logical disks on basic disks, create volumes on dynamic disks, expand volumes to increase their size, format volumes to the selected file system, assign drive letters and volume paths, convert basic disks to dynamic and vice versa.
Launch in the Run window
Open the Run dialog box by pressing Win+R, in the Run window type (copy and paste) diskmgmt.msc and click OK.

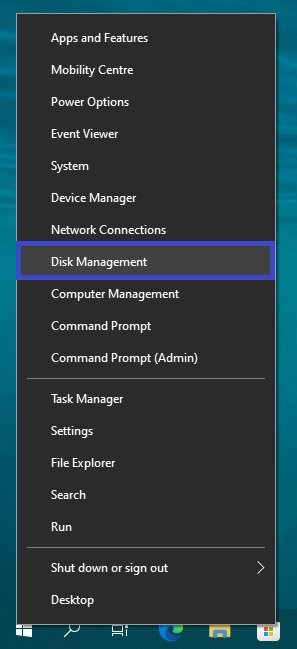
How to open via the Win+X menu (Power User Menu)
You can also access the Disk Management snap-in using the “Win+X” (Power User Menu) by right-clicking the Start button on the taskbar or by pressing Win+X and select Disk Management in the menu that appears.
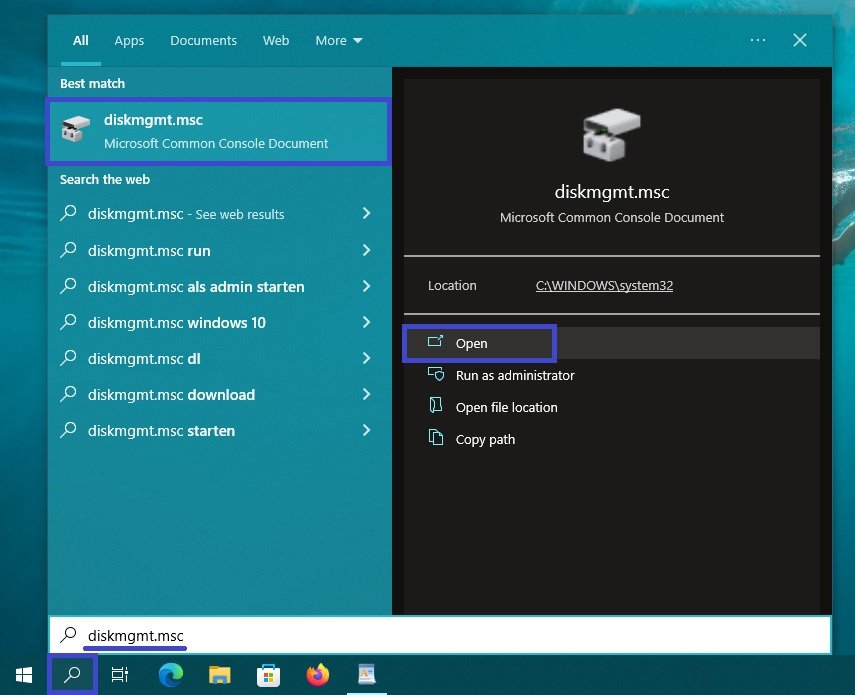
Open Disk Management using the Windows Finder
To open Disk Management, use the Search in Windows by clicking on the search icon in the taskbar or press Win+S, type diskmgmt.msc in the search box and select diskmgmt.msc in the search results.
Running the file in the System32 system directory
Open Windows Explorer and navigate to the following path:
C:\Windows\System32
Double-click diskmgmt.msc to open the Disk Management snap-in

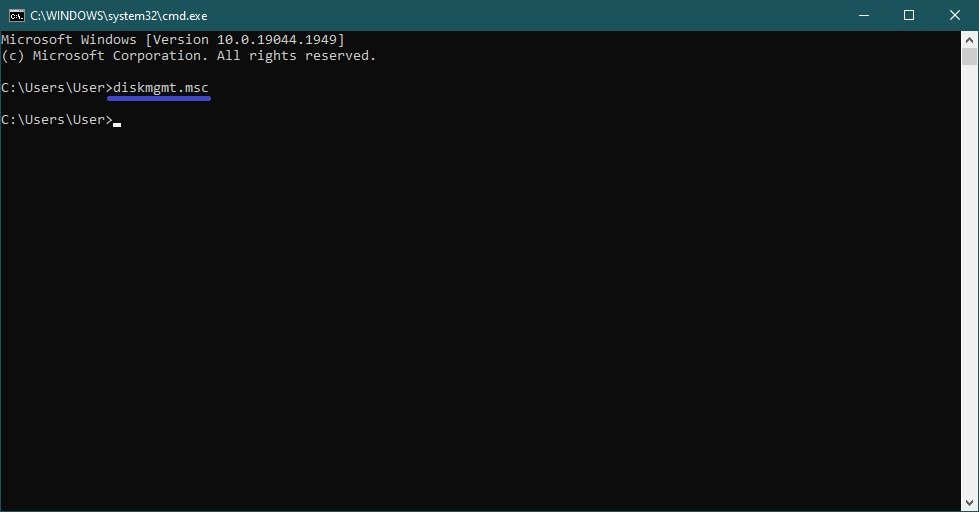
Use the command prompt or Windows PowerShell
Start a command prompt and run the following command
diskmgmt.msc
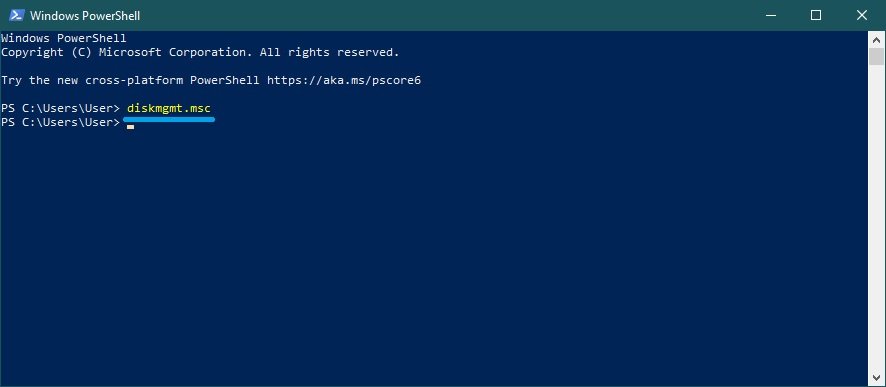
Open the Windows PowerShell console and run the following command:
diskmgmt.msc
Using the methods discussed above, you can open the Disk Management snap-in in Windows 10.


