In this article you will learn how to make the Start menu transparent (remove the blurring effect) in Windows 10. To do this, we’ll use the Windows Registry Editor.
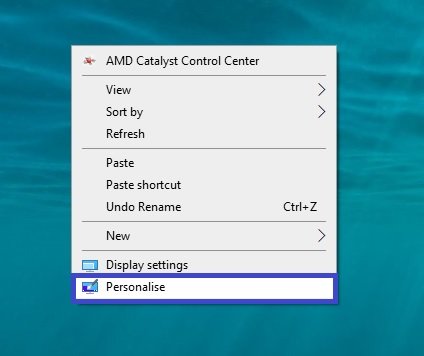
Before editing the registry it is recommended to create a restore point and we also need to check one setting in personalisation. Right-click on the desktop and select Personalise from the context menu that appears.
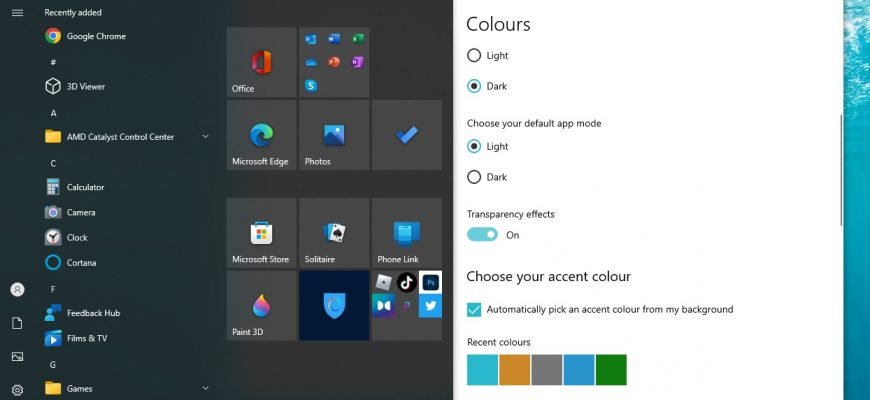
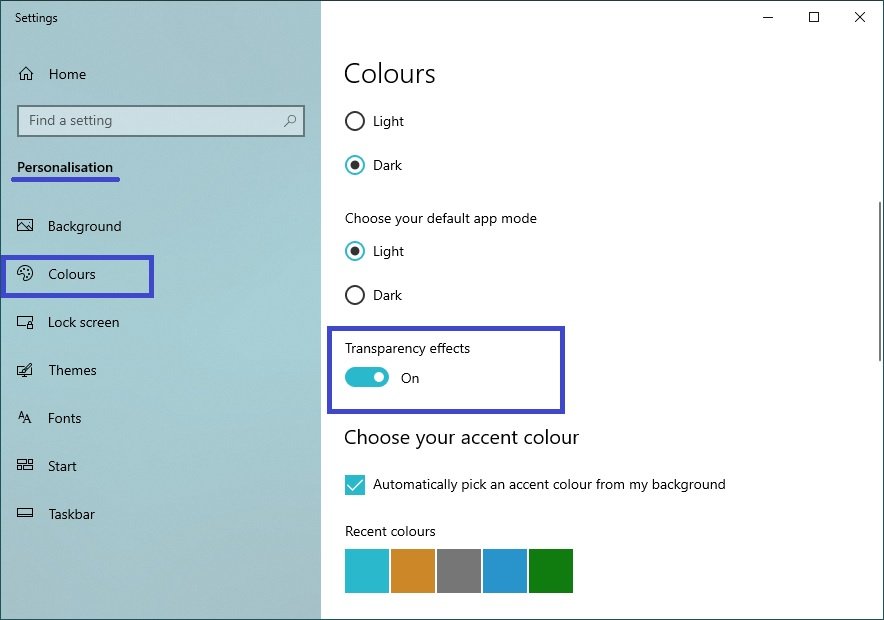
In the Personalisation window, select the Colours tab, scroll the side scrolbar to the bottom of the window and set the Transparency Effects switch to On (this option is enabled by default).
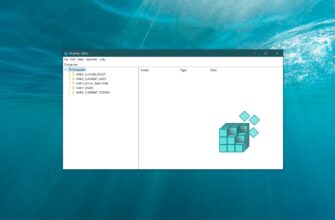
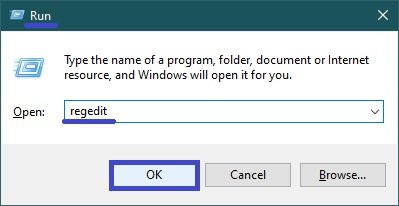
Now press Win + R, in the Run window that will open, type regedit and press Enter.
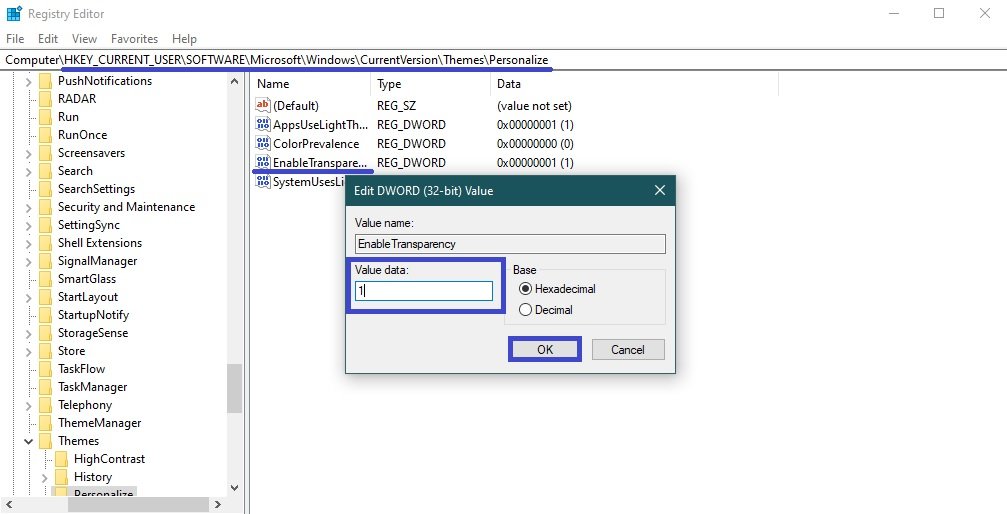
In the Registry Editor window that opens, navigate to the following path:
HKEY_CURRENT_USER\\SOFTWARE\\Microsoft\\Windows\\CurrentVersion\\Themes\\Personalize
In the Personalize section, on the right-hand side of the window, double-click the EnableTransparency parameter and in the window that appears change the value from 0 to 1, click OK.
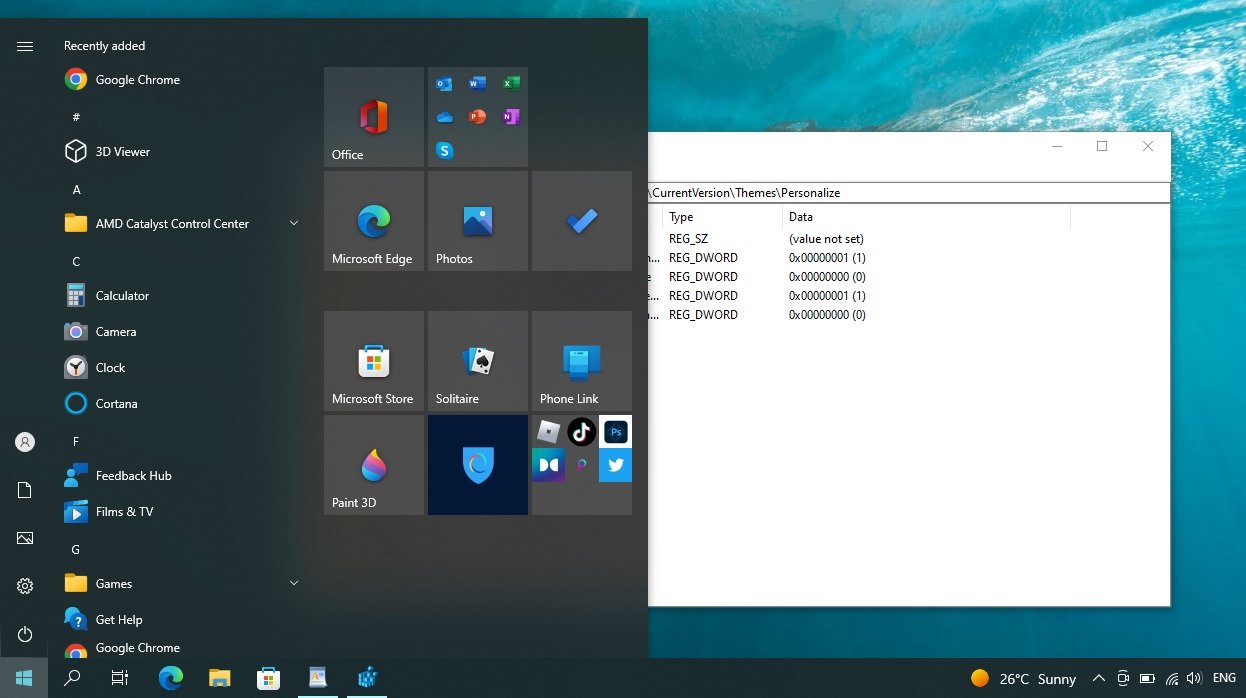
The changes will take effect immediately. Now open the Start menu and check that it is now transparent with no blurring effect.
Note that the transparency effect when you open Start will not be very obvious. The menu will become slightly transparent.
Use a dark Windows design theme to enhance the effect.
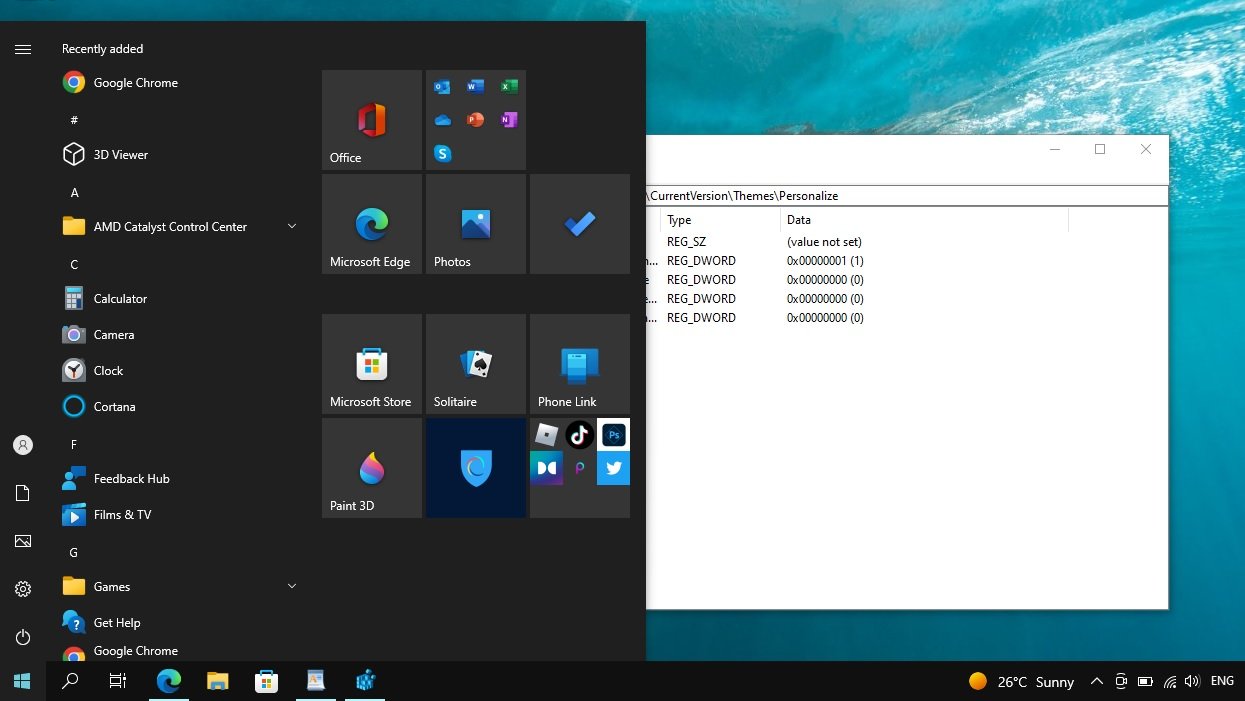
To disable transparency in the Start menu, change the value of EnableTransparency from 1 to 0. The change takes effect immediately.
The disadvantage of this method of making the Start menu transparent is that the notification centre, taskbar, network connections bar, language bar, volume control and calendar become completely opaque.