There are three power schemes in the Windows operating system: balanced, power saving and high performance. With the release of Windows 10 version 1803, Microsoft developers have added another power scheme called Ultimate Performance.
Ultimate Performance mode ensures a high level of device performance by eliminating the so-called micro latency associated with computer power, which means that as the computing power of the device increases, the amount of power consumed by the device will also increase.
The ultimate performance mode is particularly useful for engineers, programmers and other users who use the computer for video editing, 3D rendering and other demanding computational tasks.
This power scheme is available in Windows 10 Pro for Workstations, but you can easily enable it in any edition of Windows 10 if required.
How to activate ultimate performance mode
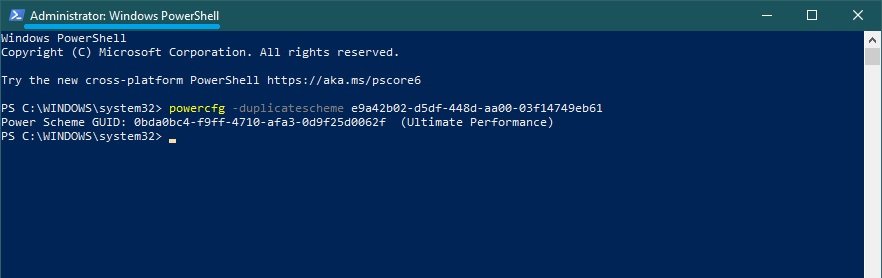
To enable ultimate performance mode, run the command line or Windows PowerShell console as an administrator and run the following command:
powercfg -duplicatescheme e9a42b02-d5df-448d-aa00-03f14749eb61
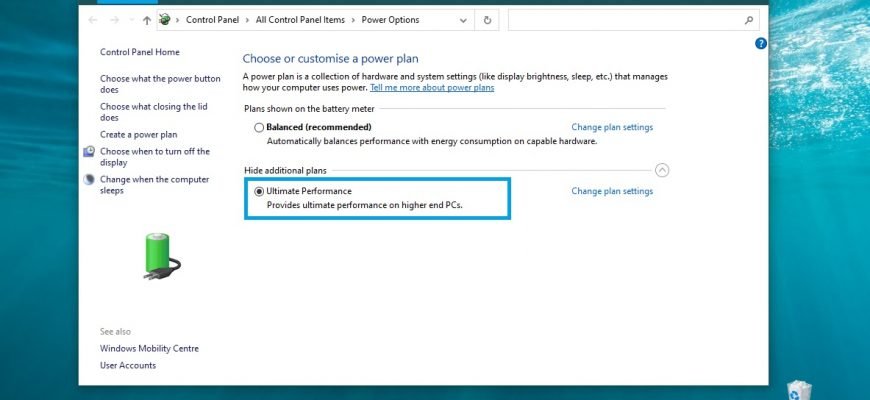
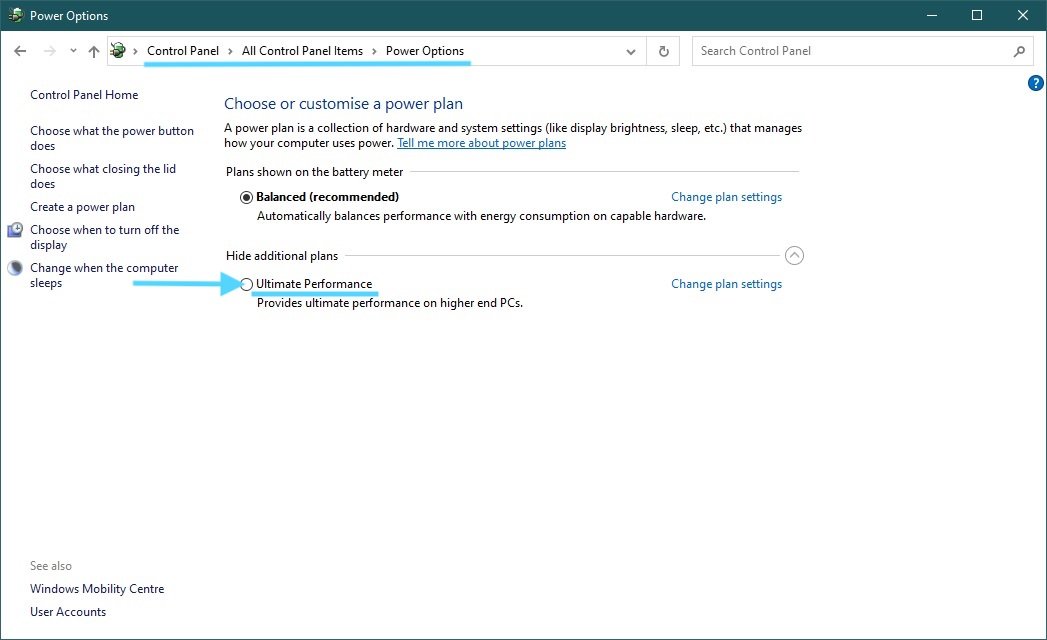
Now go into the power supply settings and Ultimate Performance appears in the additional diagrams; if necessary, turn it on by setting the switch to the appropriate position by clicking on the circle.
How to disable ultimate performance mode
To disable ultimate performance mode, run the command line or Windows PowerShell console as administrator and run the following command:
powercfg -restoredefaultschemes

Using the steps above, you can enable or disable Ultimate Performance Mode in Windows 10.


