When using game mode, Windows prioritizes gameplay. Running a game in game mode prevents the Windows Update Center from performing driver installation and sending notifications, and helps ensure a more stable frame rate depending on your particular game and system.
You can enable or disable game mode for your Windows 10 account if needed.
Game mode control via Settings
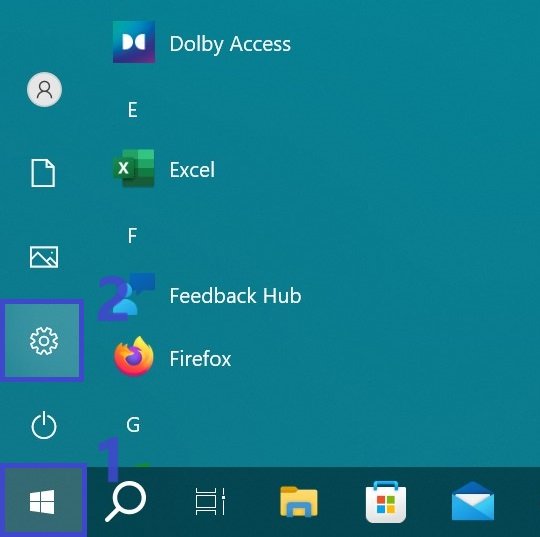
To enable or disable “Game Mode”, open the Settings application by clicking the Start button on the taskbar and then selecting Settings or pressing the Win+I key combination.
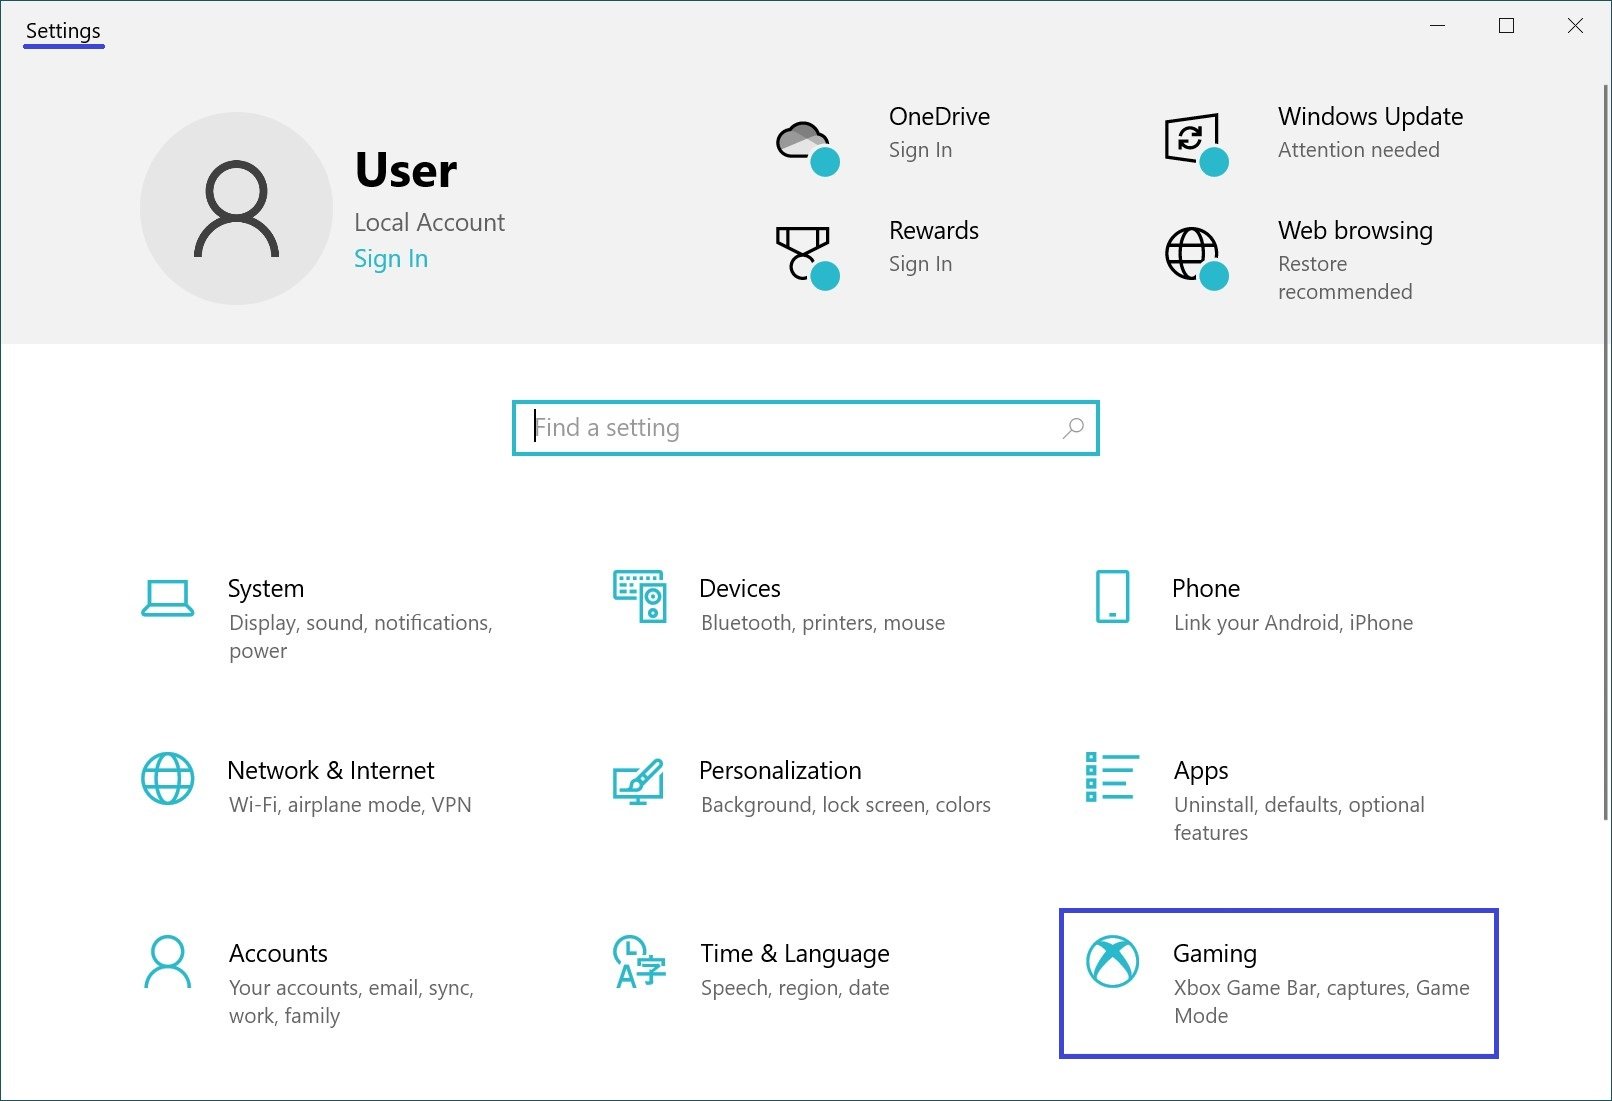
In the Settings window that opens, select Gaming.
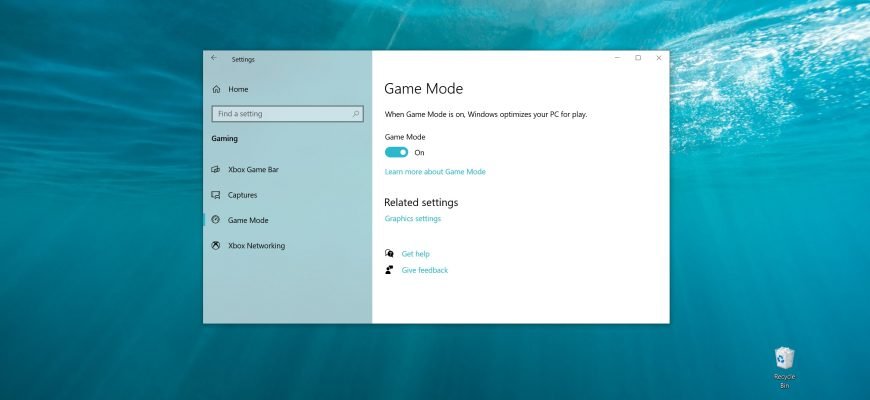
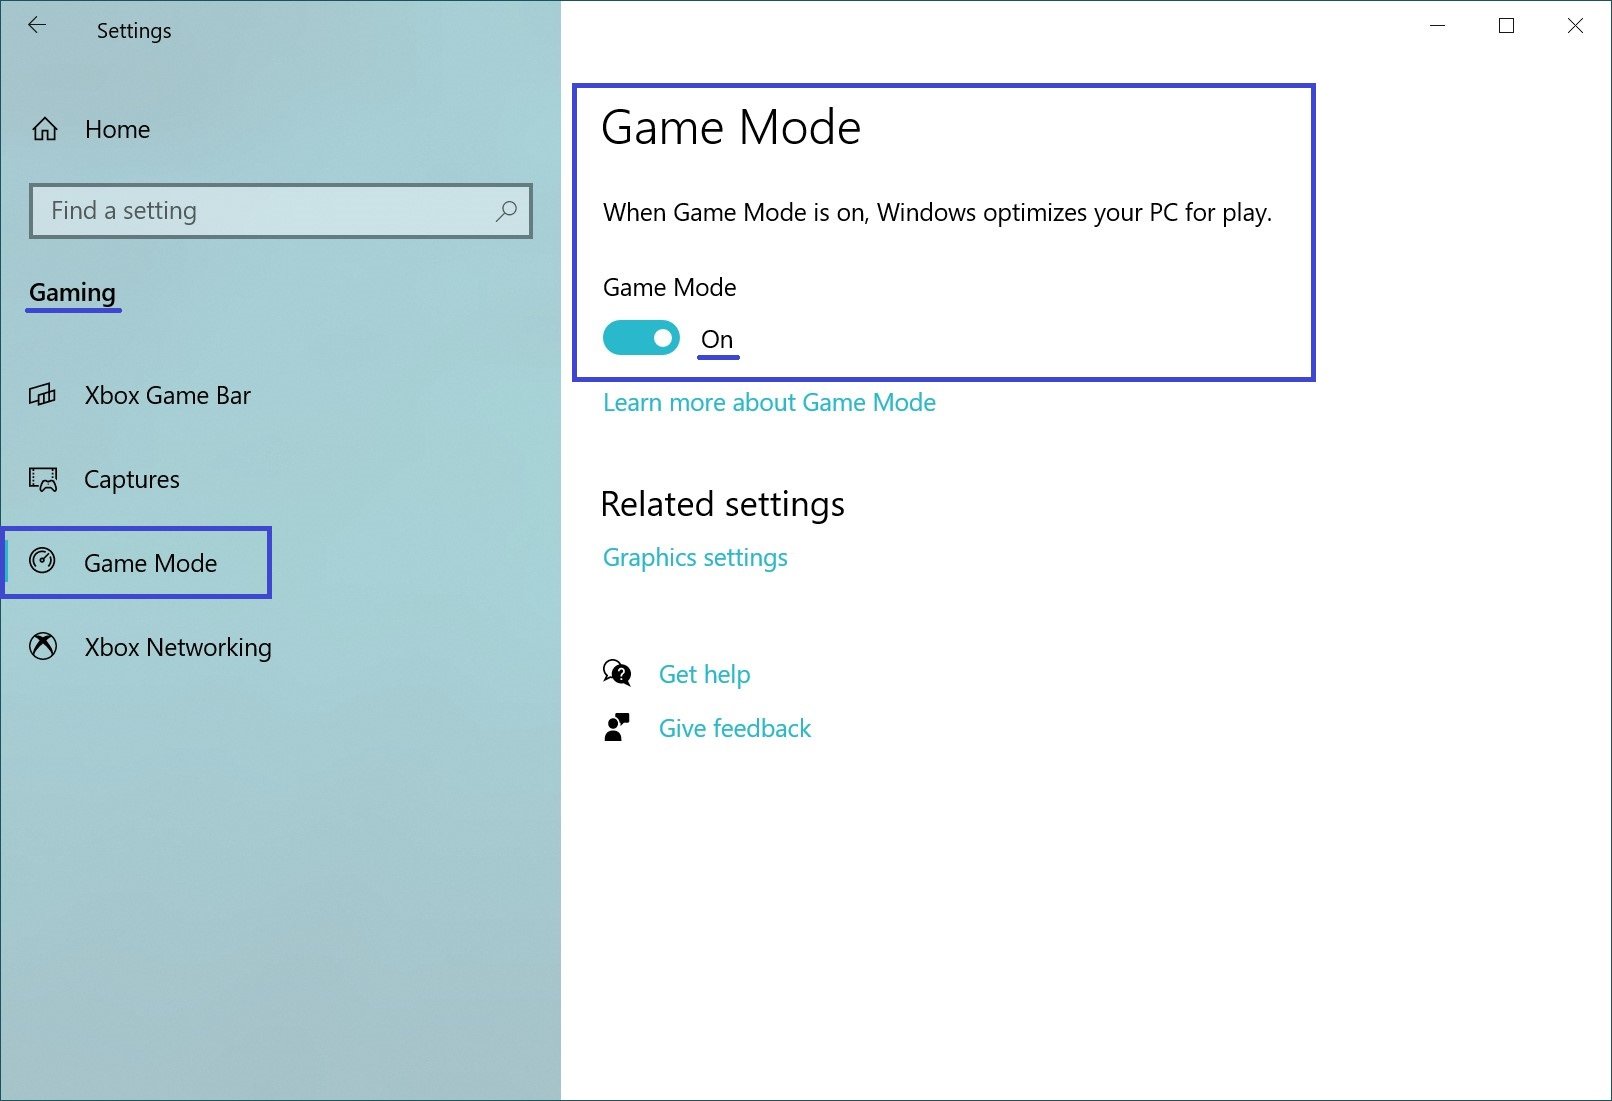
Then select the Game Mode tab, and on the right side of the window in the Game Mode section, set the Game Mode switch to the appropriate position.
Enabling and disabling using a registry file
This method also allows you to enable or disable “Game Mode” by making changes to the Windows system registry via a registry file.
Before making any changes to the registry, it is highly recommended that you create a system restore point.
All changes made to the registry are shown below in the registry file listings.
To disable “Game Mode”, create and apply the following registry file:
Windows Registry Editor Version 5.00.
[HKEY_CURRENT_USER\\Software\\Microsoft\\GameBar].
“AllowAutoGameMode”=dword:00000000.
“AutoGameModeEnabled”=dword:00000000.
To enable “Game Mode” (default value), create and apply the following registry file:
Windows Registry Editor Version 5.00.
[HKEY_CURRENT_USER\\Software\\Microsoft\\GameBar].
“AllowAutoGameMode”=dword:00000001.
“AutoGameModeEnabled”=dword:00000001.
Using the steps above, you can enable or disable Game Mode in Windows 10.


