By default, the so-called “classic” search indexer indexes files in the user’s local folders: documents, images, music, videos, desktop, and therefore it takes longer to find files in non-indexed locations.
Advanced search is not limited to local content and indexes all files and folders on all drives connected to your computer, which speeds up the search noticeably.
Advanced search is available from Windows 10 version 1903 onwards.
How to enable enhanced search in Windows 10
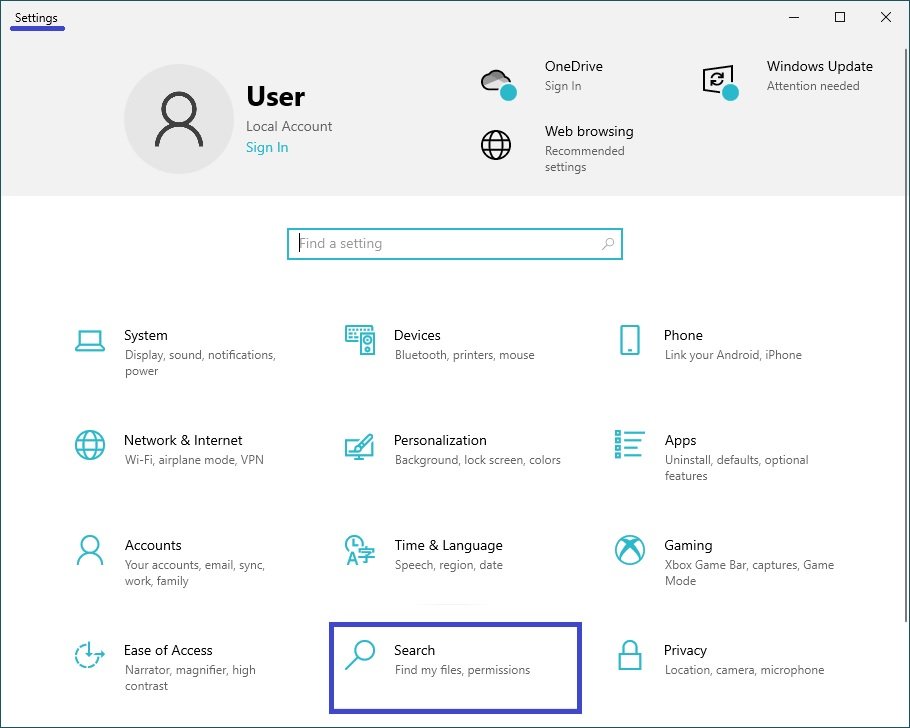
To enable advanced search, open “Settings” by clicking the Start button on the taskbar and then select Settings or press the Win+I key combination on your keyboard.

In the Settings window that opens, select Search.
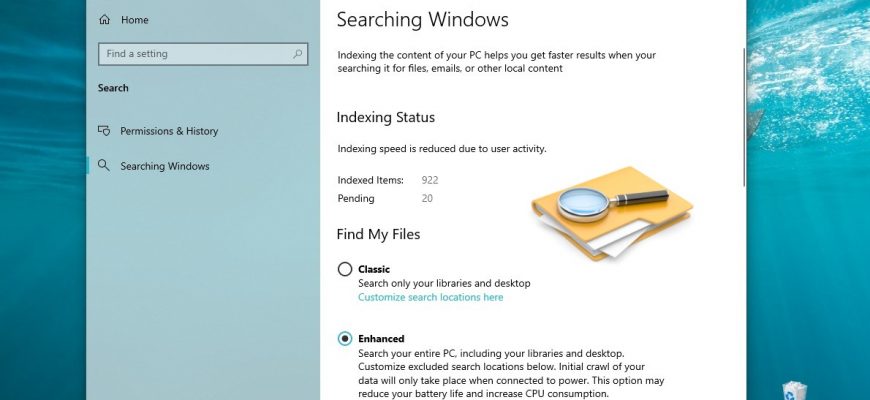
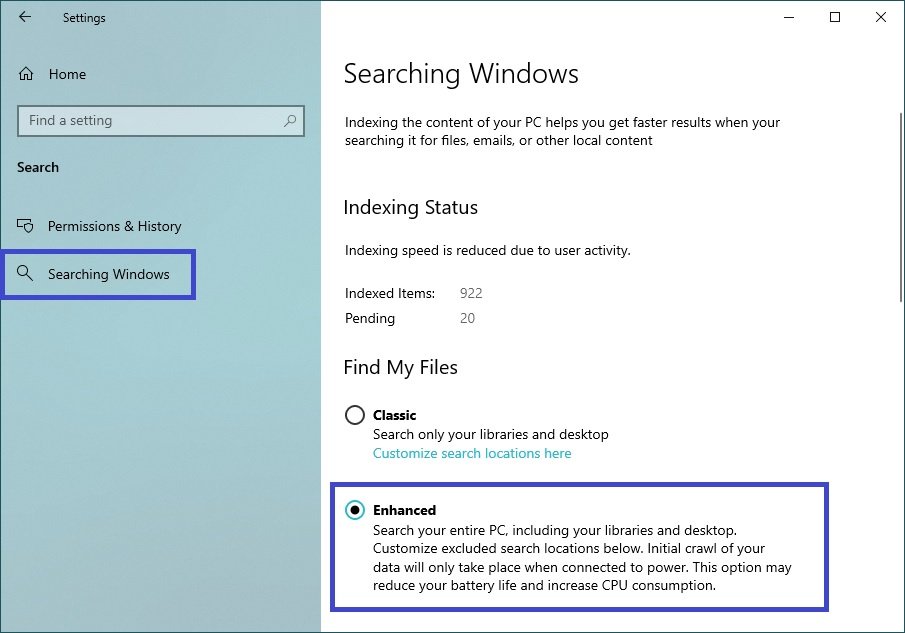
Then select tab the Searching Windows, and on the right side of the window, under “Find My Files“, turn on the Enhanced option.
This will start the indexing process, which will take some time depending on the number of files. Once the indexing is complete, you can find all your files using the search almost instantly.
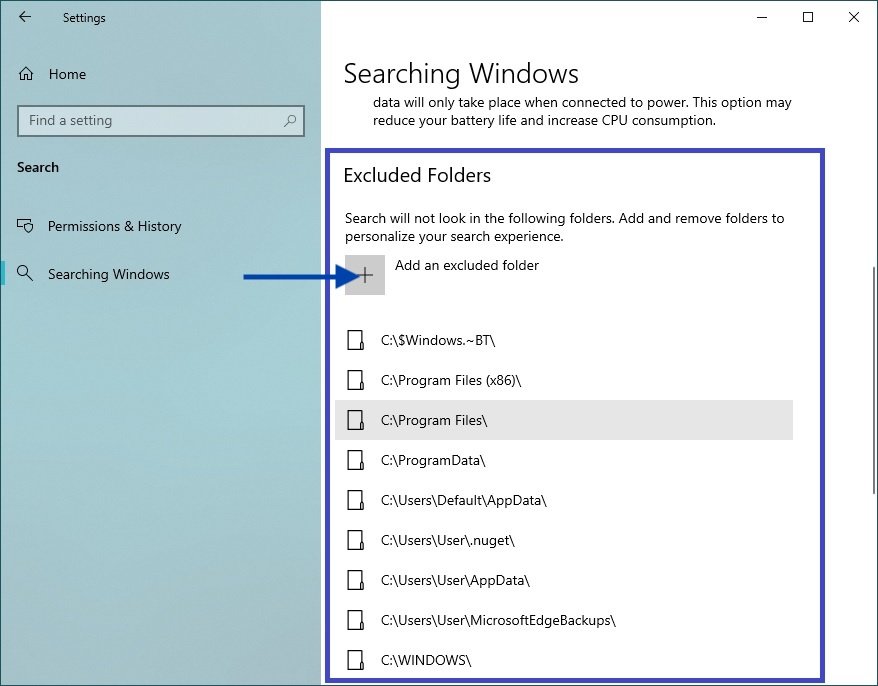
Windows Search will index all hard drives, folders, and files on the system except for those listed under “Excluded folders”.
If necessary, you can exclude any folder from the search by adding it to the Excluded Folders list.
Using the above steps, you can enable or disable enhanced search in Windows 10.


