This article provides instructions on how to clear (reset) the thumbnail cache in Windows 10.
Windows 10 stores copies of thumbnails for all images, video files, and documents in a cache, so they can be quickly reused when opening folders instead of being scanned and reloaded manually each time.
Sometimes, the thumbnail cache can become corrupted, leading to incorrect or distorted display of file thumbnails. In such cases, the thumbnail cache needs to be deleted to reset it and have Windows automatically regenerate it as needed.
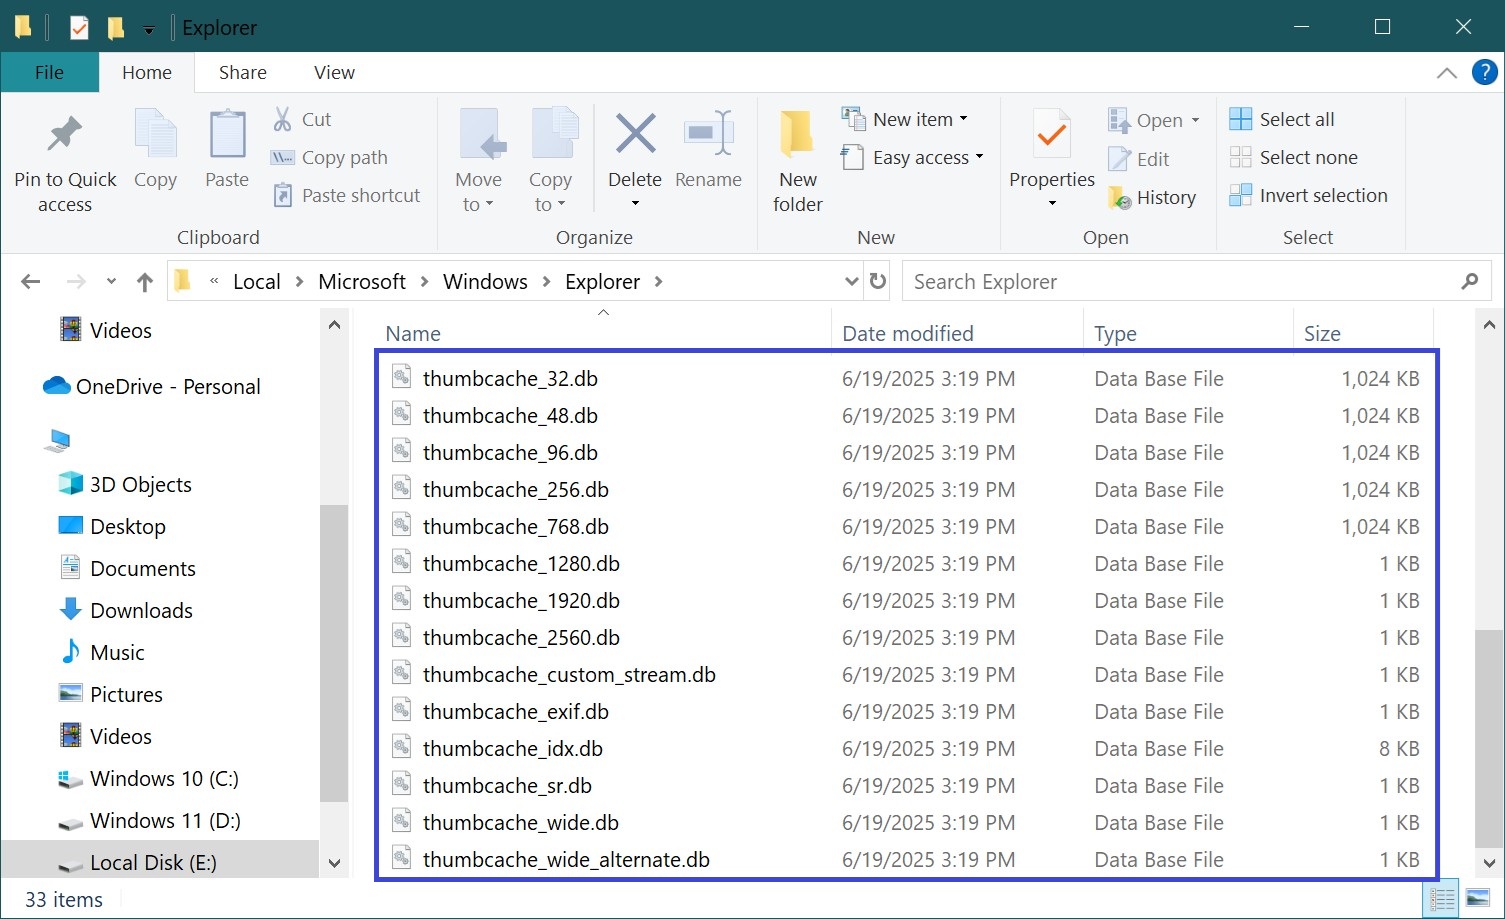
The thumbnail cache consists of a group of files named thumbcache with the file extension .db, located in the hidden directory:
%LocalAppData%\Microsoft\Windows\Explorer
How to Clear the Thumbnail Cache Using Command Prompt
To clear (reset) the thumbnail cache, you need to delete all thumbcache files. However, you must first stop Windows Explorer to prevent it from locking access to these files.
Open Command Prompt as Administrator and run the following commands in order:
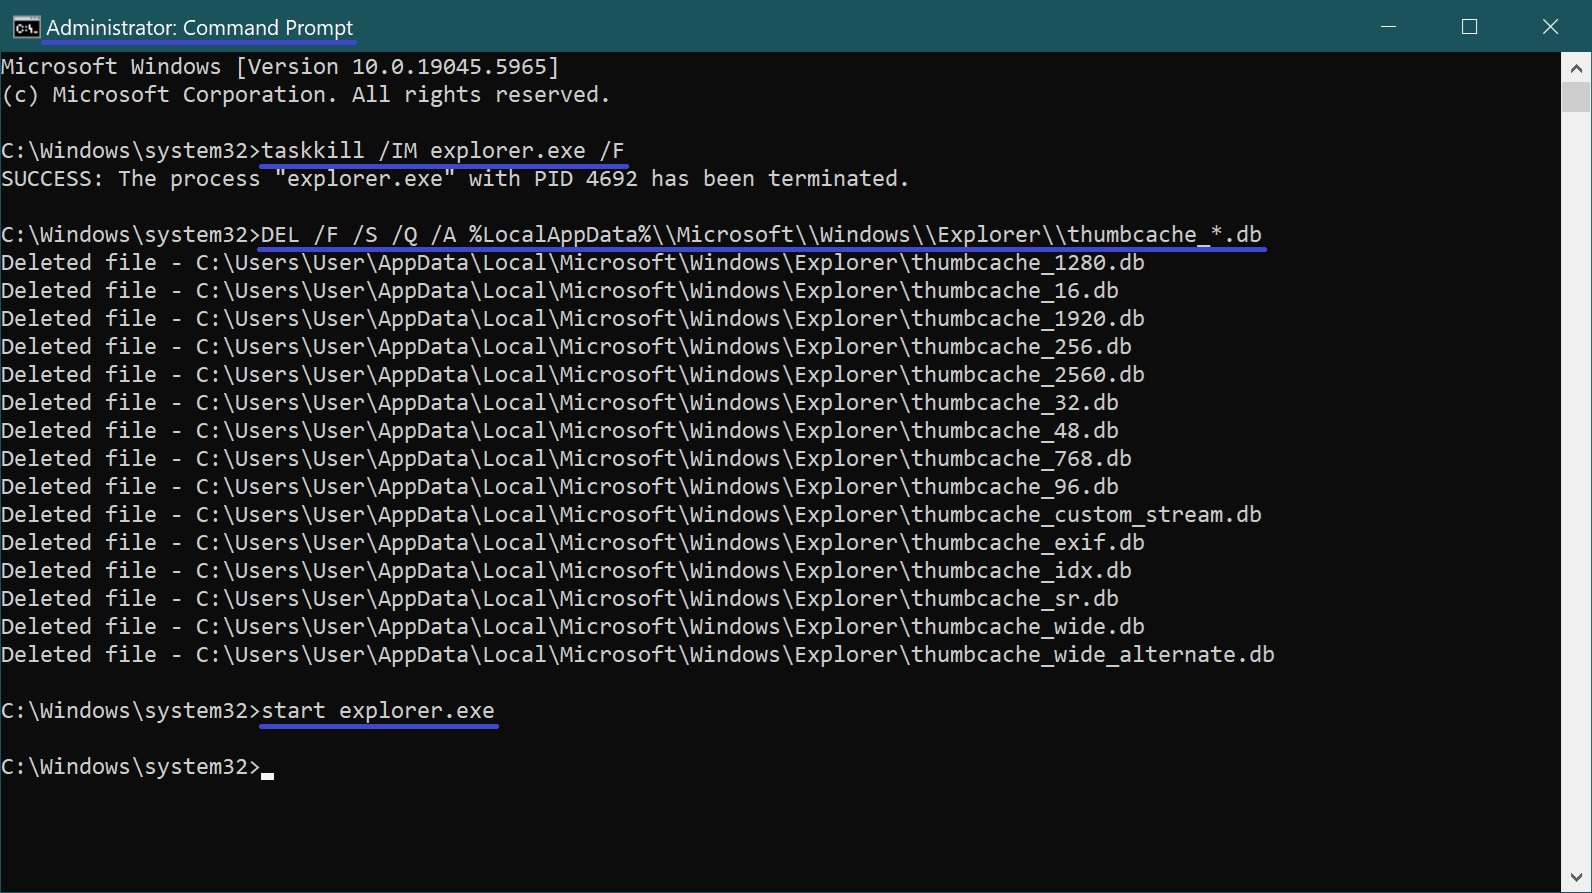
The first command terminates Windows Explorer. The second command deletes the thumbcache files. The third command restarts Windows Explorer.
How to Clear the Thumbnail Cache Using Disk Cleanup
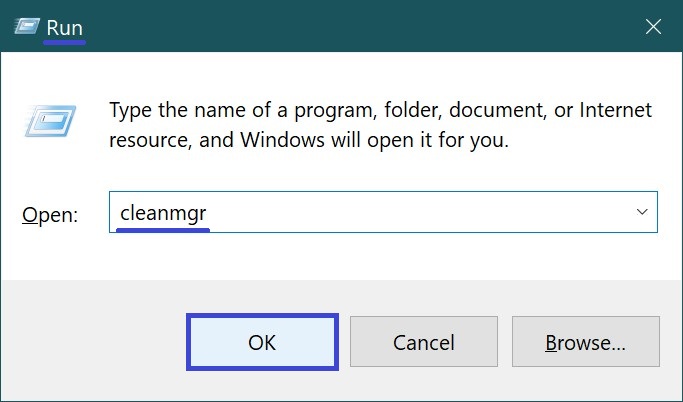
To clear the thumbnail cache using the Disk Cleanup utility, press Win + R, type cleanmgr in the Run dialog, and press Enter ↵.
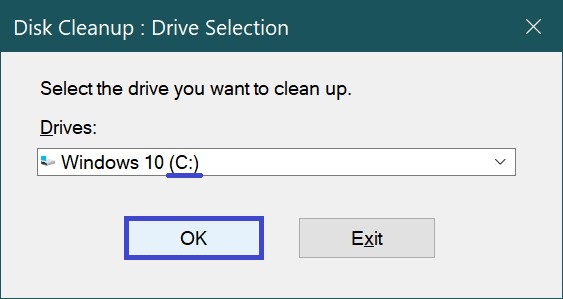
In the window that appears, select the drive where the operating system is installed (usually the C:drive) and click OK.
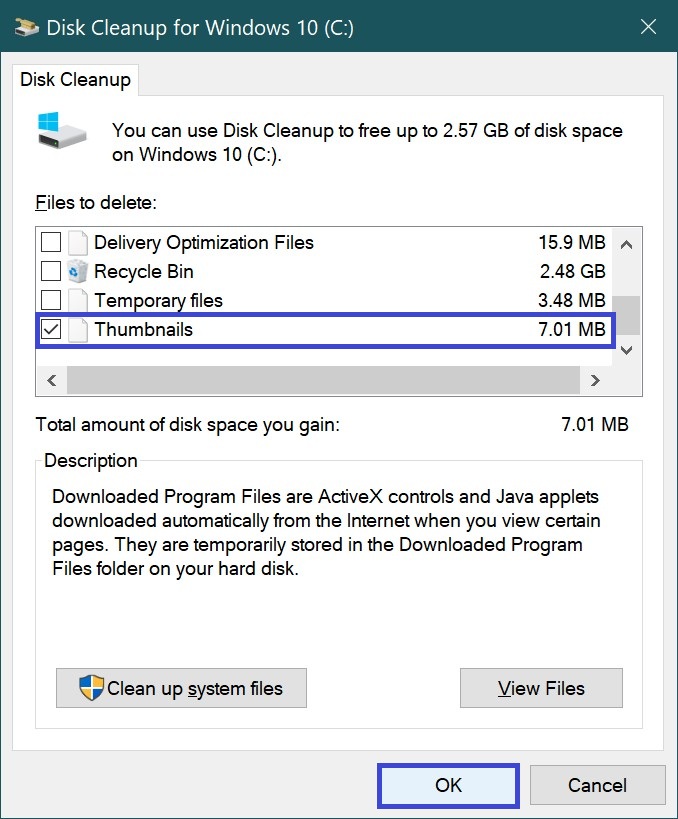
Next, check the box for Thumbnails (uncheck any other boxes if needed), then click OK.
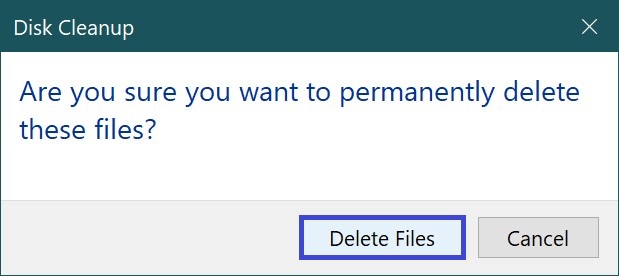
Confirm the deletion by clicking Delete Files.
The cleanup process will then start.
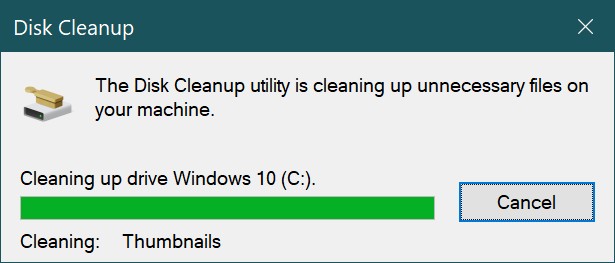
Once the cleanup is complete, restart your computer.