With the release of the Anniversary Update (version 1607) for Windows 10, the developers of the operating system have implemented the ability to change the colour of window headers separately from the Start menu, taskbar and notification centre. And now you can easily do this in the Windows Settings app, as opposed to the way it was done in earlier versions of Windows 10, which is also presented in this article.
How to change title bars color in the Windows Settings
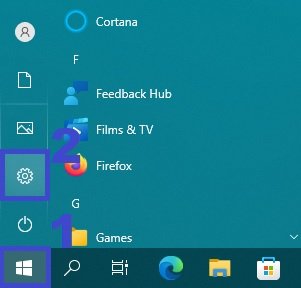
To change the colour of the window title bar, open the Windows Settings application by pressing the Start button on the taskbar , then select Settings or press Win + I.
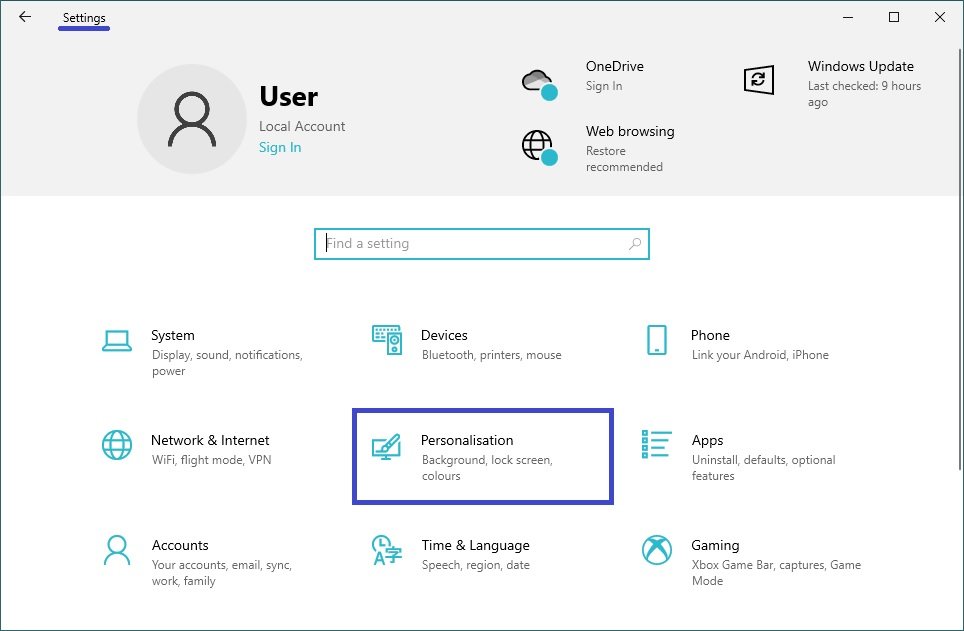
From the Windows Settings application window that opens, select the Personalisation category.
In the Personalisation category, select the Colors tab, scroll down the side scrollbar on the right-hand side of the window and in the Show the accent colour on the following surfaces check the box next to Title bars and window borders.
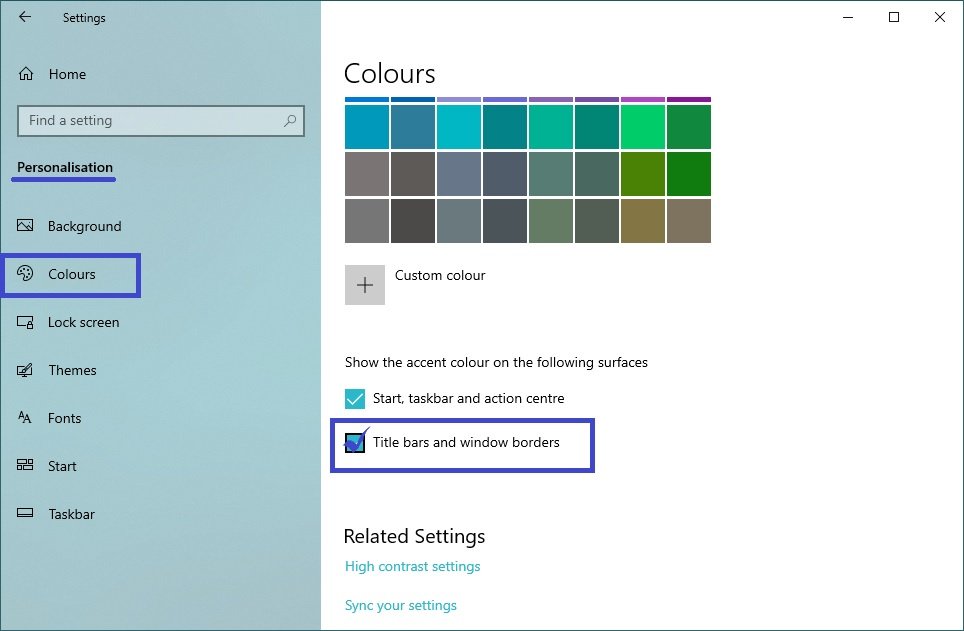
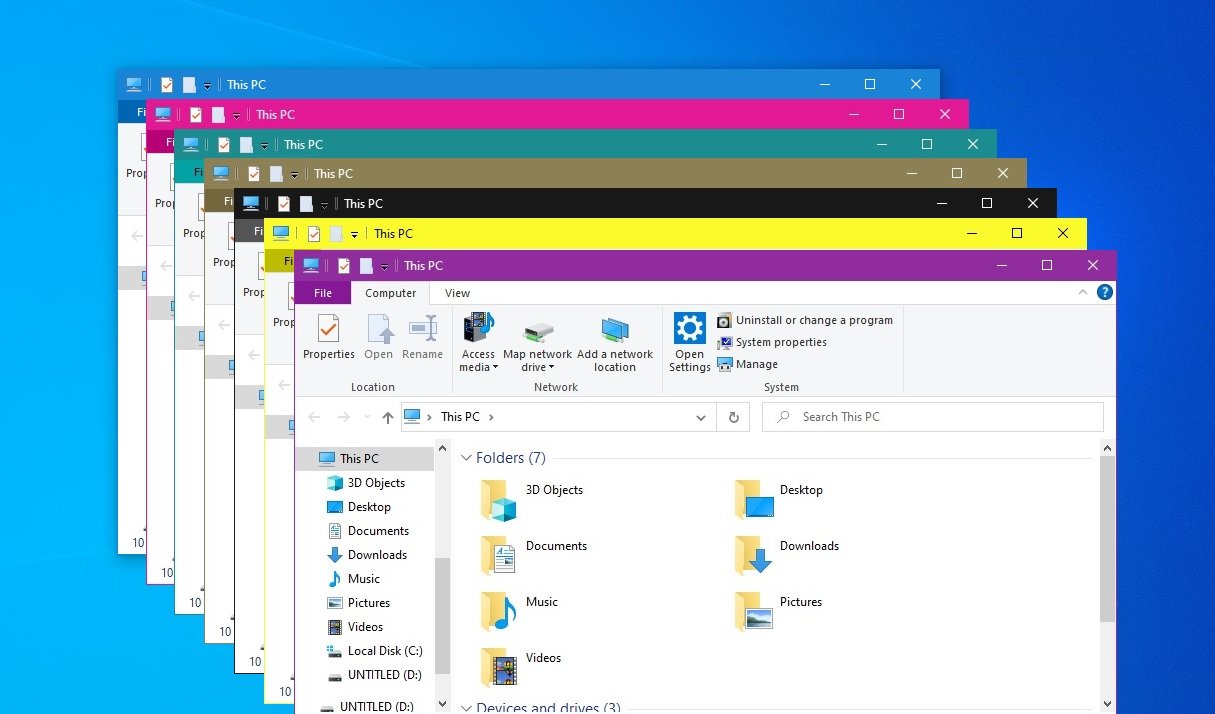
The colour of the window title, depends on the color selected in the Windows Color table.

This is how easy it is to change the color of the window title bar with just a few clicks of the mouse.
How to change title bars color in Windows 10 “The old way”
If you are using Windows 10 Anniversary Update or later, use the method above to change the colour of the window headers
You don’t need any third-party software or tools to set the window headers to any colour. The whole process is a matter of working with the Windows system files.
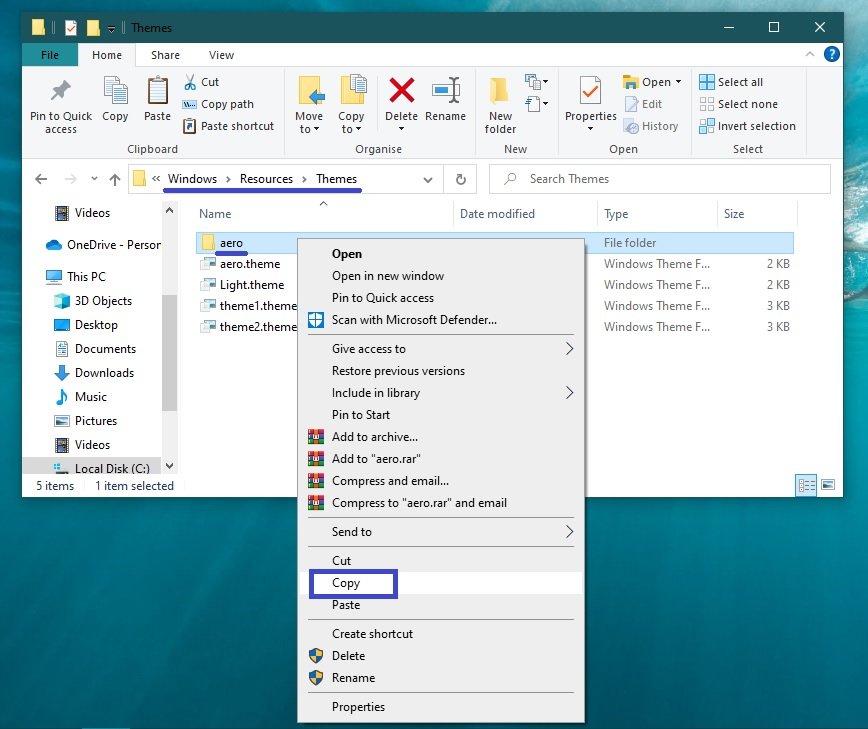
Open Windows Explorer and navigate to the following path:
C:\Windows\Resources\Themes
Now copy the folder (by pressing Ctrl + C and immediately Ctrl + V) named aero and create a copy here.
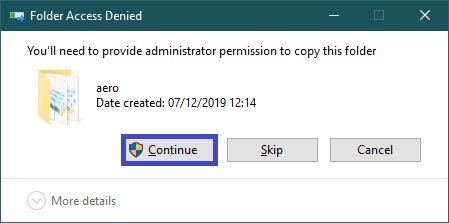
When you copy the folder, you will see a Folder Access Denied dialog box – click Continue.
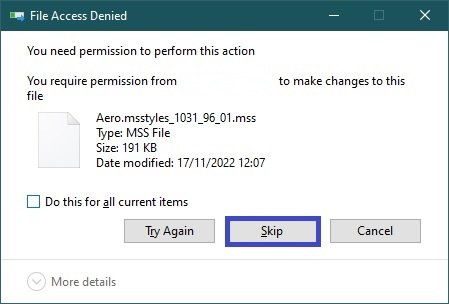
And when you see the File Access Denied window, click the Skip button to skip copying files with an MSS extension.
Rename the created aero-Copy folder to windows.
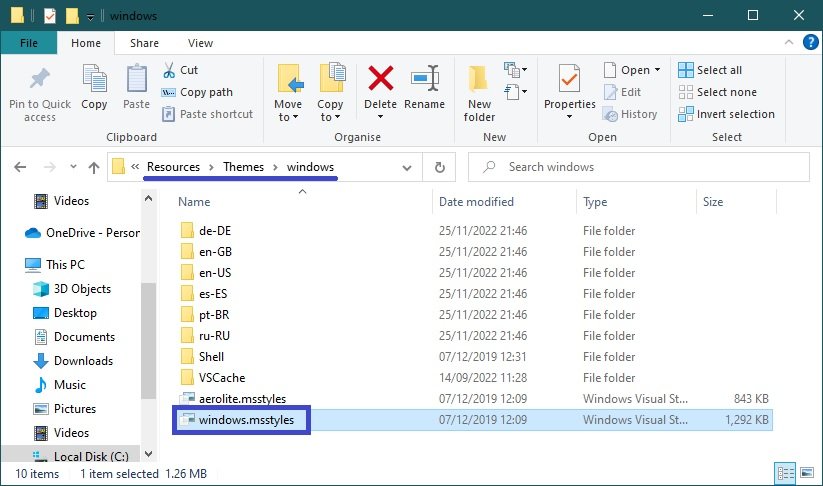
Open the windows folder and rename the file aero.mstyles to windows.msstyles.
Now open the folder en-GB (or en-US respectively if you have an English version of the operating system). Here rename the file aero.msstyles.mui to windows.msstyles.mui.

Go back to C:\Windows\Resources\Themes
Copy the aero.theme file to your desktop, then rename it to windows.theme
Open the windows.theme file we renamed with notepad.

Find the following line in the [VisualStyles] section:
Path=%ResourceDir%\Themes\Aero\Aero.msstyles
and replace it with:
Path=%ResourceDir%\Themes\\windows\windows.msstyles
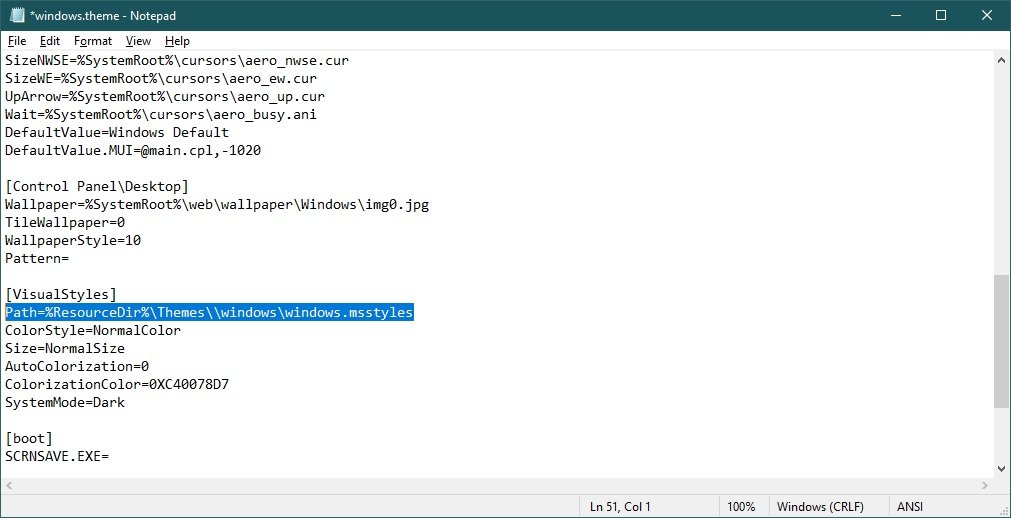
Save the changes.
Double-click on the windows.theme file to apply the theme.
To select a colour, open the Settings application, go to Personalisation and under Colours select the colour you want.
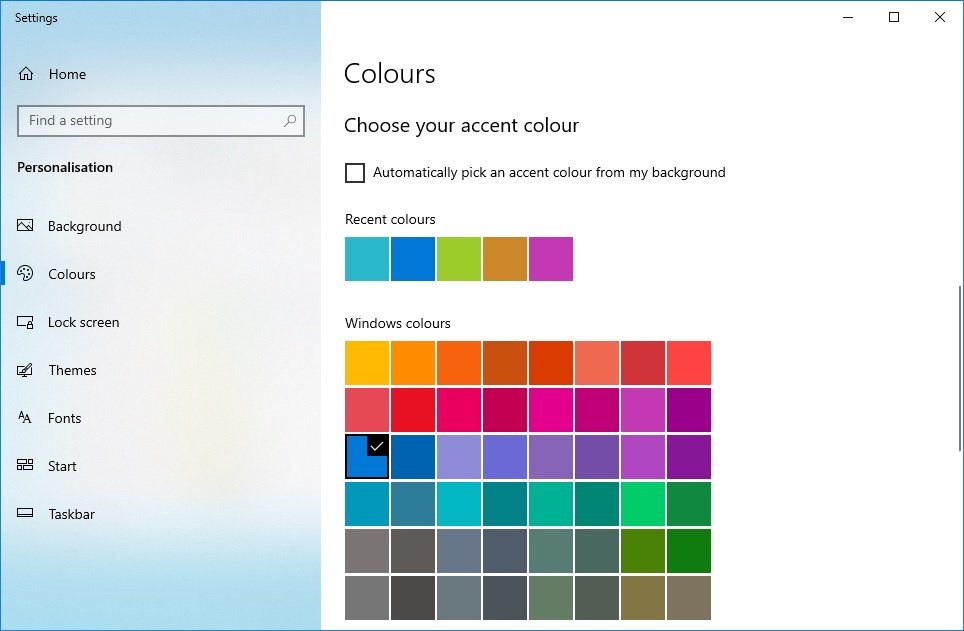
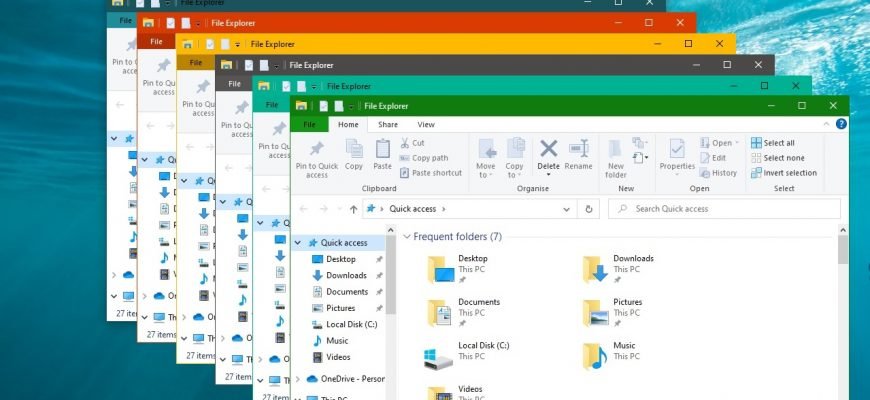
The result of this is shown in the screenshot below.