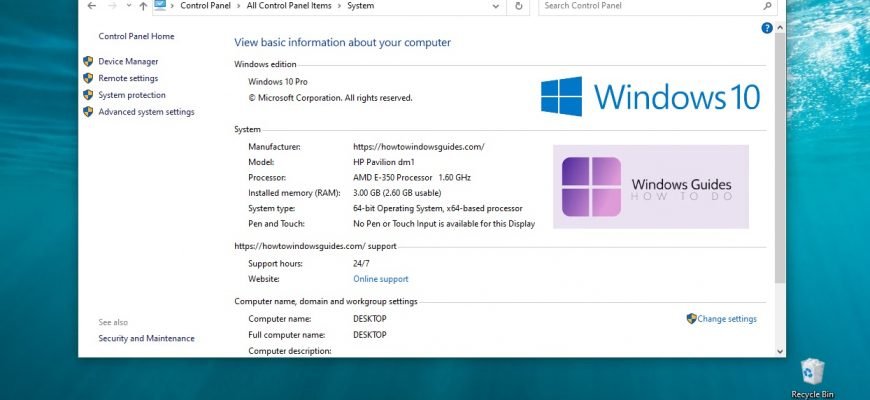
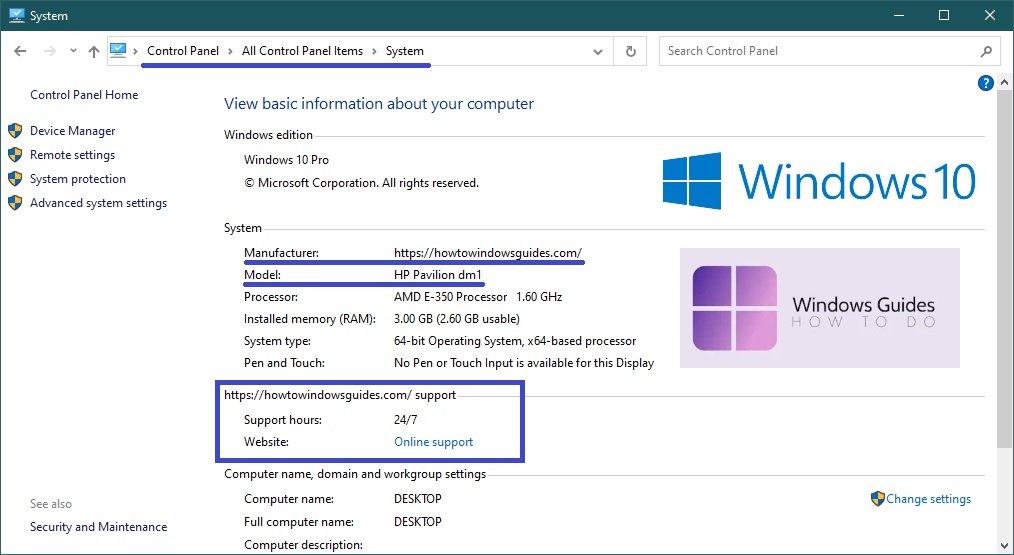
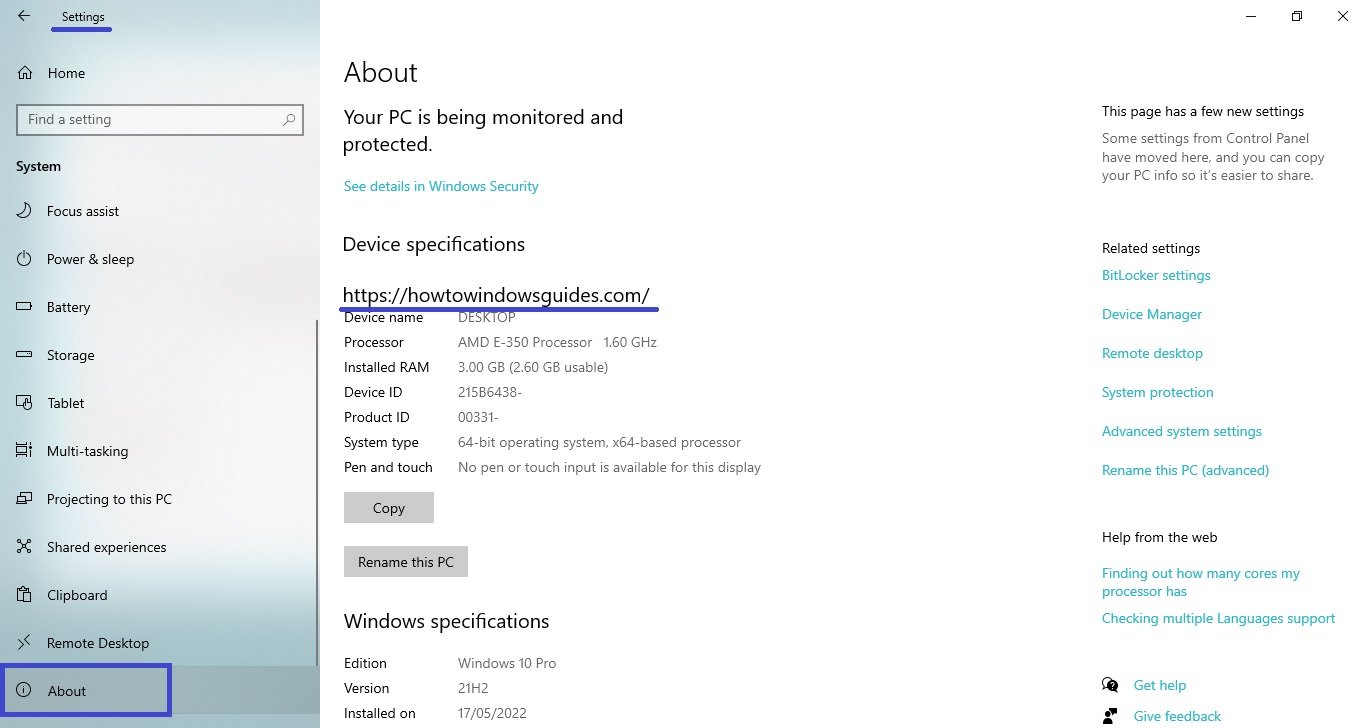
In Windows, you can enter manufacturer information, including the logo, model, link to the official website, opening hours and support phone number, in the basic information about your computer (in the System window). This information can be changed, removed or added to.
The following article shows the steps you need to take in order to change the information about your computer in the System window.
The basic information about your computer is displayed in the System window, which you can open via the Control Panel: Control Panel → All Control Panel Items → System or by pressing the Win + X key combination and selecting System.
In Windows 8.1 you can still see this information in Computer and Devices → Computer Info in the PC Settings panel, but in Windows 10 it is available in Settings → System → About.
To change, delete or add information, use the registry editor (press Win + R, enter regedit in the Run dialog box, then press Enter ↵). Go to the next registry section:
HKEY_LOCAL_MACHINE\\SOFTWARE\\Microsoft\\Windows\\CurrentVersion\\OEMInformation
Edit each of the available string parameters as required.
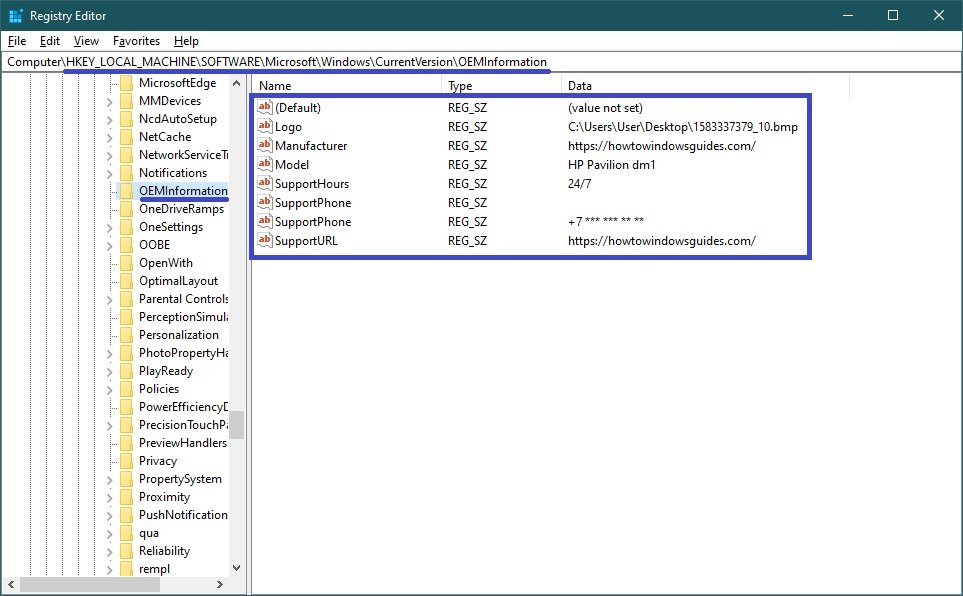
If this section turns out to be empty and consequently your computer information does not contain manufacturer information, you will need to create six string parameters with the following names:
- Manufacturer – Manufacturer’s name
- Model – computer model
- SupportHours – Support Service Hours
- SupportPhone – telephone number for support
- SupportURL – link to official website
- Logo – manufacturer’s company logo
For a manufacturer’s logo, you must first prepare a small BMP image, and then simply specify the path to it in the parameter value line. You can write anything you like into these parameter values.
To delete the manufacturer’s information, simply delete all of the string parameters present in this section.