
Almost all modern computers have energy-saving features that allow the computer to enter sleep mode after a certain period of inactivity. Enabling this feature reduces electricity consumption.
The energy-saving features are automatically activated by the operating system when it is installed, but it also depends on the hardware specifications of the computer and the installation of any required drivers.
Hibernation is a state of reduced power consumption and saving the current user session to RAM, allowing for quick resume of work. In the hibernation state, the RAM continues to be powered up and is virtually the only component that consumes power. Since the status of the operating system, all applications, open documents and other data are stored in RAM, the user can resume work from the same location as before going to sleep mode.
By default, the idle time after which the computer enters sleep mode is 30 (15) minutes, but this can be changed if required.
How to change the sleep time using “Windows Settings”
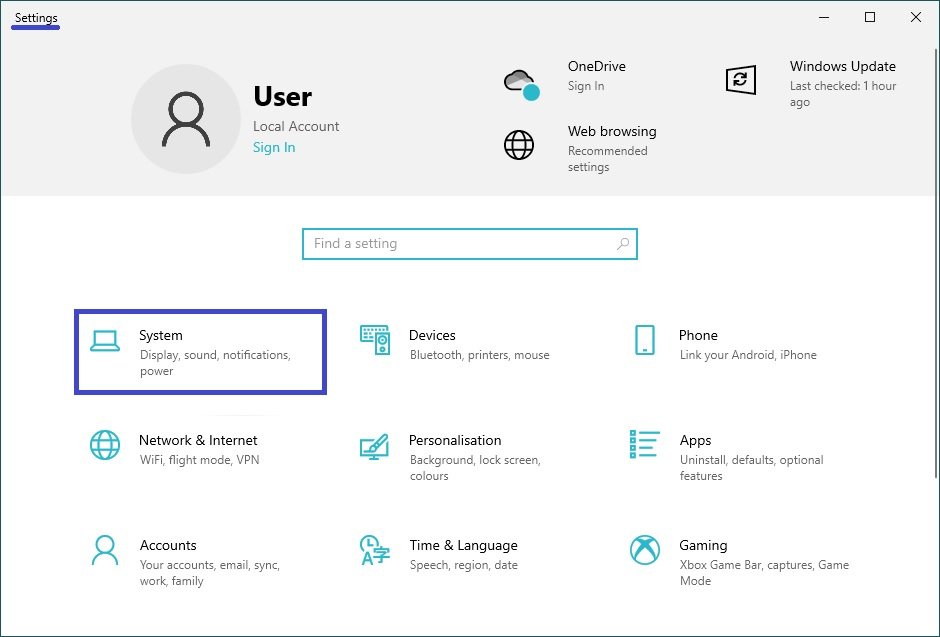
To change the time the computer goes to sleep, open the Settings application by pressing the Start button on the taskbar and then select Settings or press Win + I on your keyboard.

In the Settings window that opens, select System.
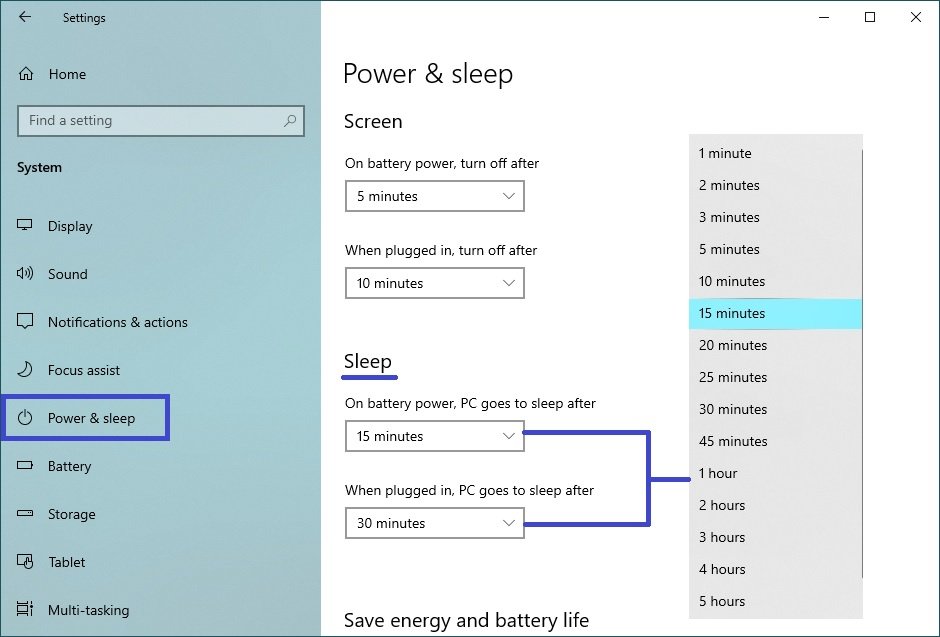
Then select the Power and Sleep tab, and on the right-hand side of the window in the Sleep section, in the drop-down list When mains powered go to sleep through and When battery powered go to sleep through (for laptops and tablets) select after how long the computer is inactive, go to sleep (minutes, hours or never).
How to change the sleep time using the Control Panel
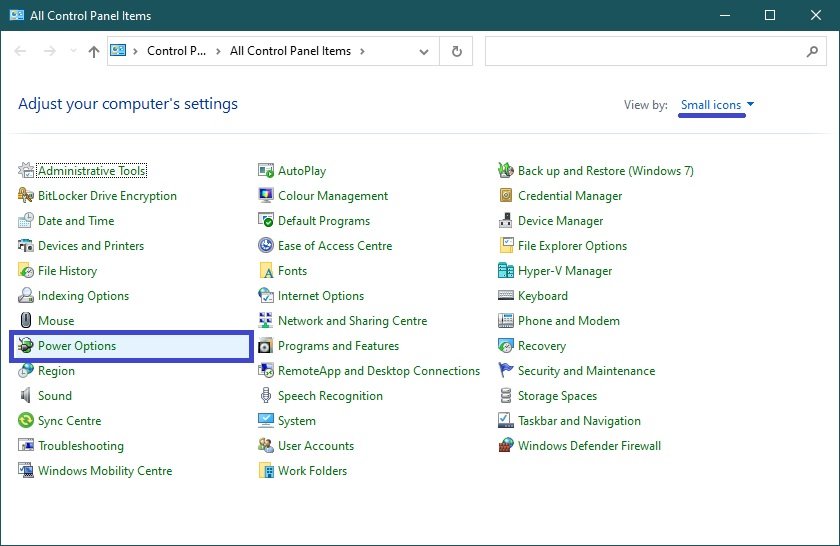
Open the classic control panel, select Small icons from the View drop-down list and then select Power Options.
In the “Power Options” window, click on the link Change when the computer sleeps.

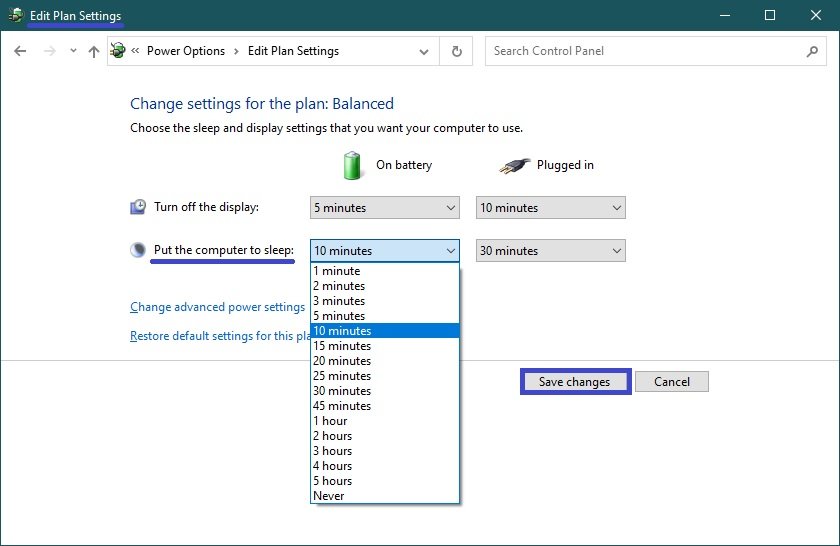
Then in the Edit Plan Settings window, in the Put the computer to sleep: drop-down list, select after how long the computer is inactive, to go to sleep (minutes, hours or never) and click Save Changes.
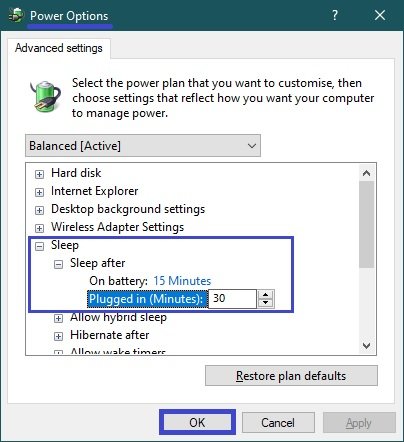
How to change the sleep time using the optional power settings
To change the computer’s sleep time in this way, press Win + R on your keyboard, enter (copy and paste) control powercfg.cpl,,1 in the Run window and press OK.

In the Power Options window, select Sleep → Sleep after, then set the required time and press the OK button.
Using the steps above, you can change the computer’s inactivity time before going to sleep in Windows 10.


