
In Windows, it is possible to set the keyboard to use a different keyboard layout or input method to enter text in a different language.
The keyboard layout language determines the characters that appear on the screen when you enter text.
The following article shows how to add or remove a keyboard layout(s) in Windows 10.
How to add a keyboard layout in the Windows Settings application
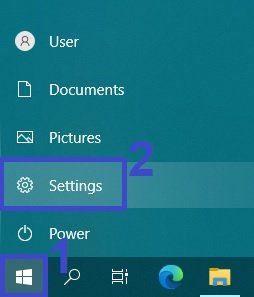
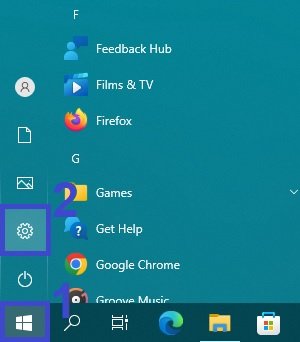
To add a keyboard layout in the Windows Settings application, press the Start button on the taskbar and then select Settings or press the Win + I shortcut on your keyboard.
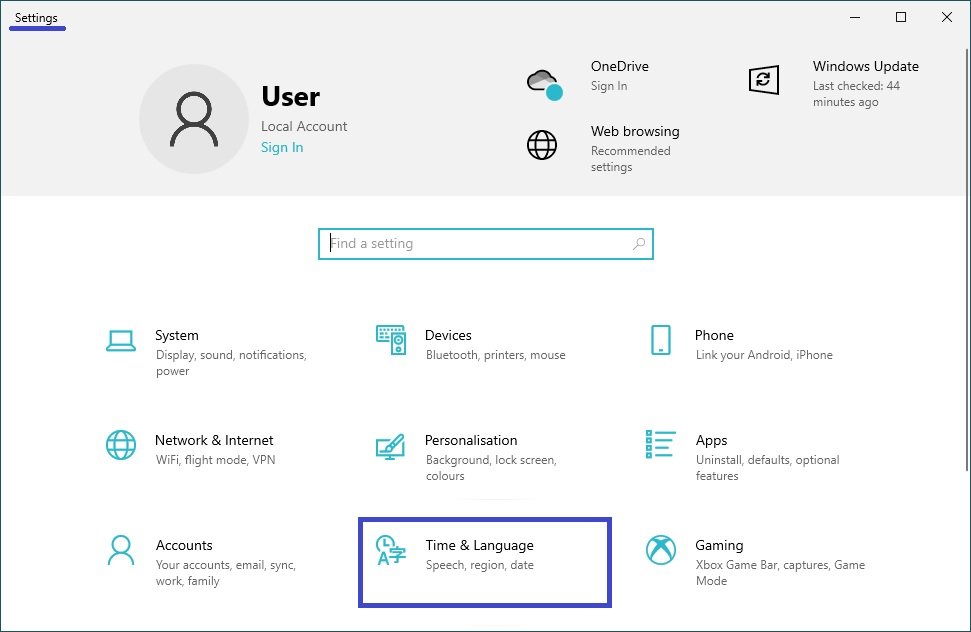
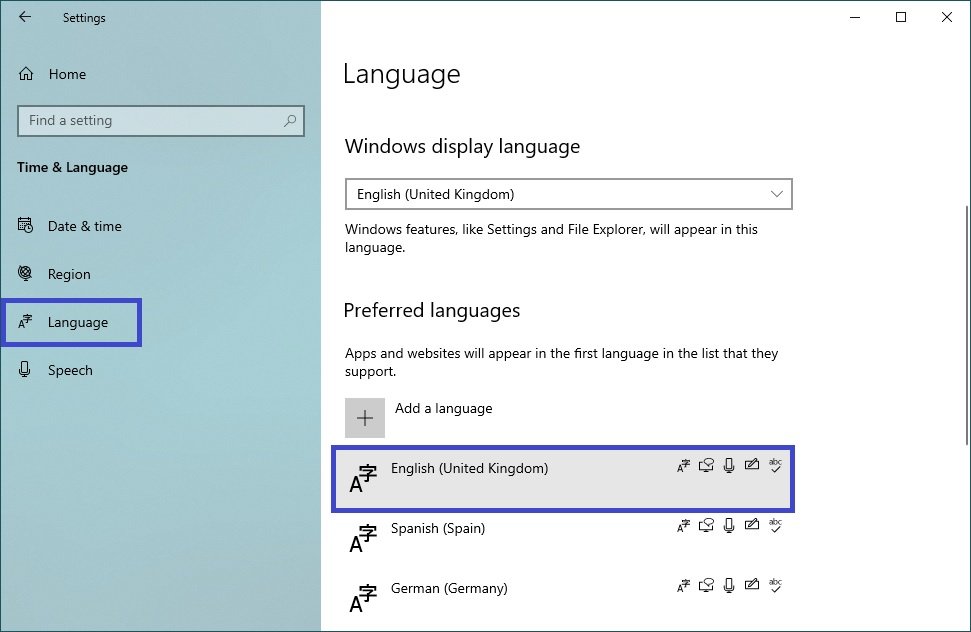
In the Settings window that opens, select Time and Language.
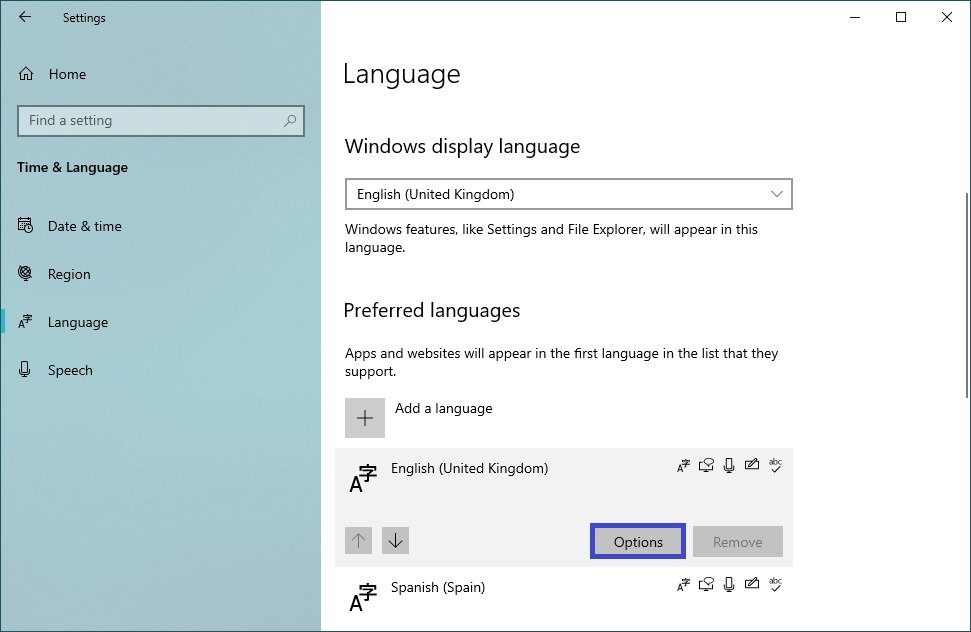
Select the Language tab, and on the right-hand side of the window click on the set language for which you wish to add the keyboard layout.
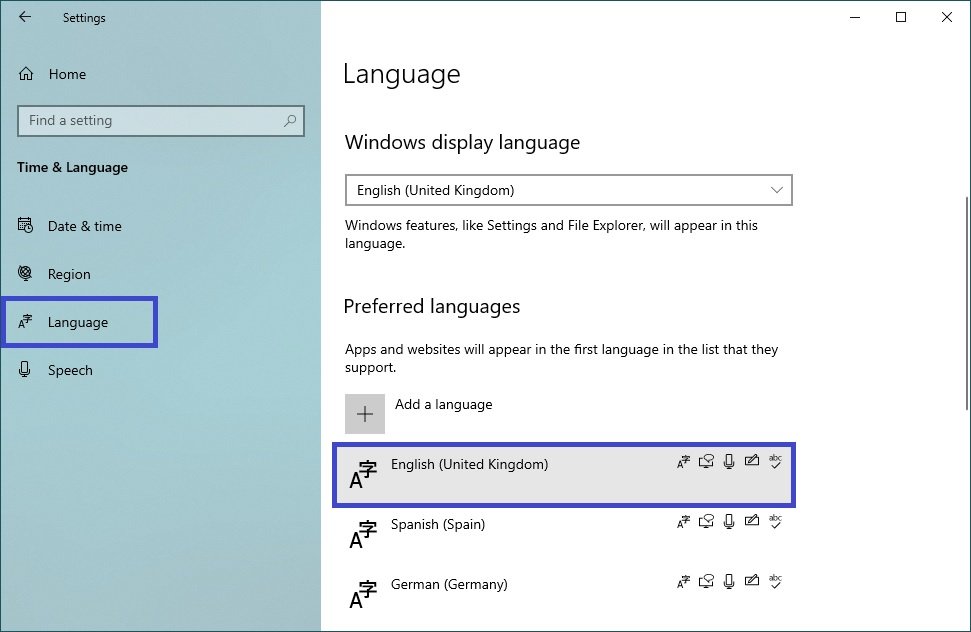
Then press the Options button.

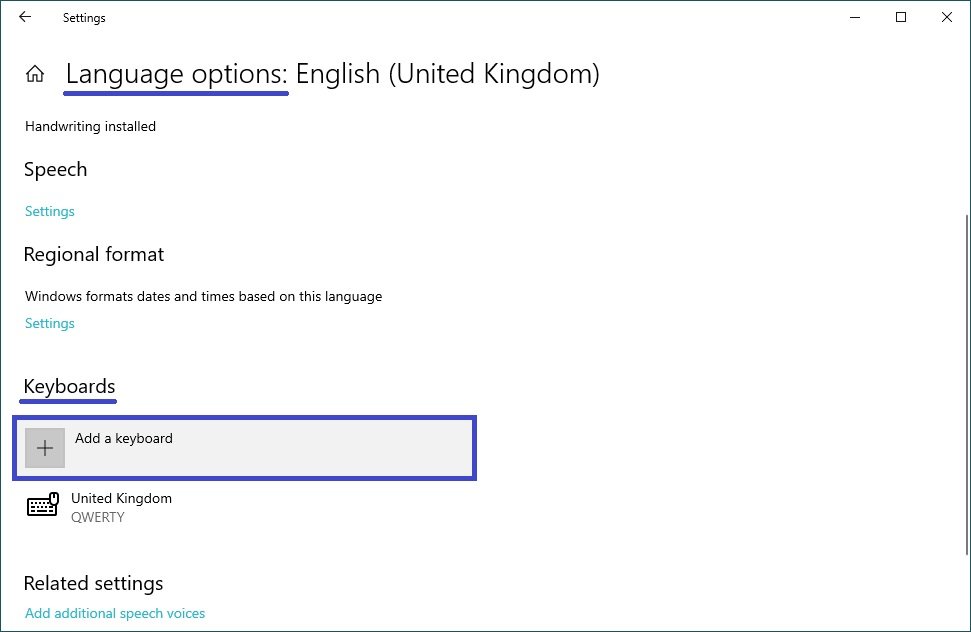
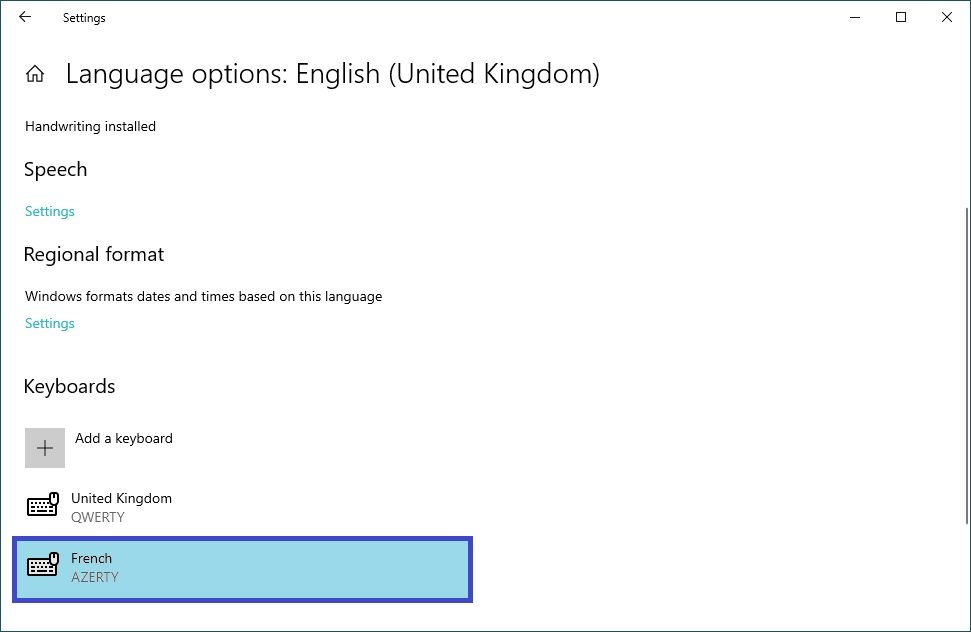
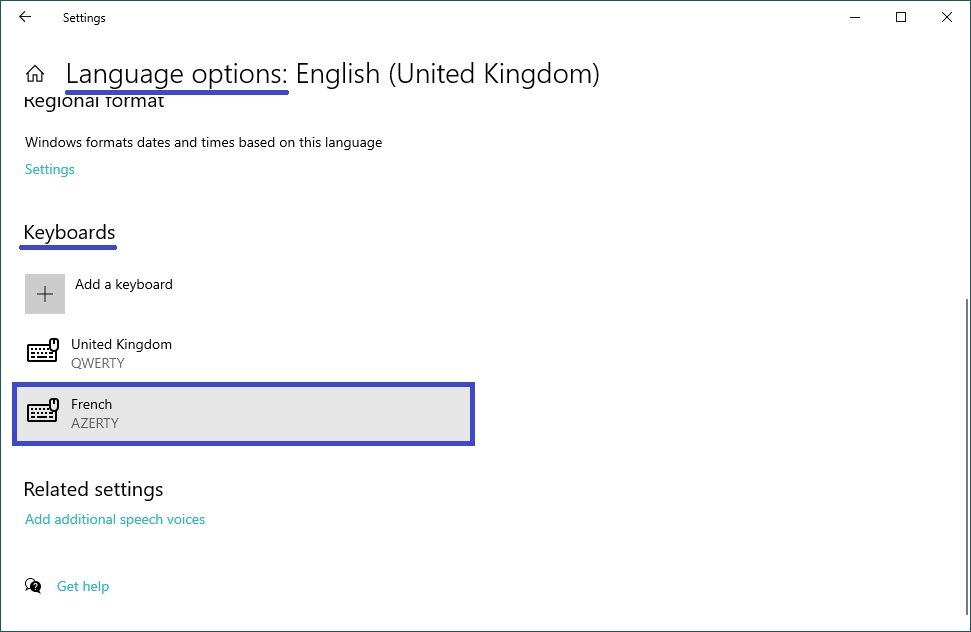
In the “Language options” window, under Keyboards, press Add a keyboard.
From the list of keyboard layouts available for the language, select the layout you require.
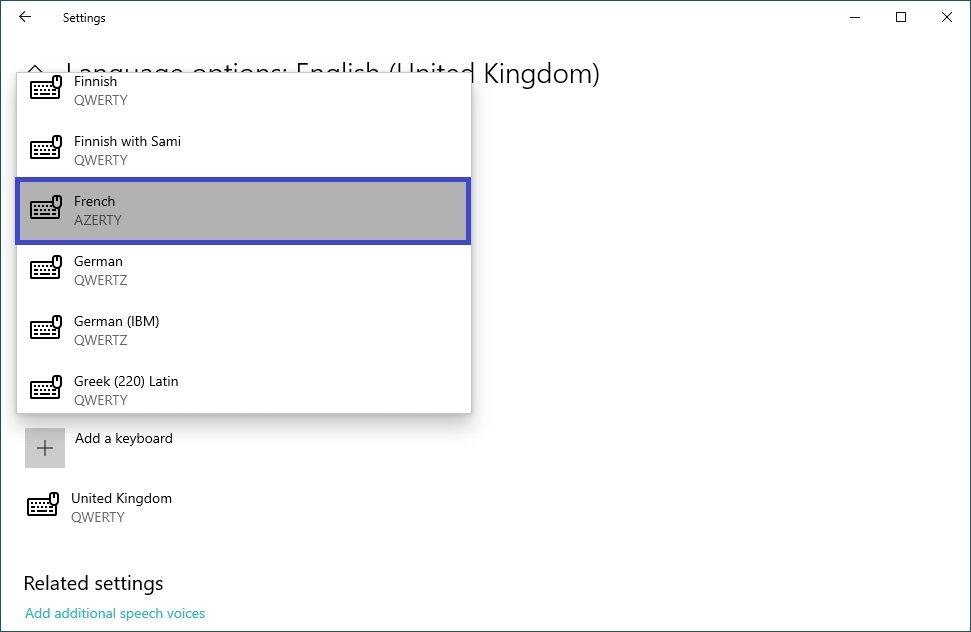
The selected keyboard layout is added.
How to remove the keyboard layout in the Windows Settings application
To remove the keyboard layout in the Windows Settings application, press the Start button on the taskbar and then select Settings or press the Win + I key combination on your keyboard.
In the Settings window that opens, select Time and Language.
Select the Language tab, and on the right-hand side of the window click on the set language from which you wish to remove the keyboard layout.
Then press the Options button.
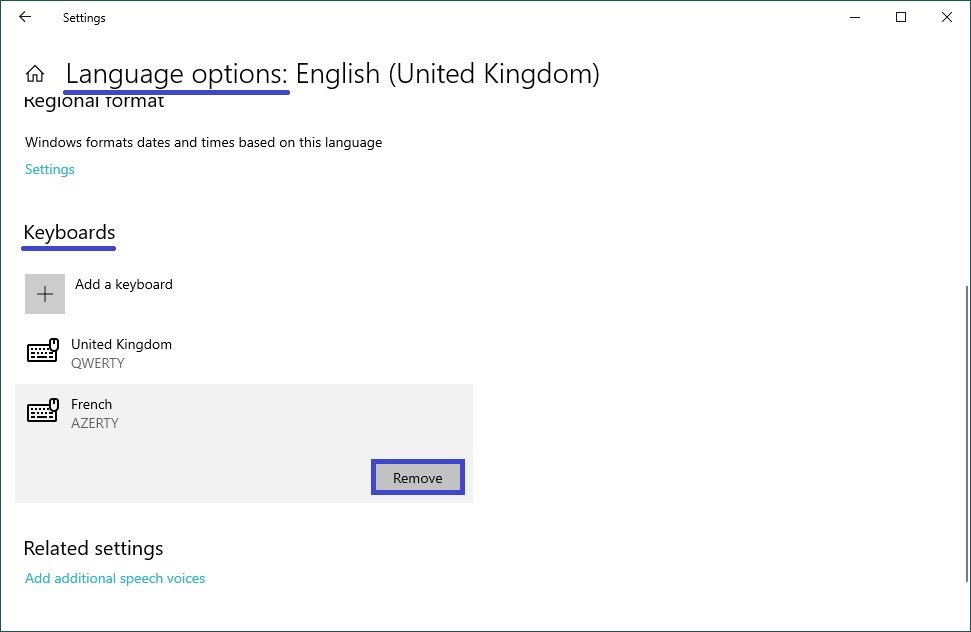
In the “Language Options” window, in the Keyboards section, click on the keyboard layout you wish to remove.
Then press the Remove button.
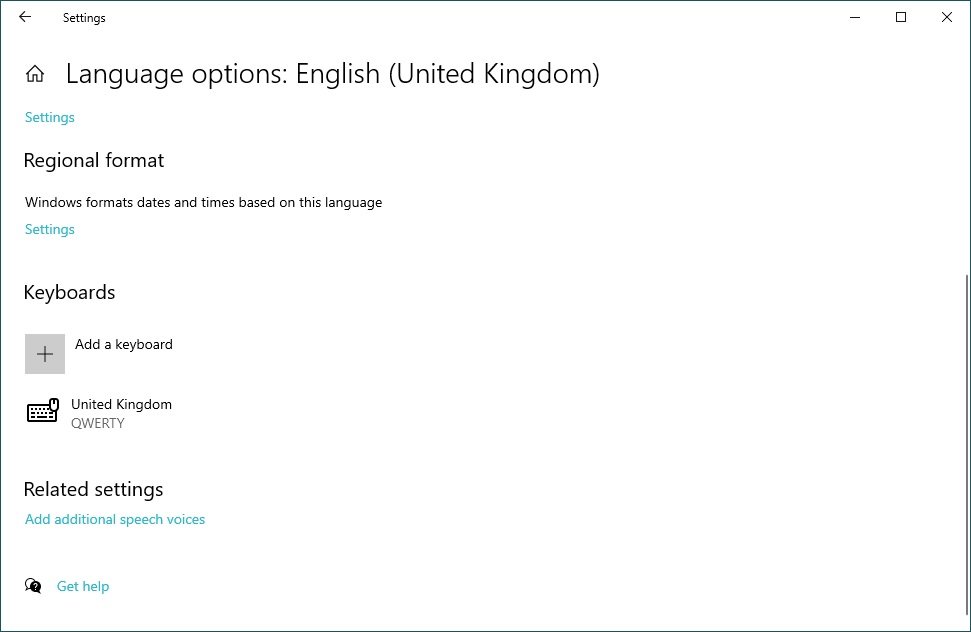
The selected keyboard layout is deleted.
Using the steps above, you can easily add or remove a keyboard layout in Windows 10.


