Whether you’re a software developer, an IT professional or a technology enthusiast, many of you have multiple operating systems to work with. Hyper-V allows you to run multiple operating systems as virtual machines in a Windows operating system.
Hyper-V provides hardware virtualisation. This means that each virtual machine runs on virtual hardware. Hyper-V allows you to create virtual hard disks, virtual switches and a range of other virtual devices that can be added to virtual machines.
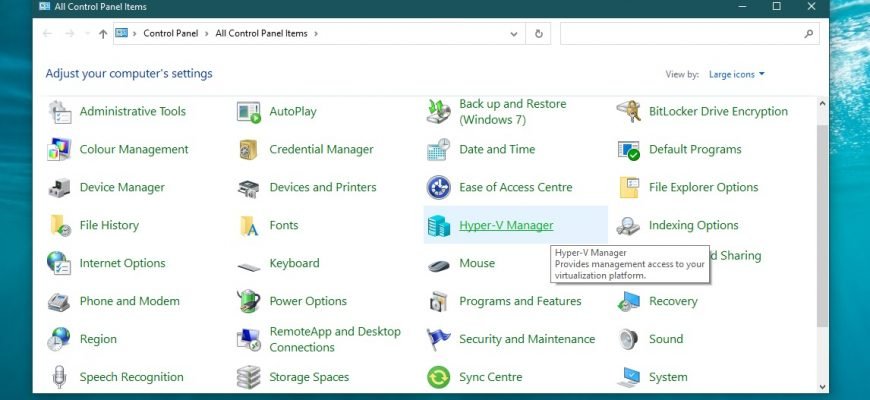
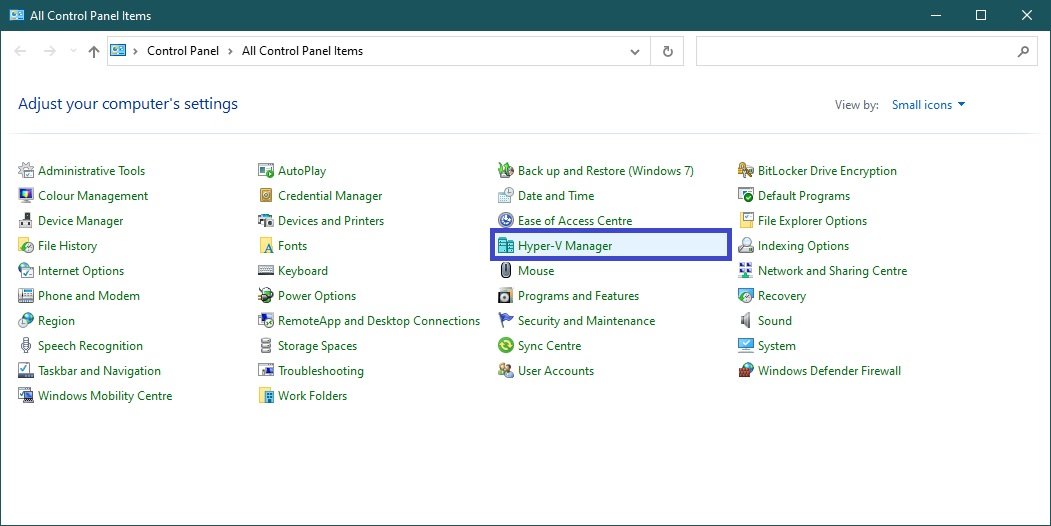
“Hyper-V Manager” provides access to the management of the virtualisation platform:
- The Hyper-V component is only available on the 64-bit versions of Windows 10 Pro, Enterprise and Education. It is not available in the home version of Windows 10
- You need to enable the Hyper-V component to be able to add “Hyper-V Manager” to the classic Windows 10 Control Panel
- To add or remove “Hyper-V Manager” from the control panel, you must be logged in as an administrator.
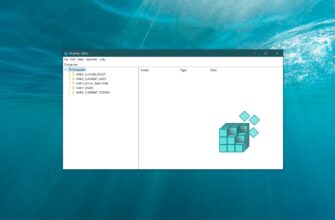
This method allows you to add or remove the “Hyper-V Manager” in Classic Control Panel by making changes to the Windows registry through a registry file.
All changes made to the registry are shown in the registry file listings below.
How to add “Hyper-V Manager” to the Windows 10 Control Panel
To add “Hyper-V Manager” to the Control Panel, create and apply the following registry file:
Windows Registry Editor Version 5.00
[HKEY_LOCAL_MACHINE\SOFTWARE\Classes\CLSID\{e23fd76f-5b20-40e5-a9b2-1be8f0416c26}]
@=”Hyper-V Manager”
“InfoTip”=”Provides management access to your virtualization platform.”
“System.ControlPanel.Category”=”8″
[HKEY_LOCAL_MACHINE\SOFTWARE\Classes\CLSID\{e23fd76f-5b20-40e5-a9b2-1be8f0416c26}\DefaultIcon]
@=”%ProgramFiles%\\Hyper-V\\SnapInAbout.dll,-110″
[HKEY_LOCAL_MACHINE\SOFTWARE\Classes\CLSID\{e23fd76f-5b20-40e5-a9b2-1be8f0416c26}\Shell\Open\Command]
@=”mmc.exe virtmgmt.msc”
[HKEY_LOCAL_MACHINE\SOFTWARE\Microsoft\Windows\CurrentVersion\Explorer\ControlPanel\NameSpace\{e23fd76f-5b20-40e5-a9b2-1be8f0416c26}]
@=”Hyper-V Manager”
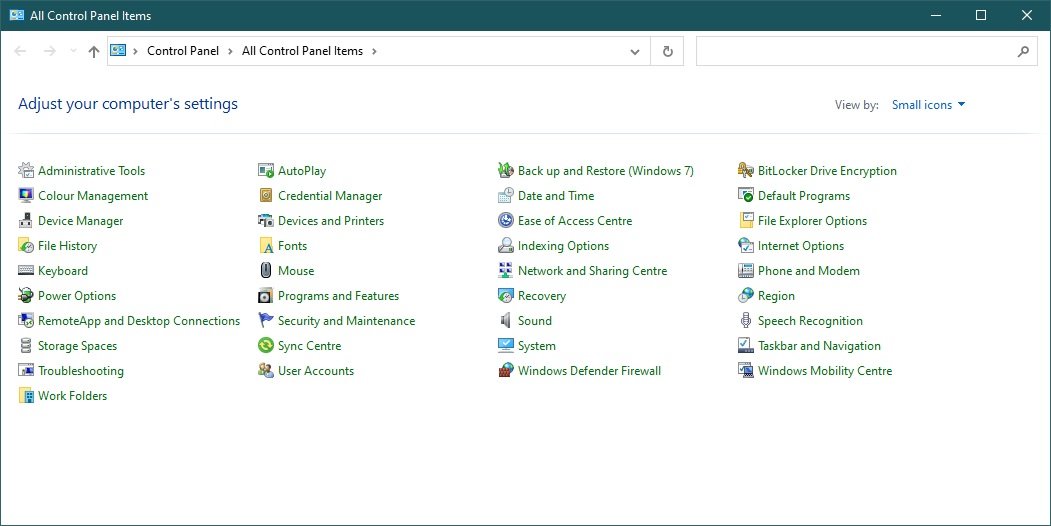
Once the registry file is applied, the changes take effect immediately. An example of the added “Hyper-V Manager” applet in the control panel is shown below.
How to remove “Hyper-V Manager” from the Windows 10 Control Panel
To remove “Hyper-V Manager” from the control panel, create and apply the following registry file:
Windows Registry Editor Version 5.00
[-HKEY_LOCAL_MACHINE\SOFTWARE\Classes\CLSID\{e23fd76f-5b20-40e5-a9b2-1be8f0416c26}]
After the registry file has been applied, the changes will take effect immediately. “Hyper-V Manager” will be removed from the control panel.
Using the steps above, you can add or remove “Hyper-V Manager” from the Windows 10 Control Panel.