
Hibernation – A special mode of shutting down the operating system when all the contents of RAM are stored on the hard disk drive. When the computer is turned on, the memory contents are restored and the user can continue working exactly where he/she left off.
In Windows 10, hibernation mode is by default absent from the default shutdown menu, but that does not mean that it is not available. The following article discusses the sequence of steps to add hibernation mode as a menu item.
How to add “Hibernate” to the “Shutdown” menu
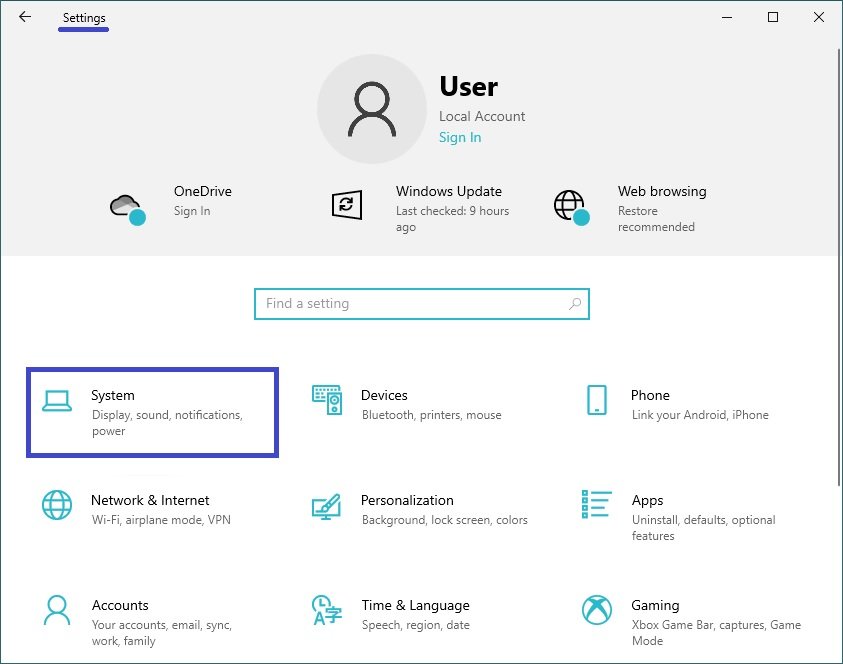
To add “Hibernate” to the Shutdown menu, click the Start button on the taskbar and then select Settings or press Win + I.

In the Settings window that opens, select System.
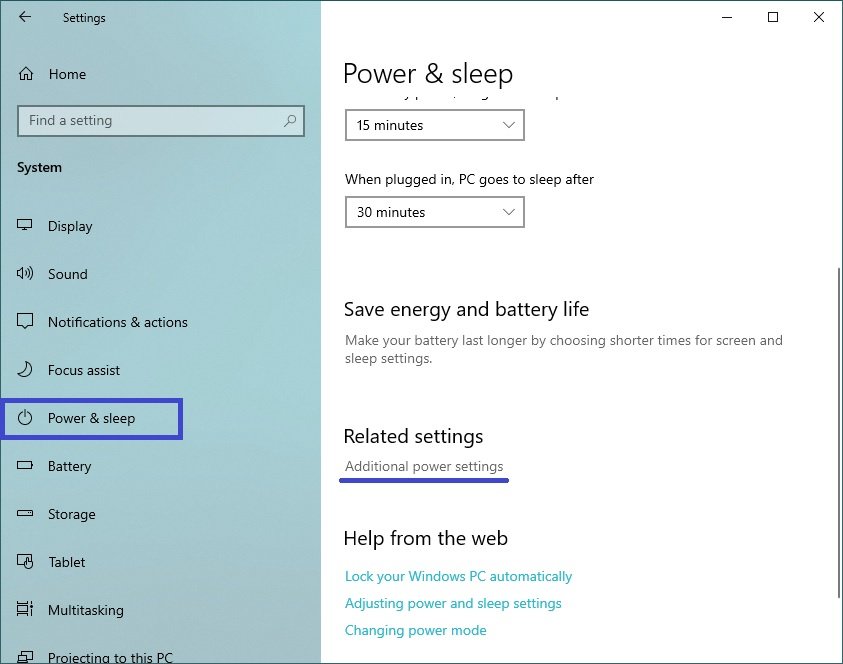
Then select the Power and Sleep tab, and under “Related settings“, on the right side of the window, click the Additional power settings link.
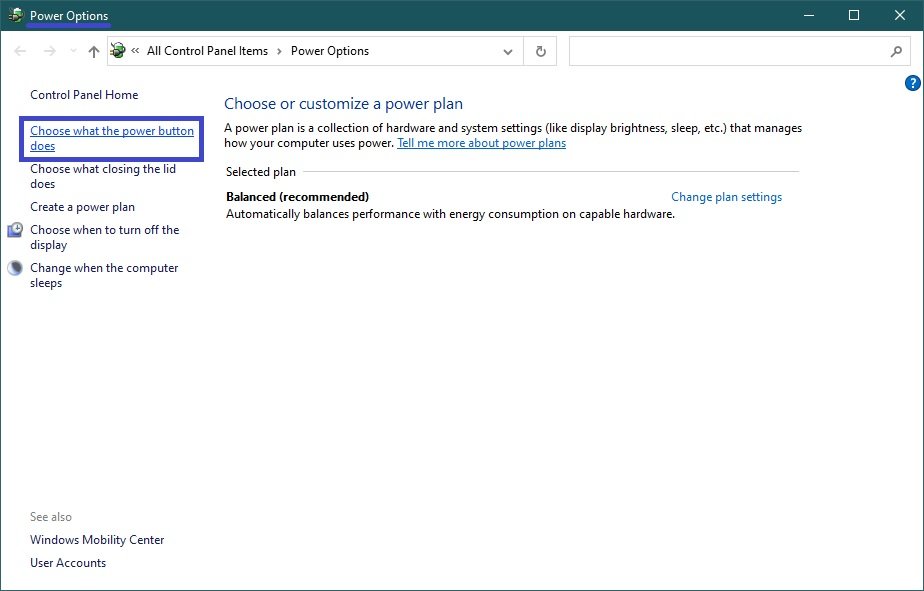
In the Power Options window, click the following link: Choose what the power button does.
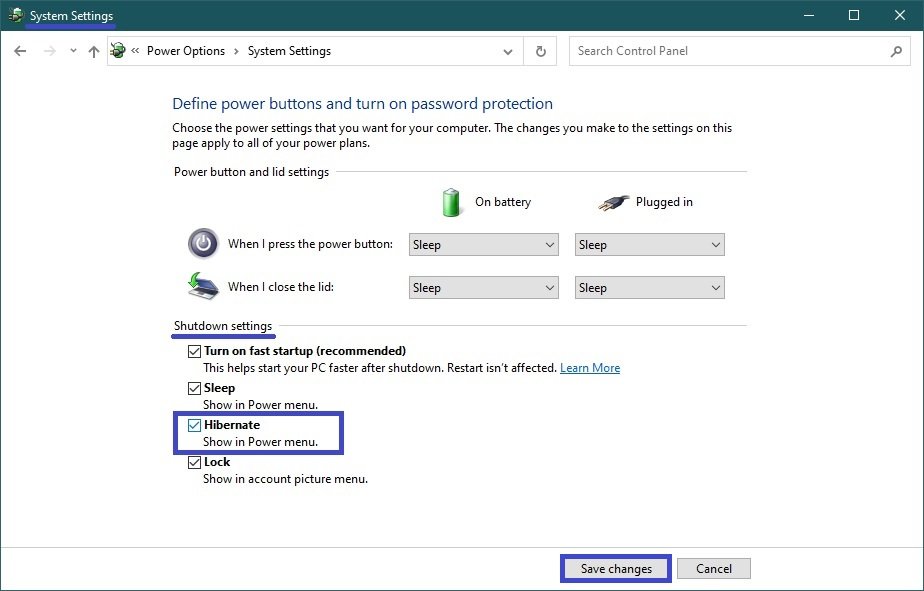
Next, in the “System Settings” window, click on the link titled ‘Change settings that are currently unavailable’.
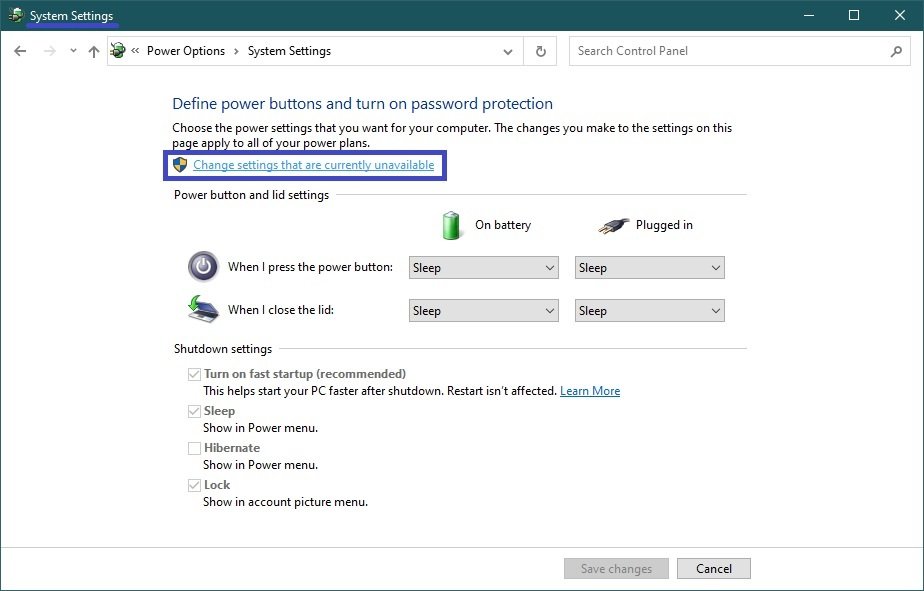
Then, in the Shutdown settings section, check the Hibernate checkbox and click Save Changes.
The changes take effect immediately, and the corresponding item appears as an option in the Shutdown menu.

There are several conditions for hibernation mode to be available in Windows:
- Hibernation must be supported by the video adapter driver.
- Power saving modes should not be disabled in the BIOS settings of the computer.
- Hibernation mode can also be disabled in the command line console using the command powercfg-hibernate off.
- And if the computer runs on an organization’s network, check with the system administrator to see if hibernation mode is disabled due to company policies.
Using the steps discussed above, you can add the “Hibernate” item to the “Shutdown” menu in Windows 10.


