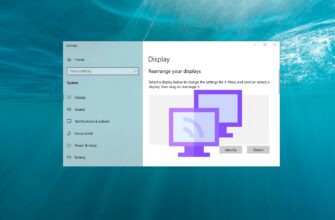
If Drive D doesn’t appear in Windows 10’s File Explorer, it could be due to various reasons—ranging from system setting changes to file system corruption. Below, we’ll walk you through effective methods for detecting and recovering a missing drive.
Check via Disk Management
Sometimes the system simply doesn’t assign a drive letter, which can cause the drive to be hidden. Here’s how you can fix it:
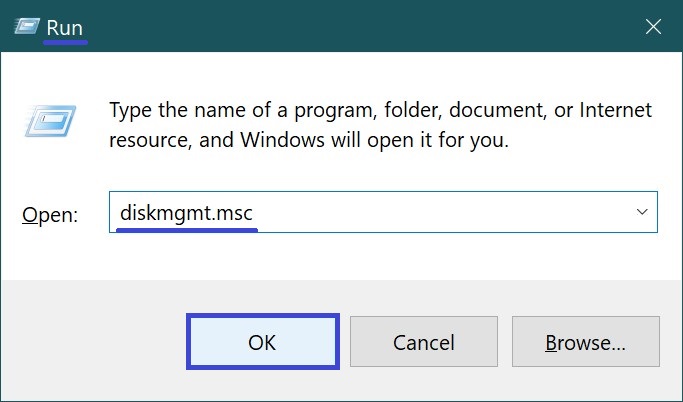
- Press Win + R on your keyboard to open the Run dialog box, type diskmgmt.msc, and click OK to open Disk Management.
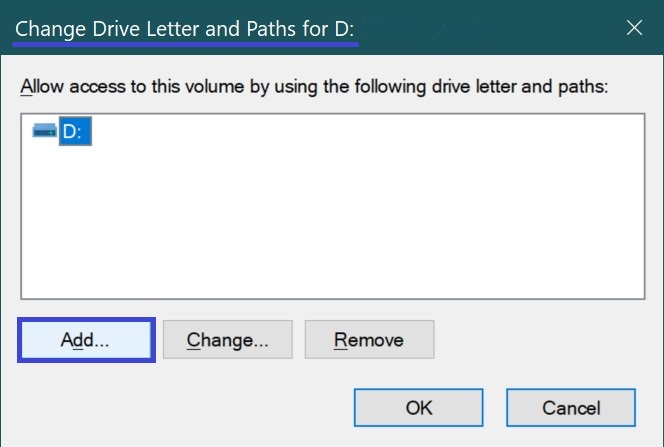
- In the Volume column, locate the drive that doesn’t have an assigned letter. Right-click on it and select “Change Drive Letter and Paths…” from the context menu.
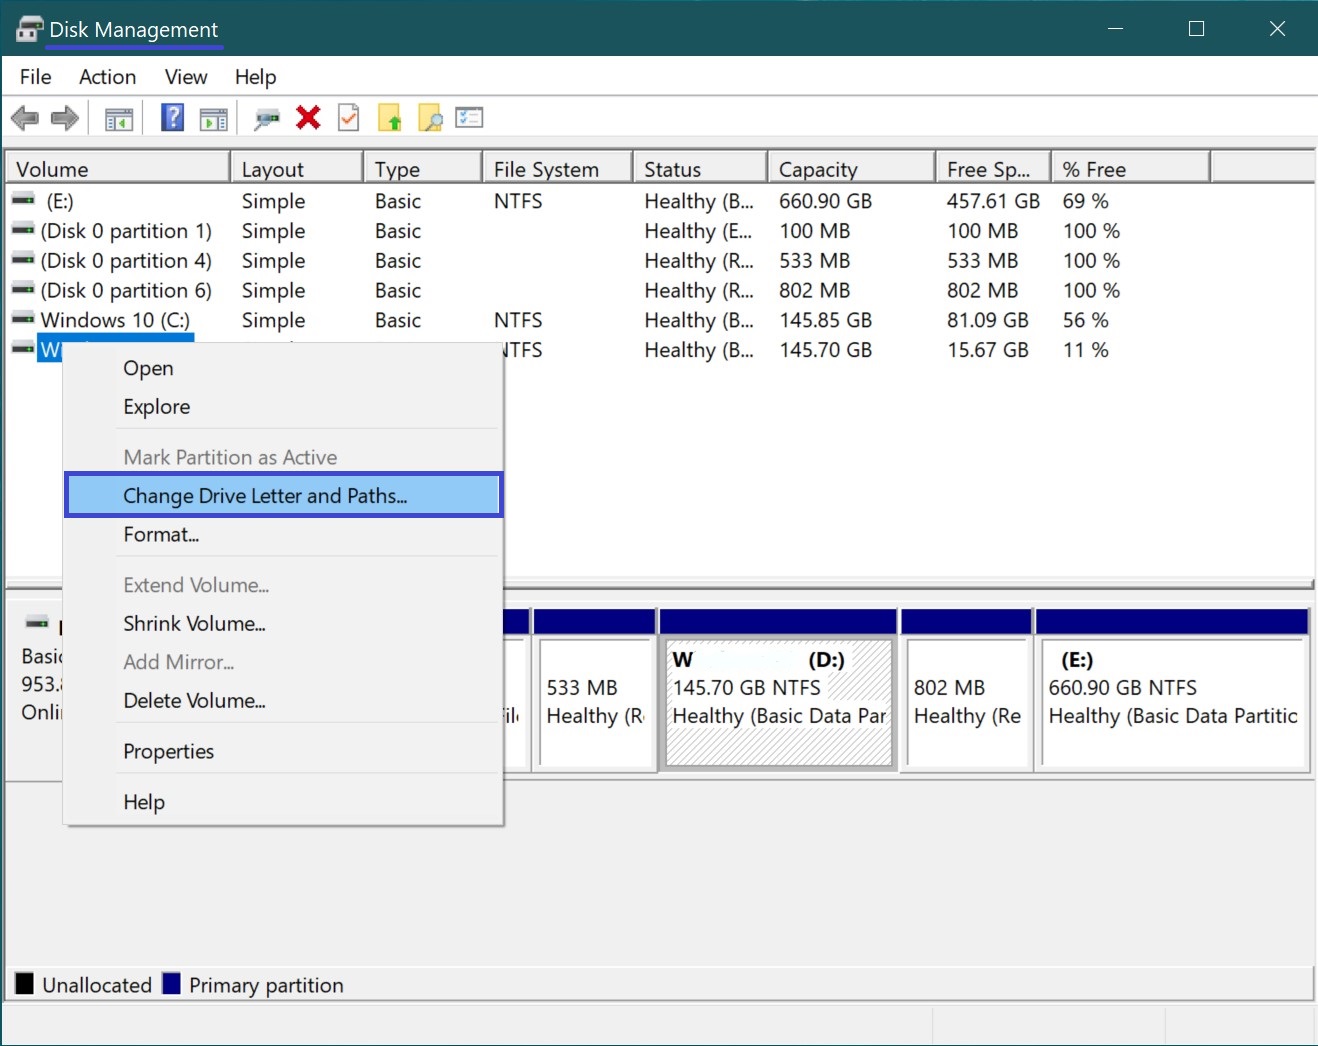
- In the new window, click “Add…”, choose an available letter (for example, D), and apply the changes.
- Restart the system and check if the drive appears in the device list.
Activate a Hidden Partition
When a drive is marked as “Unallocated”, follow these steps to restore it:
- Open Disk Management, for example, through the Run dialog (Win + R → diskmgmt.msc → Enter).
- Select the unallocated disk (marked as “Unallocated”), right-click on it, and select “New Simple Volume…”.
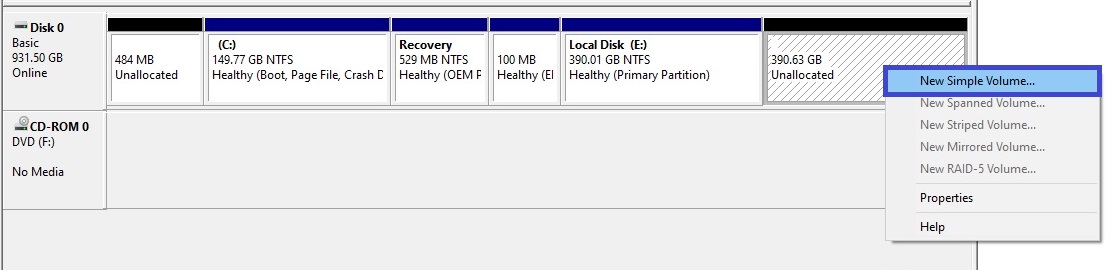
- Next, follow the steps in the New Volume Wizard to assign the letter D and format the drive in NTFS format.
Please note that this process will completely erase all data on the drive. If important files are stored on it, it is recommended to use specialized recovery software, such as Recuva or R-Studio.
Check the Drive via Command Prompt (CHKDSK)
If the drive is present but not opening, its file system may be corrupted. To check and fix errors:
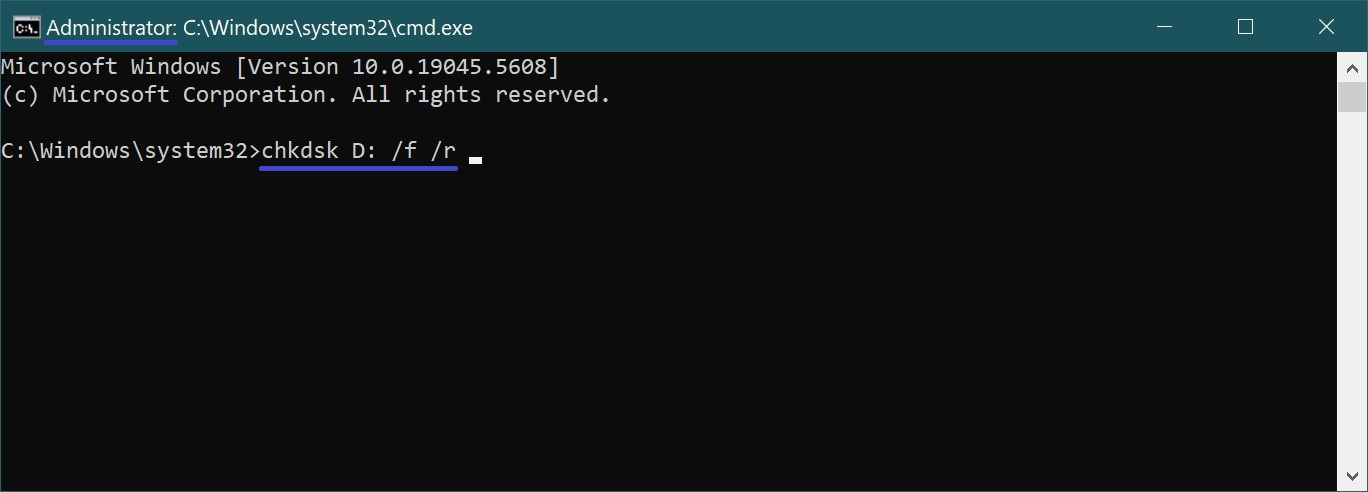
- Launch the Command Prompt with administrator privileges by pressing Win + R, typing cmd, and then pressing Ctrl + Shift + Enter.
- Enter the following command:
chkdsk D: /f /r
- Press Enter to execute the command.
- Wait for the program to finish its work and restart the system.
Check via Device Manager
If the disk is not visible even in Disk Management, the issue may be related to device drivers. To check this, follow these steps:
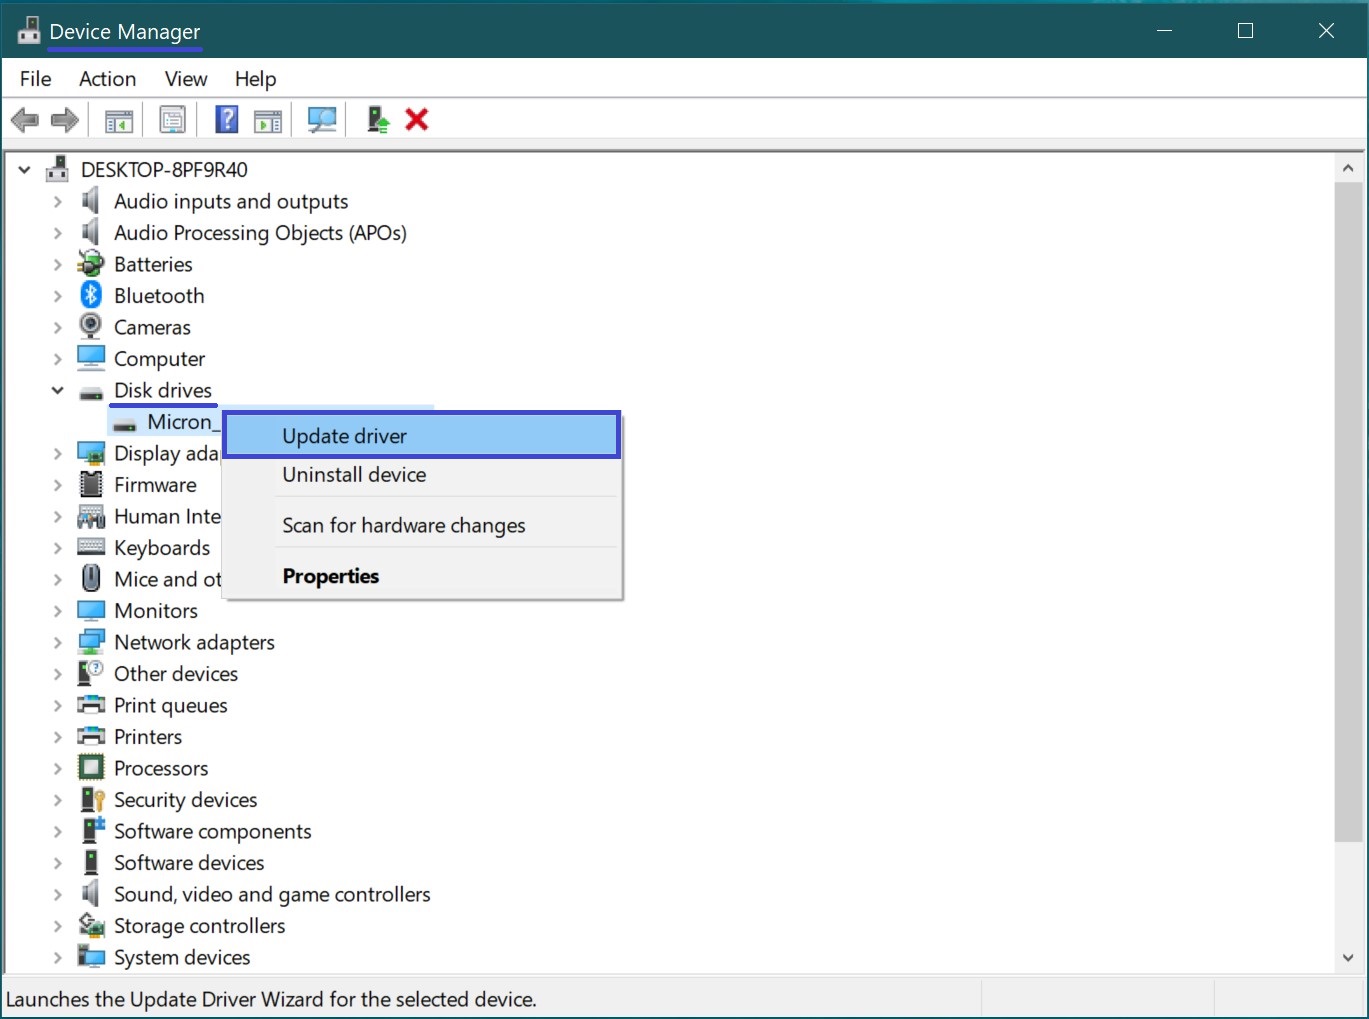
- Open Device Manager – for example, through the Start menu’s context menu (which can be accessed by pressing Win + X).
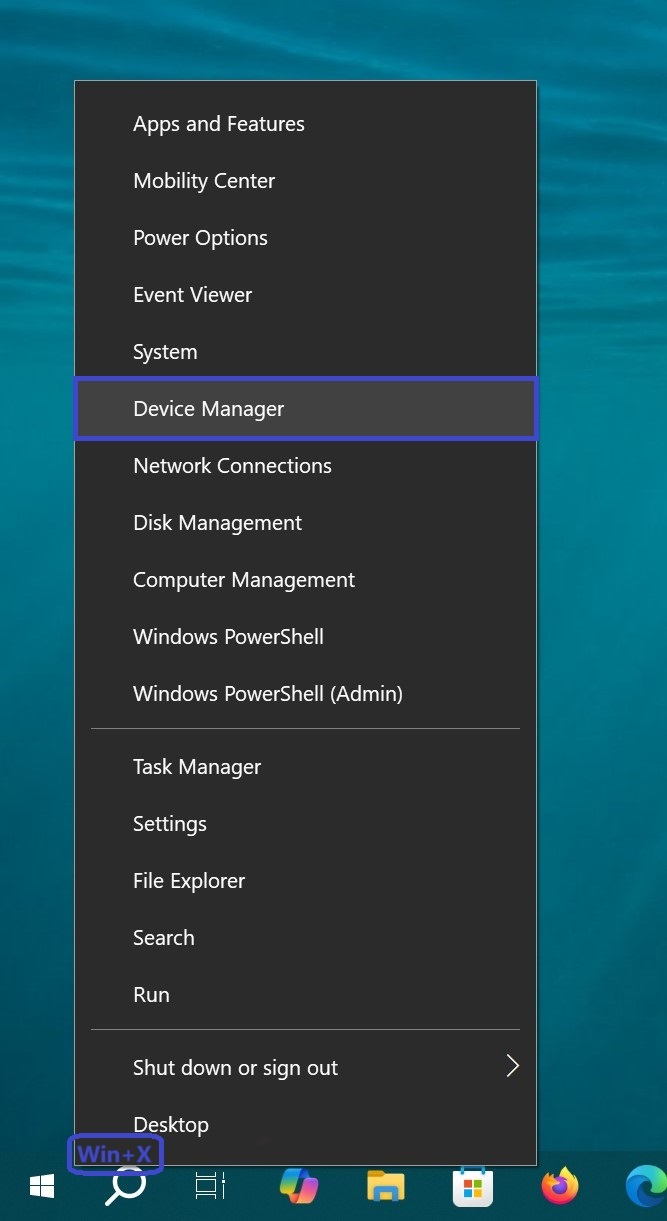
- Go to the Disk Drives section.
- If an error icon appears next to the disk, right-click on it and select “Update Driver”.
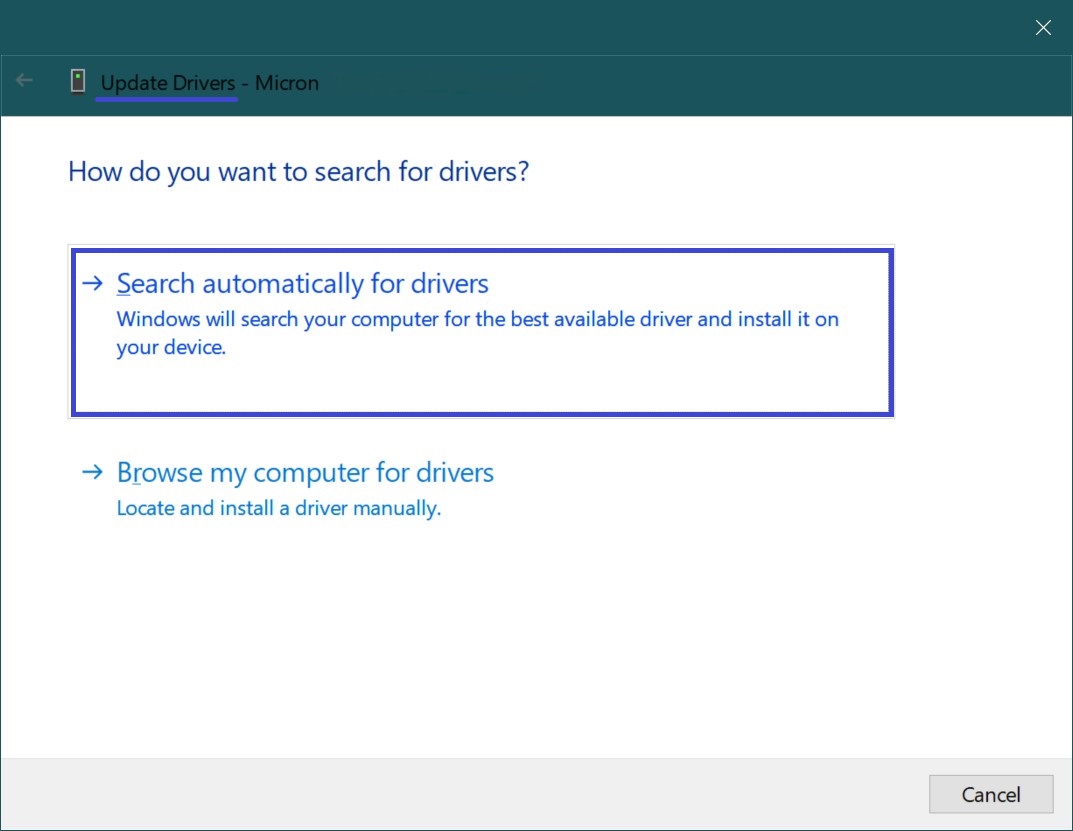
- The driver update program will start. Select the “Search automatically for drivers” option and wait for the installation to complete.
If the update doesn’t work, remove the device, restart the computer — the system will automatically reinstall the drivers.
If Drive D has disappeared in Windows 10, the issue can usually be resolved through Disk Management, file system checks, or driver updates. If the drive still doesn’t appear after all attempts, it could indicate a hardware failure. In this case, try connecting it to another PC or contact a service center.