In the modern world Java remains one of the most popular programming languages due to its versatility and powerful features. However, for Java applications to work correctly, it is important to have an up-to-date version of this platform. In this article, we will look at ways to find out what version of Java is installed on your Windows 11 and 10 device.
About Java” application
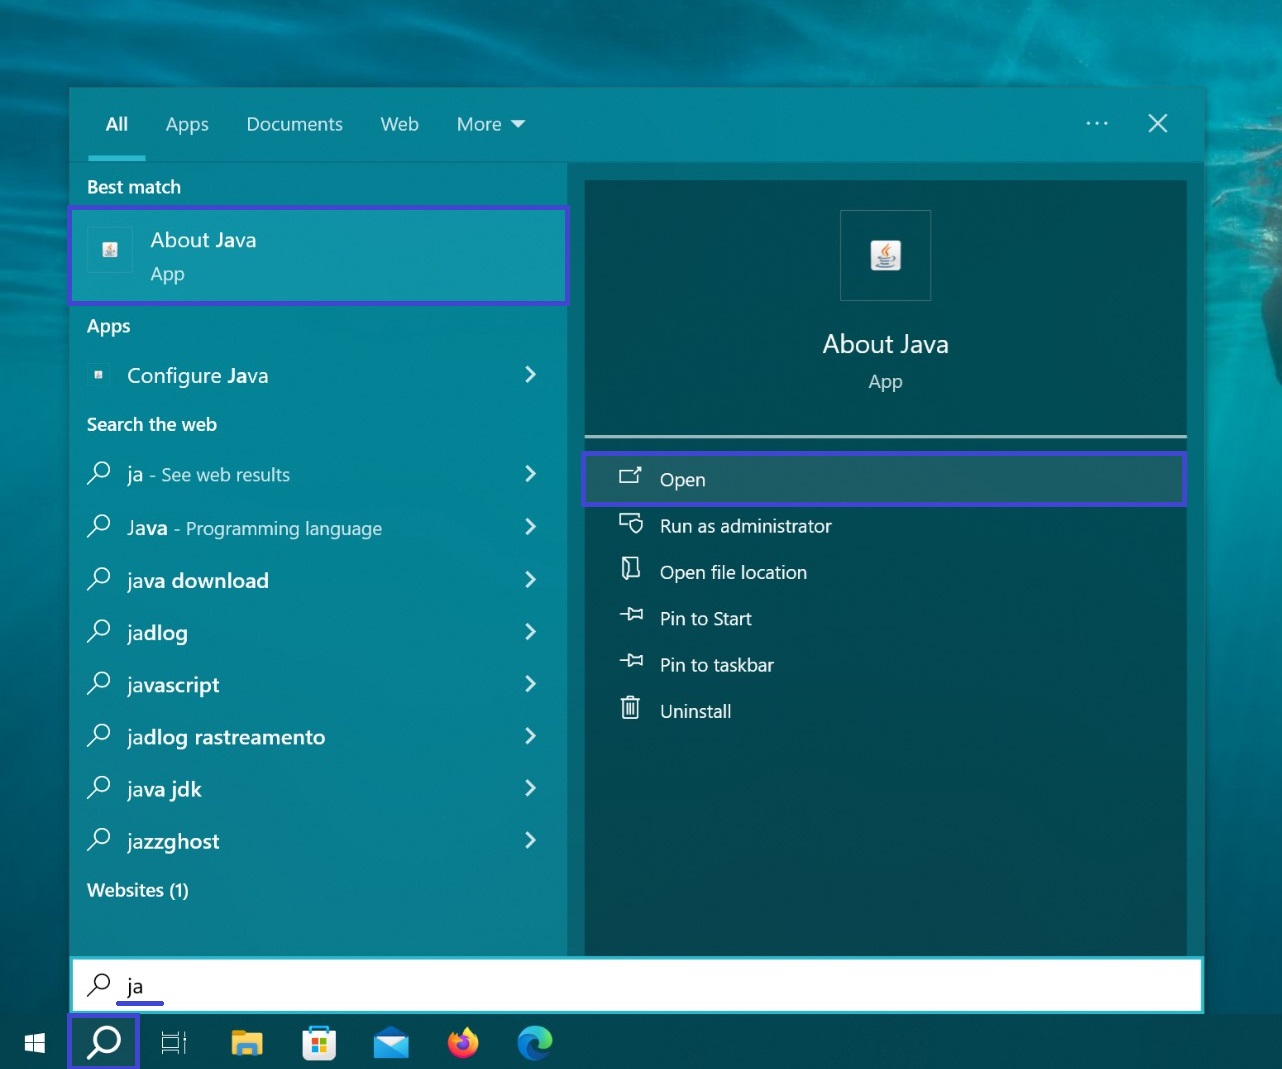
In the search bar (located on the taskbar) type “Java“. Select “About Java” from the search results and click “Open”.
The program window will be launched, where you can see the current version (Version).
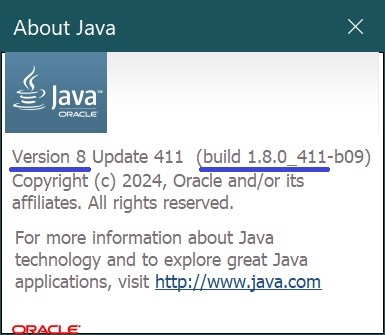
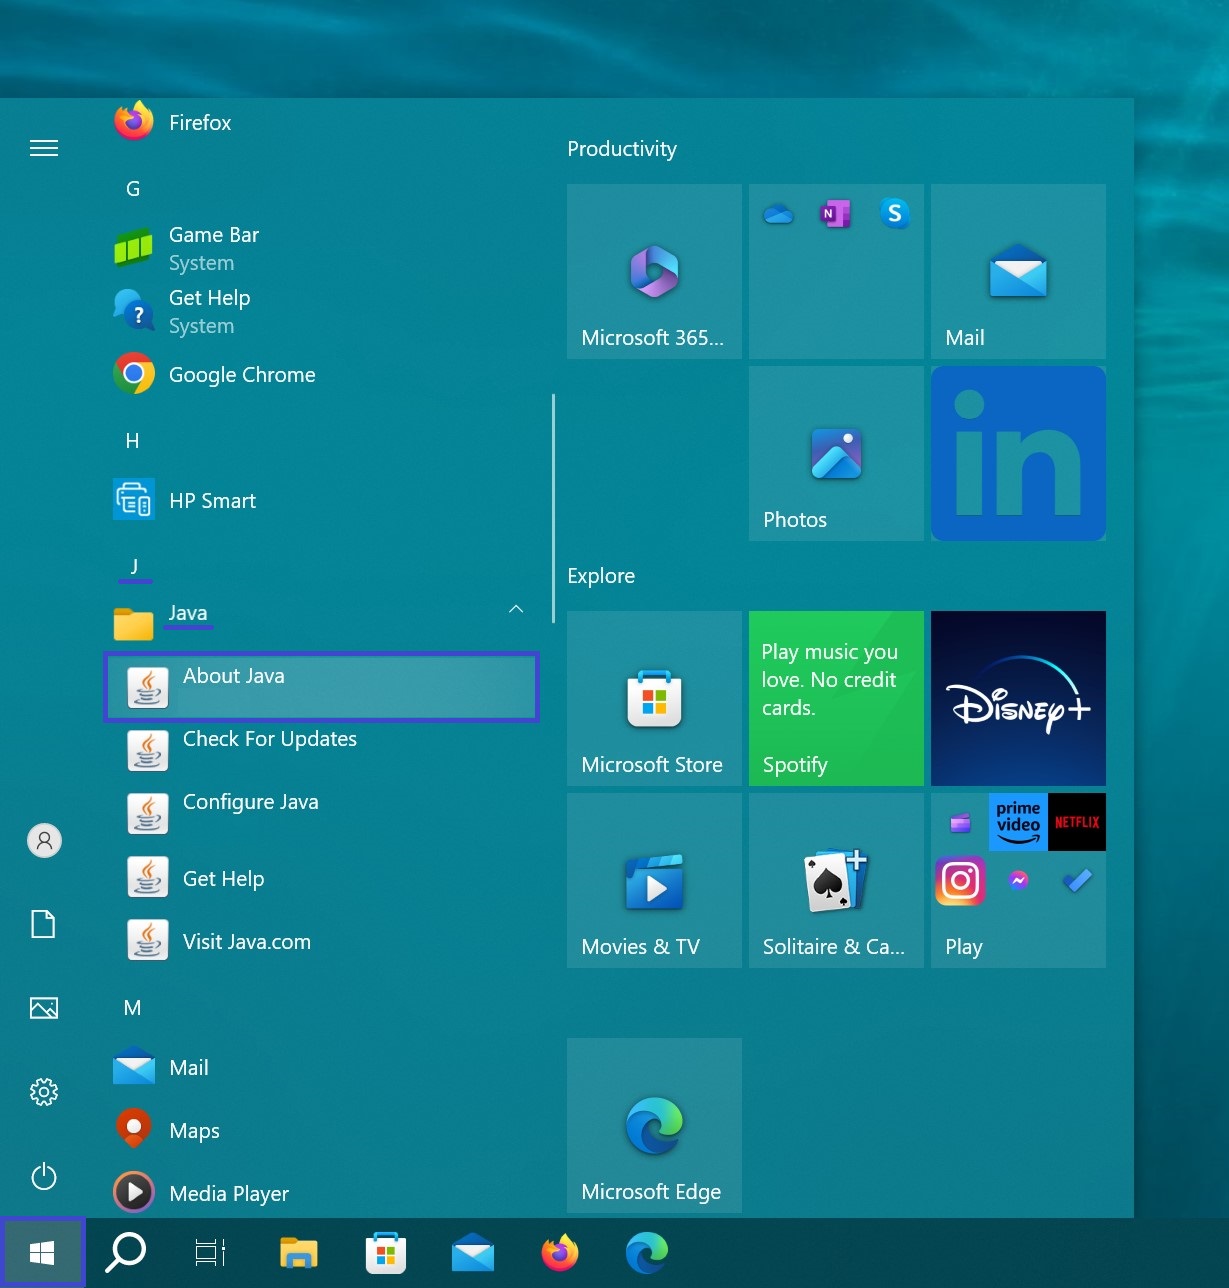
You can open “About Java” in another way. Click the Start button → then click “All applications” → in the list under the letter “J” find the folder with the program “Java” → click on it and open the application “About Java”.
Via the command prompt (cmd)
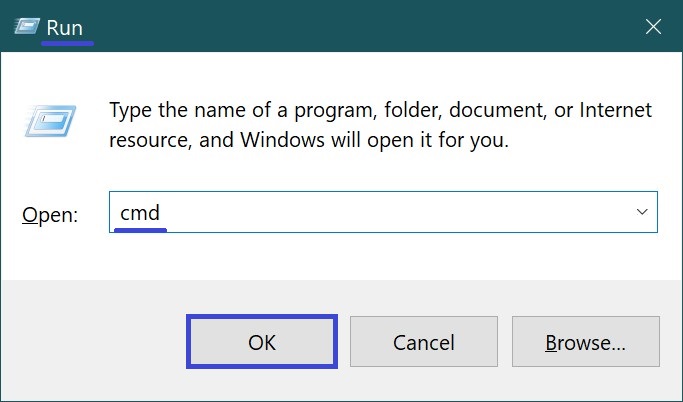
Open a command prompt in any way you like. For example, you can open the Run dialog box by pressing Win + R, then type cmd and click Ok.
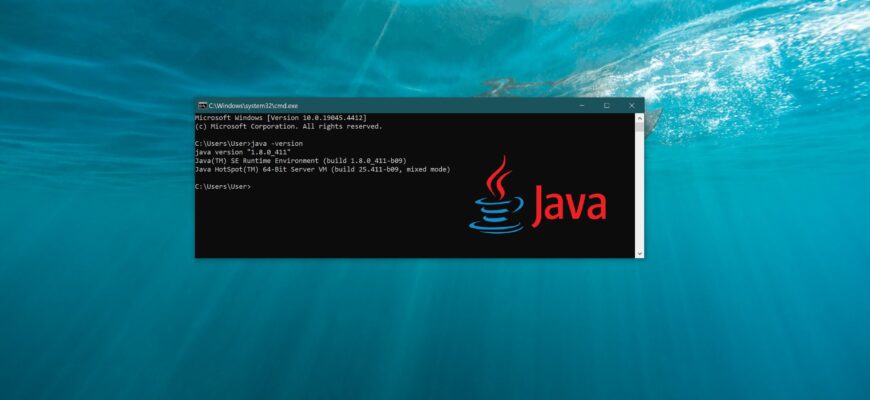
Next, in the window that opens, type or copy and paste the command “java -version” and press Enter.
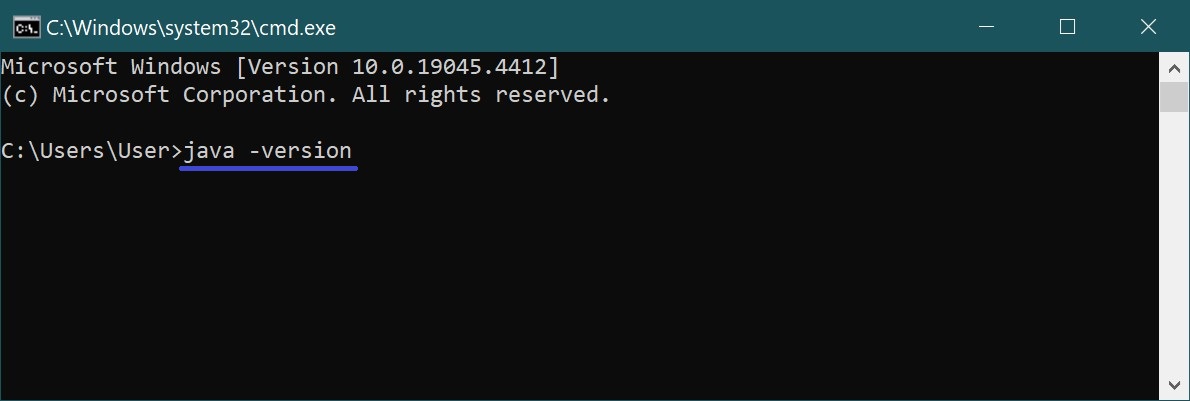
The result of the command will be displayed in a window. Information about the installed Java version is in front of you.

Using the Control Panel
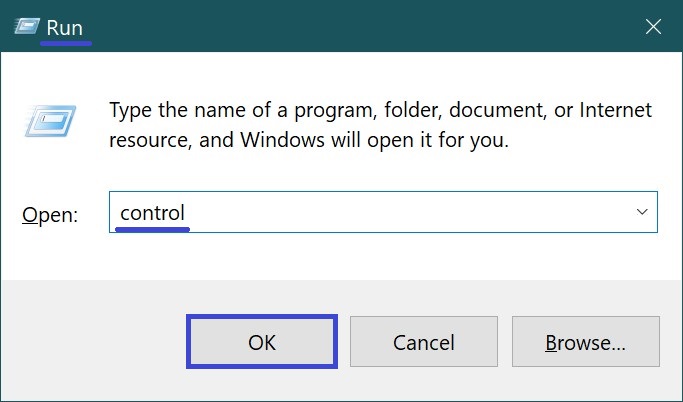
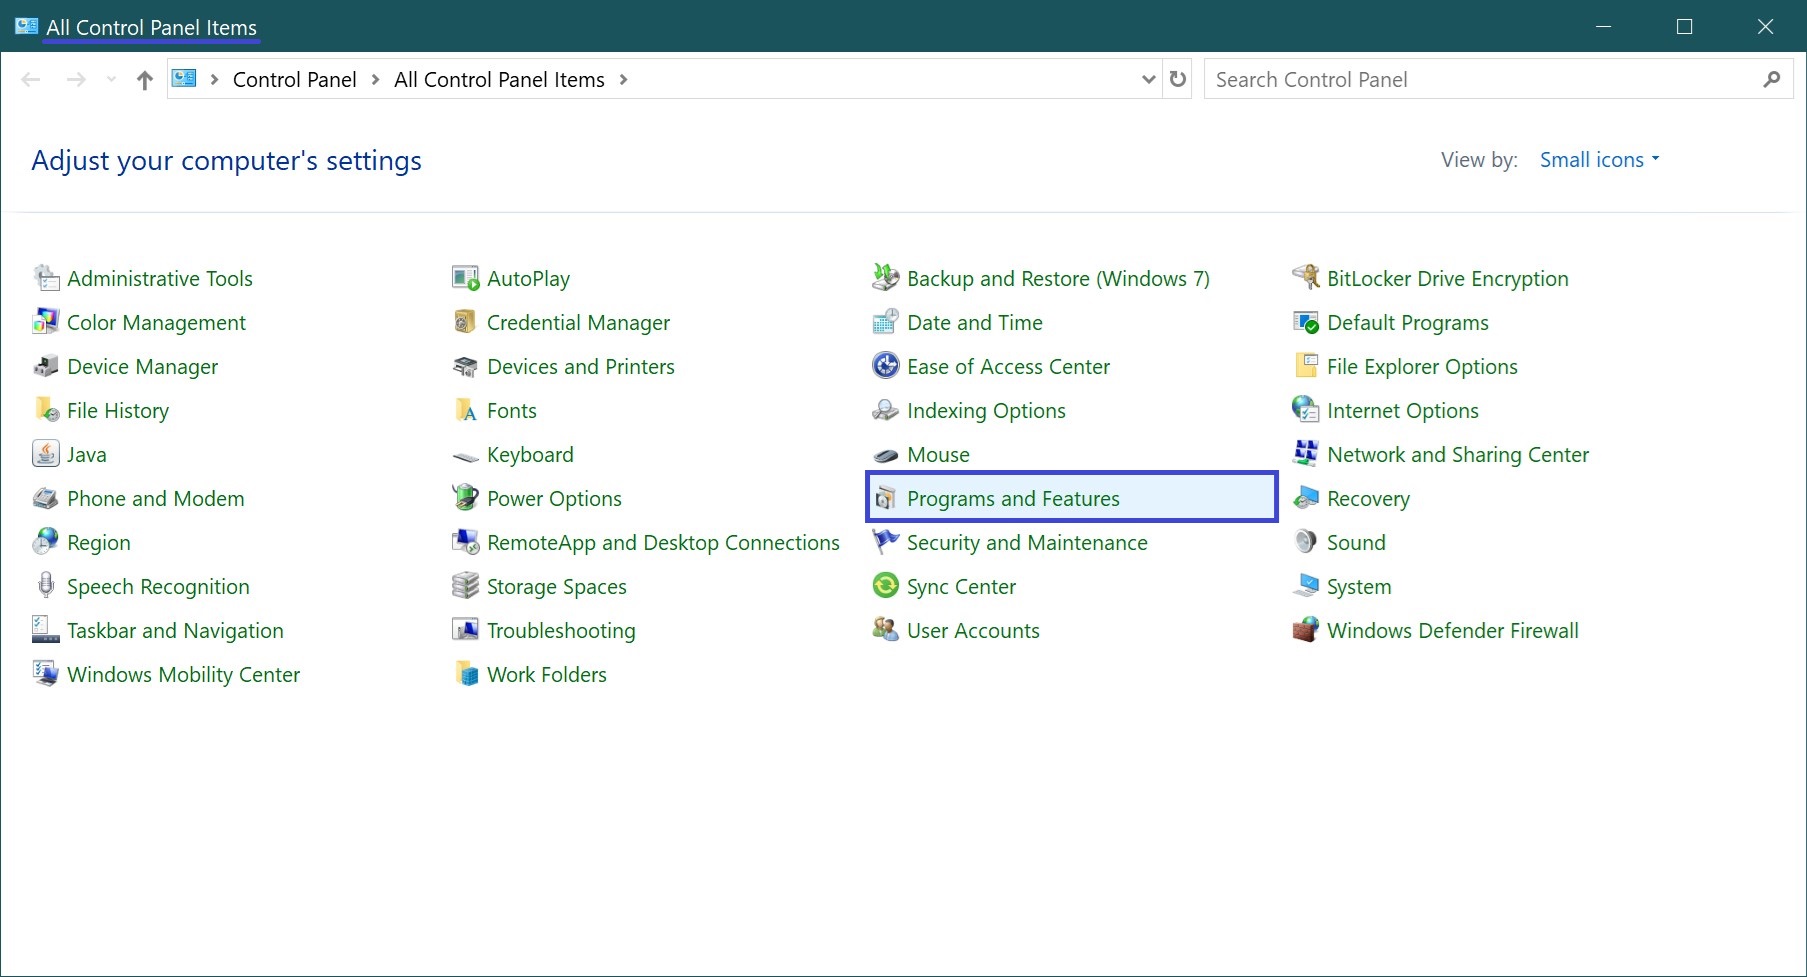
Open the Control Panel. To do this, press Win + R, copy and paste the program name “control” in the “Open:” field and press Enter.
Among the options presented in the opened window, find “Programs and Features”.
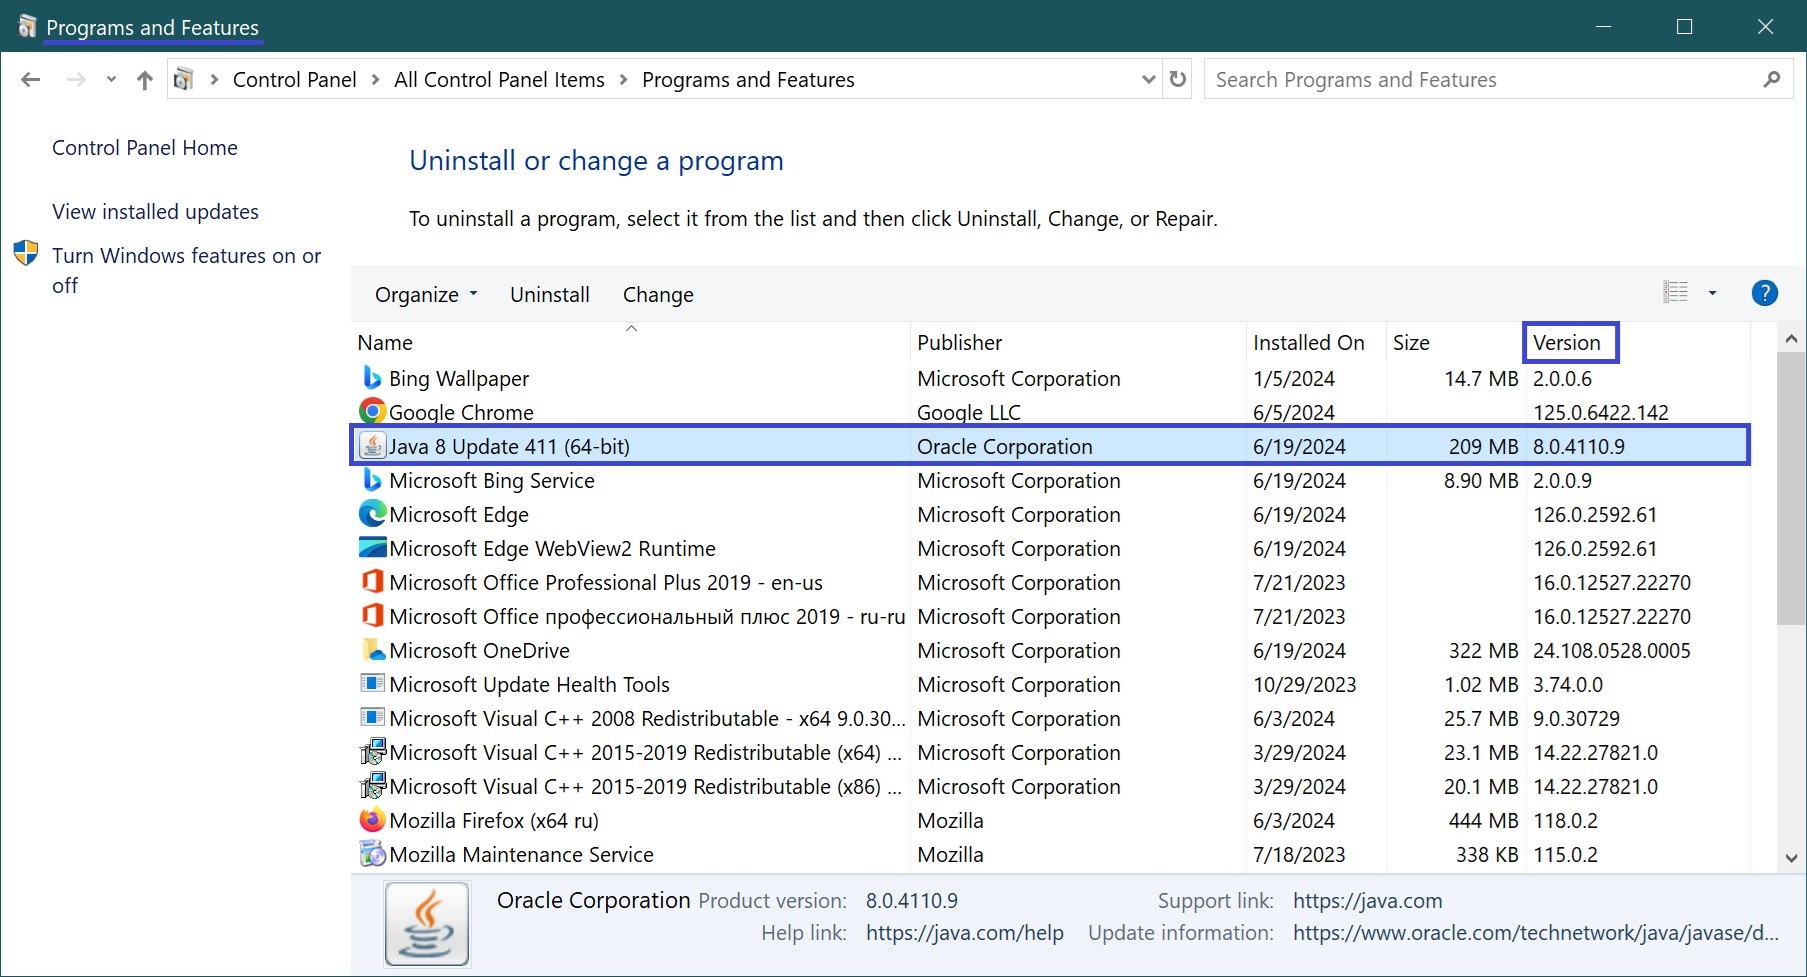
Scroll through the list of programs installed on your PC until you find Java.
The name may be different. It depends on the version installed.
In the “Version” column next to the Java program you will see the current version.
We hope that with the help of this guide you were able to quickly determine the current version of Java and now you can rest assured that your version is fully compliant with the security and compatibility requirements of the applications you are using.

