This article outlines the steps you can take to disable or enable all live tiles in the Start menu of Windows 10.
A tile is the representation of an app in the Start menu of Windows 10 and can be either static or live (dynamic):
- Static tile: By default, it displays the app’s name and logo.
- Live tiles: These can show app notifications and various event indicators, and periodically update this information, allowing users to receive up-to-date information without opening the app.
In this guide, you will learn how to disable notifications and various event indicators on all live tiles, preventing apps from updating their tiles or event indicators, turning the tiles into static ones.
To disable all live (dynamic) tiles in the Start menu of Windows 10, you need to log in with administrator rights.
How to disable (enable) all live tiles in Start menu using the Local Group Policy Editor
The Local Group Policy Editor is available in the Pro, Enterprise, and Education editions of Windows 10.
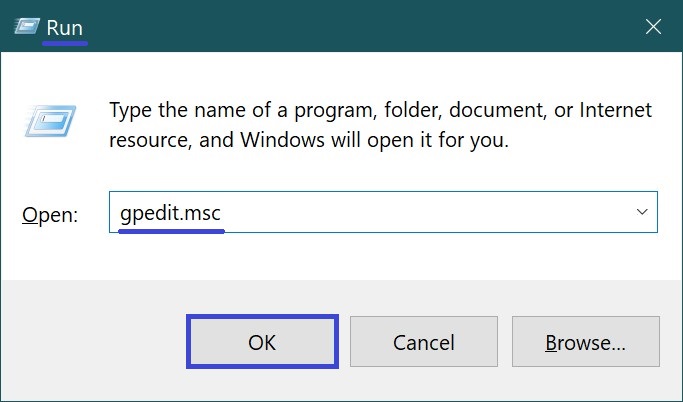
To open the Local Group Policy Editor, press Win + R, type gpedit.msc in the Run window that opens, and press Enter ↵.
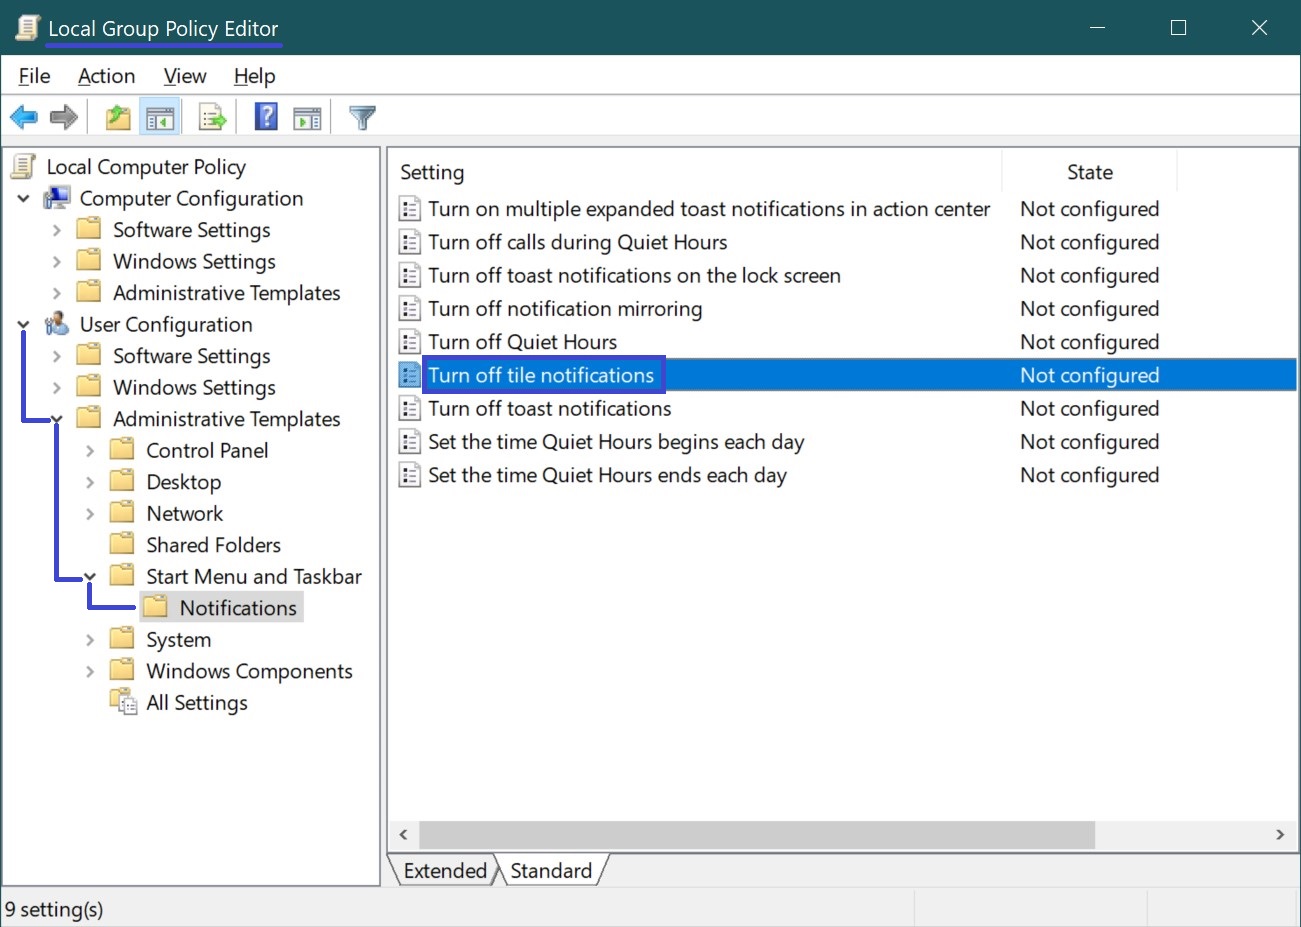
In the opened Local Group Policy Editor window, expand the following list items:
User Configuration ➯ Administrative Templates ➯ Start Menu and Taskbar ➯ Notifications
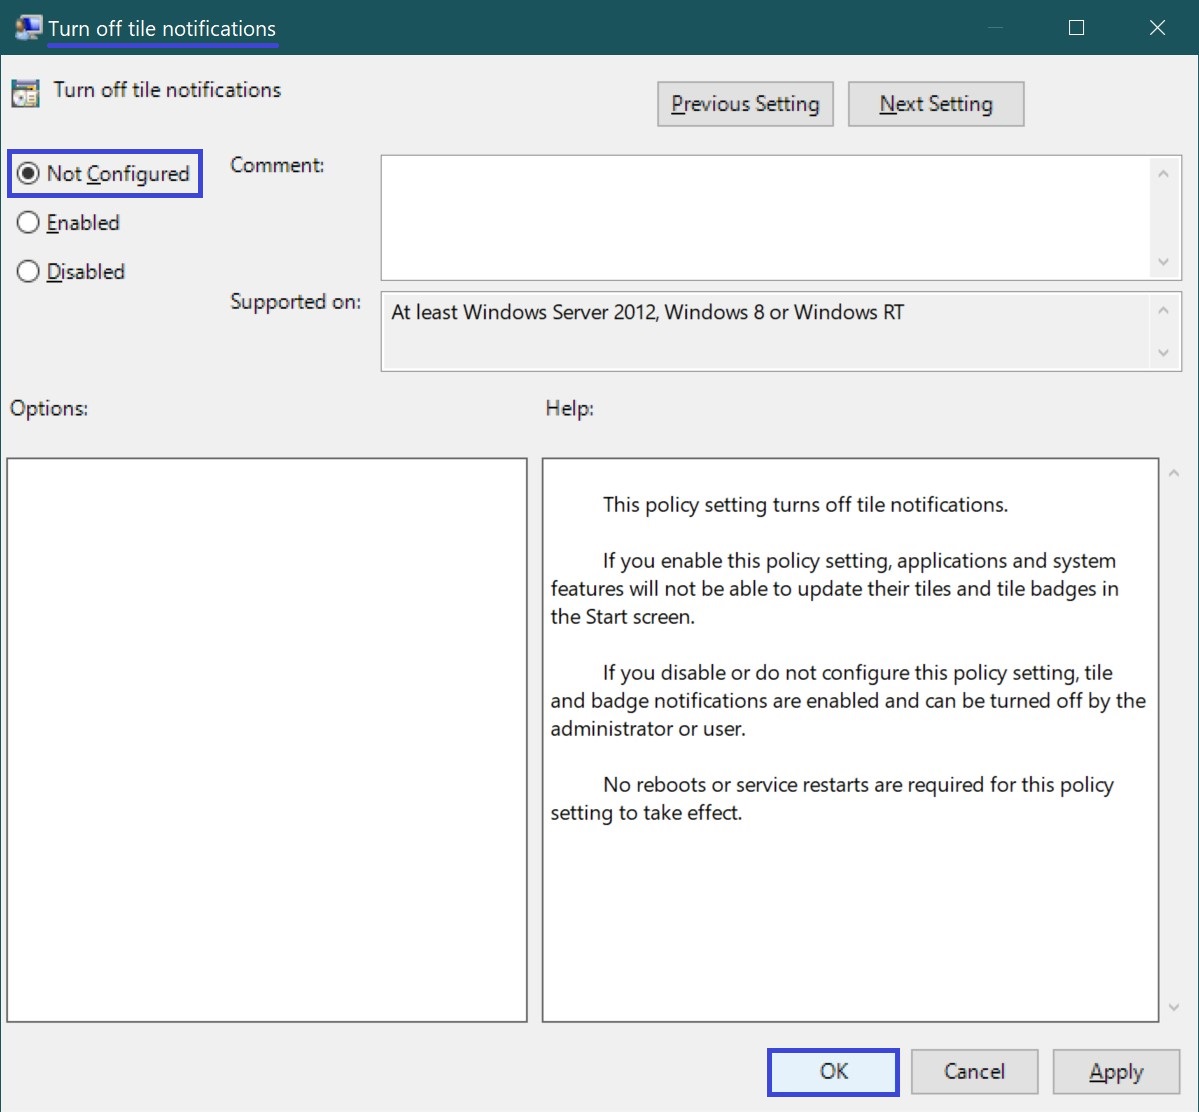
Then, on the right side of the window, double-click the policy setting named Turn off tile notifications.
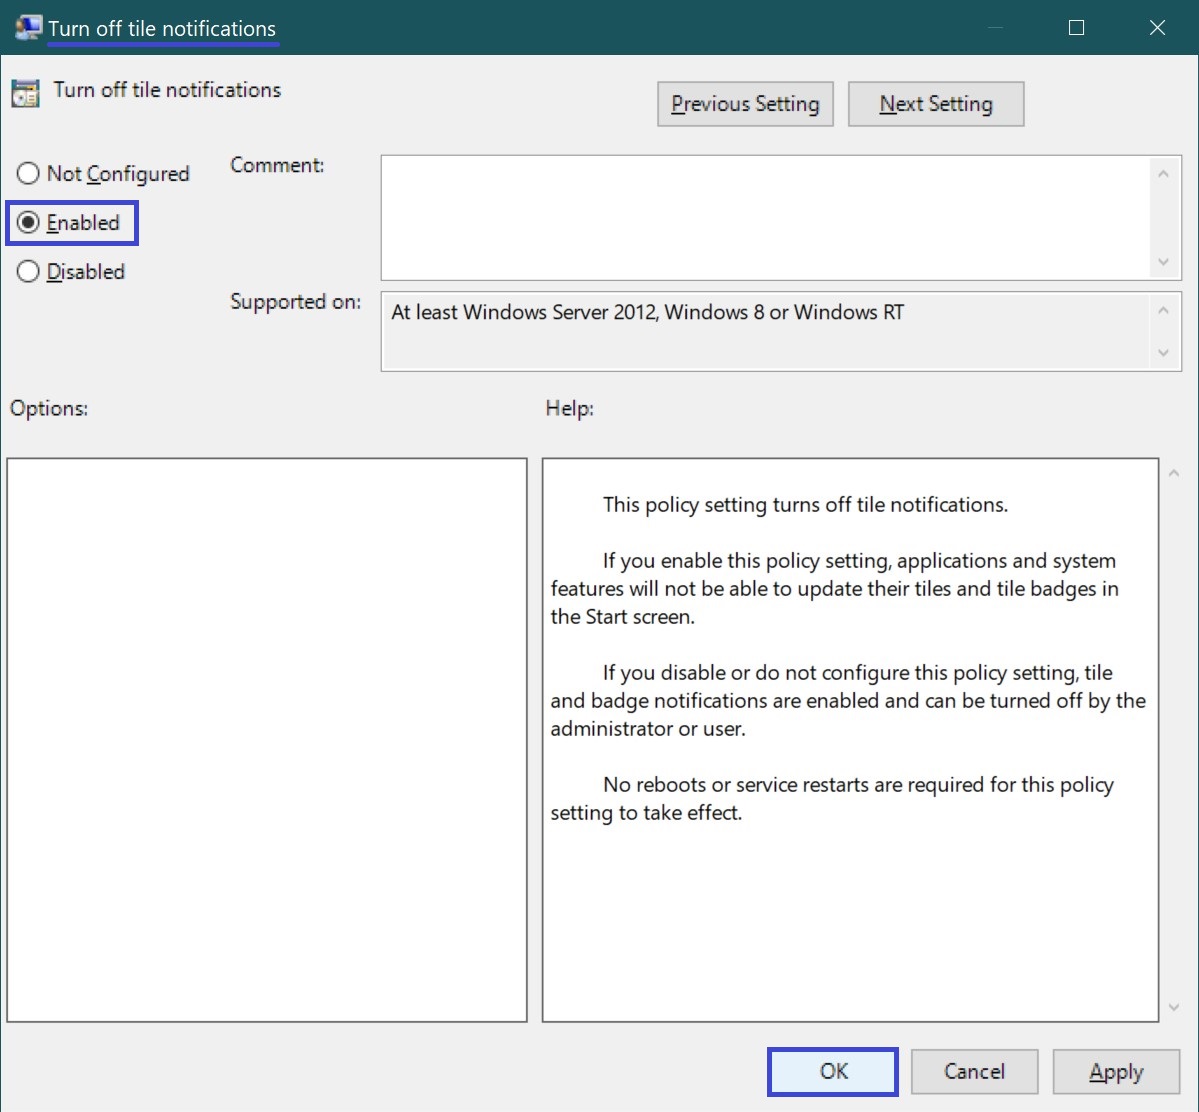
In the Turn off tile notifications window, change the toggle from Not Configured to Enabled and click OK.
Now, in the Local Group Policy Editor window, expand the following list items:
User Configuration ➯ Administrative Templates ➯ Start Menu and Taskbar
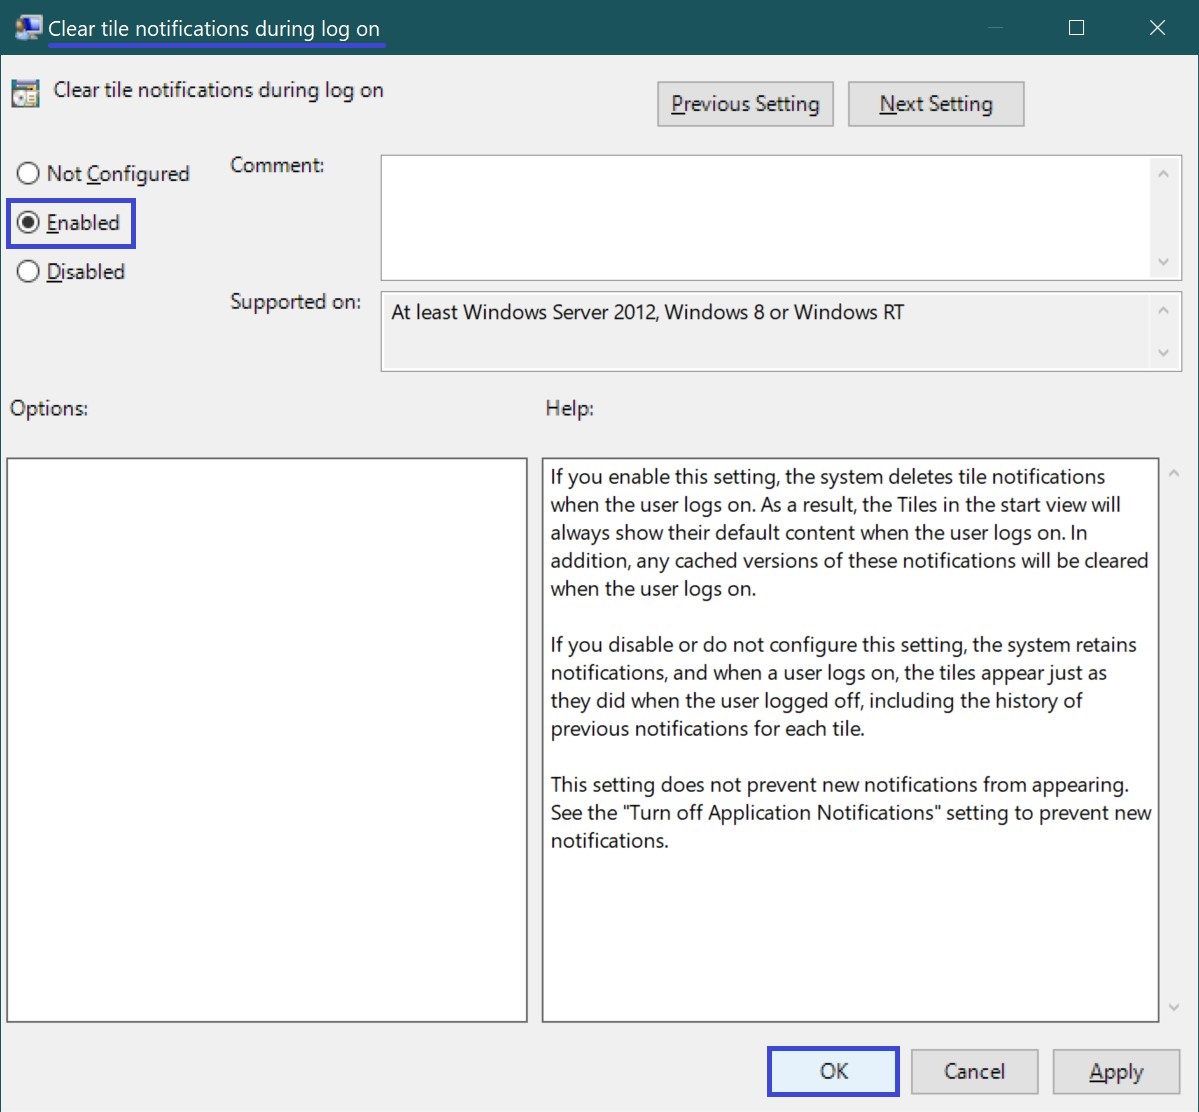
Next, on the right side of the window, double-click the policy setting named Clear tile notifications during log on.

In the Clear tile notifications during log on window, change the toggle from Not Configured to Enabled and click OK.
To apply the changes, log out of the system.
To revert the changes and enable all live tiles, in the Turn off tile notifications window, change the toggle from Enabled to Not Configured and click OK.
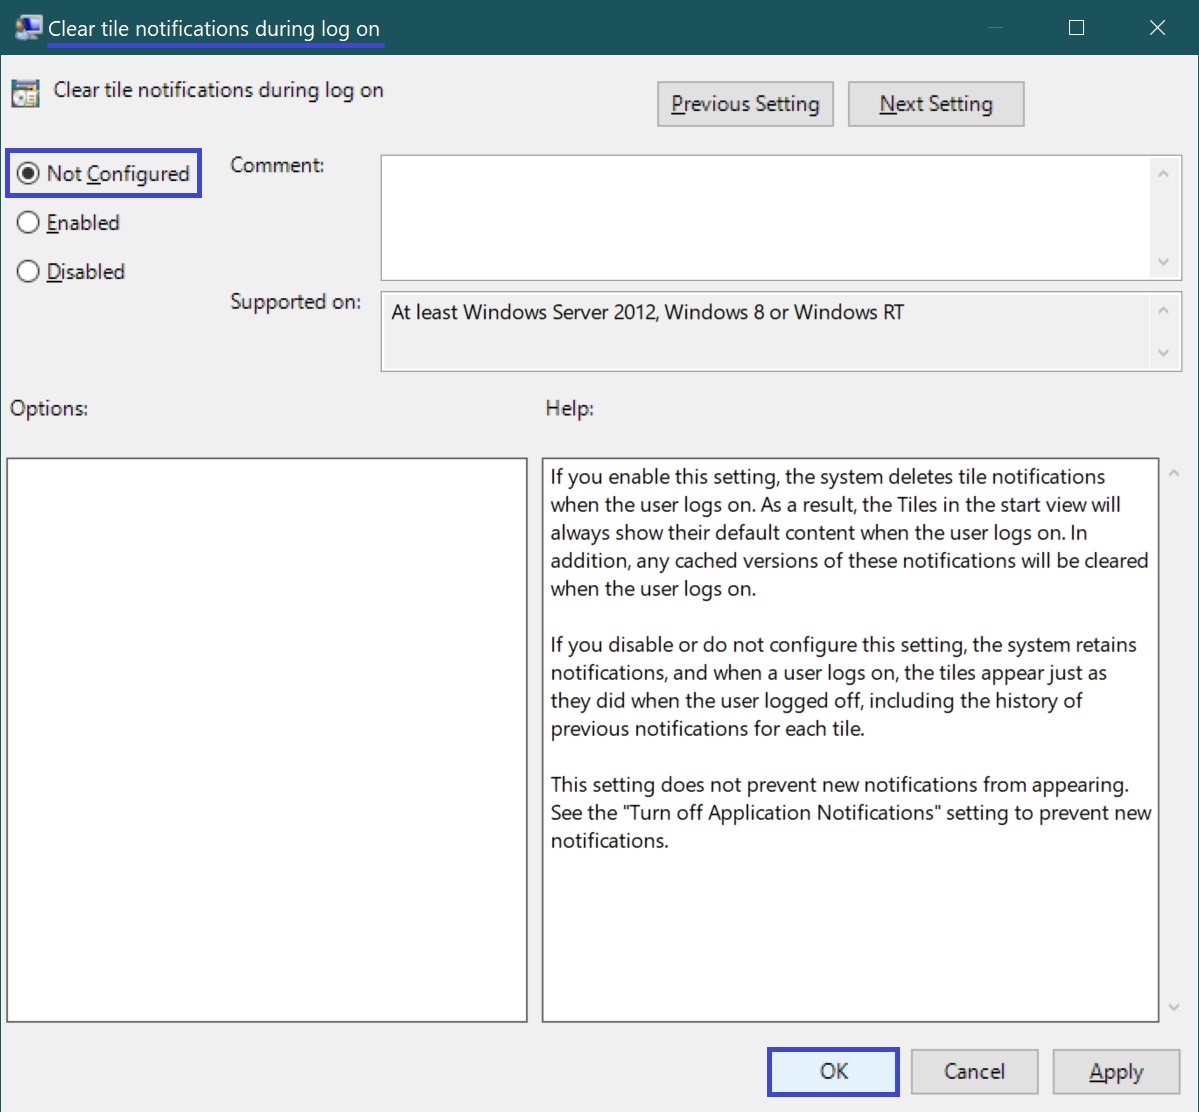
Then, in the Clear tile notifications during log on window, change the toggle from Enabled to Not Configured and click OK.
To apply the changes, log out of the system.
How to disable (enable) all live tiles in the Start menu using a registry file (reg-file)
This method allows you to disable or enable all live tiles in the Start menu on all editions of Windows 10 by making changes to the Windows system registry.
Before making any changes to the registry, it is strongly recommended to create a system restore point or export the specific registry key that will be modified.
All changes made in the Registry Editor are listed below in the registry file listings.
To disable all live tiles in the Start menu, create and apply a registry file with the following content:
Windows Registry Editor Version 5.00.
[HKEY_CURRENT_USER\\Software\\Policies\\Microsoft\\Windows\\Explorer].
“ClearTilesOnExit”=dword:00000001
[HKEY_CURRENT_USER\\Software\\Policies\\Microsoft\\Windows\\CurrentVersion\\PushNotifications].
“NoTileApplicationNotification”=dword:00000001
To enable all live tiles in the Start menu, create and apply a registry file with the following content:
Windows Registry Editor Version 5.00.
[HKEY_CURRENT_USER\\Software\\Policies\\Microsoft\\Windows\\Explorer].
“ClearTilesOnExit”=-
[HKEY_CURRENT_USER\\Software\\Policies\\Microsoft\\Windows\\CurrentVersion\\PushNotifications].
“NoTileApplicationNotification”=-
After applying the registry file, log out of the system for the changes to take effect.