This article shows the steps to add a file or folder to the Windows Defender exclusion list in the Windows 10 operating system.
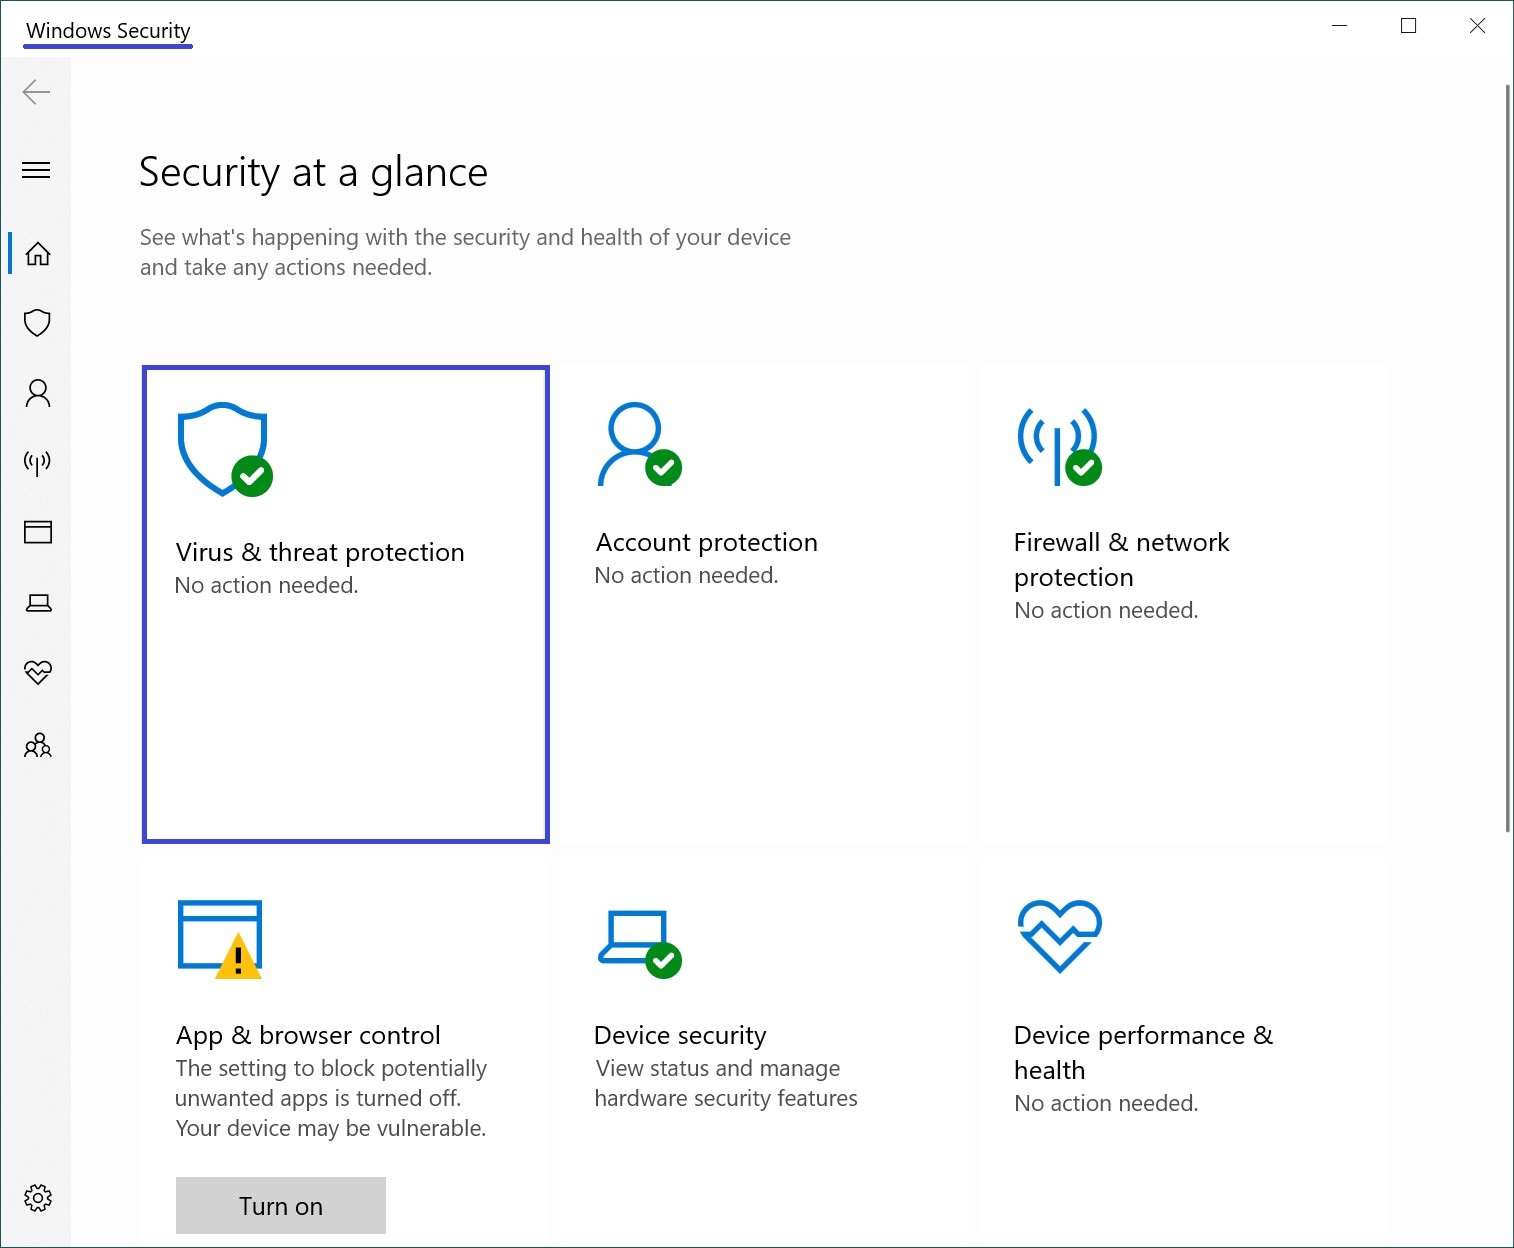
Windows Defender is built-in antivirus software in Windows 10 that protects your computer from malware and viruses.
When malicious software is detected, Windows Defender automatically takes action on the infected file. Depending on the threat level, the file may be deleted or quarantined.
However, if you’re confident that a file, folder, file type, or process is safe and was incorrectly flagged by Defender, you can prevent warnings and blocks by adding it to Windows Defender’s exclusion list.
How to Add a File or Folder to Windows Defender Exclusions
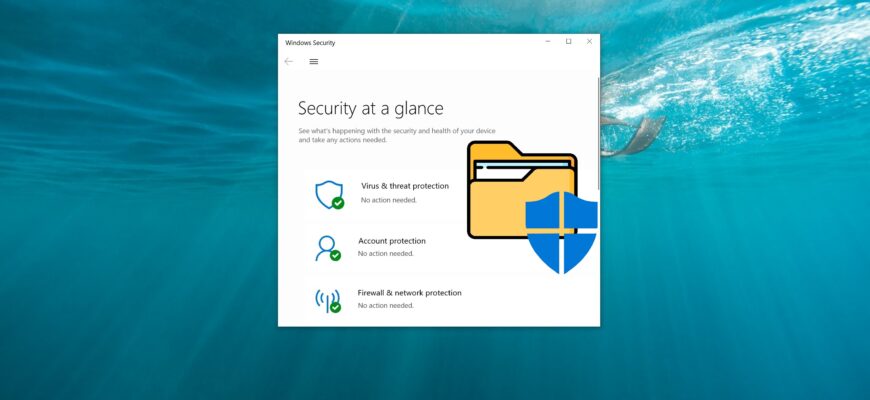
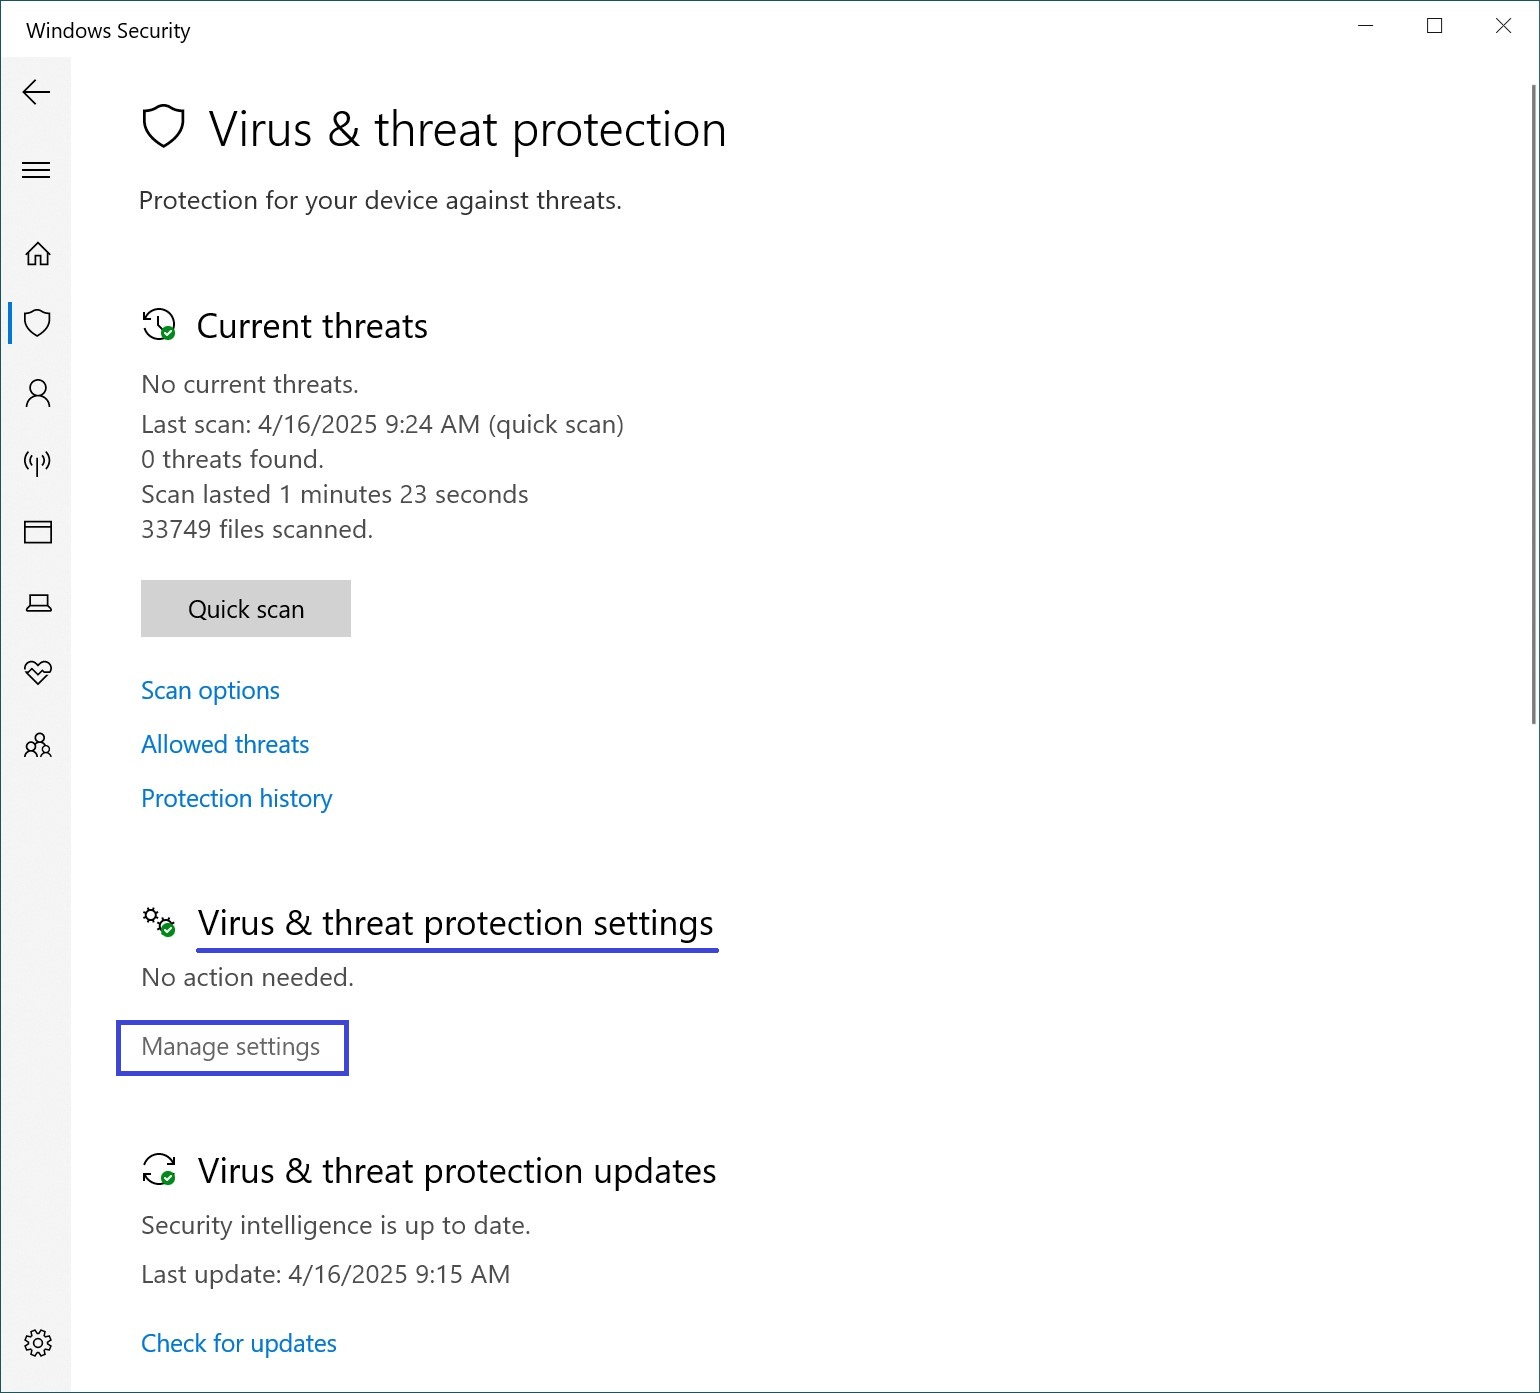
To add a file or folder to Windows Defender exclusions, open the Windows Security app and go to the Virus & threat protection section.
In the Virus & threat protection settings section, click on Manage settings.
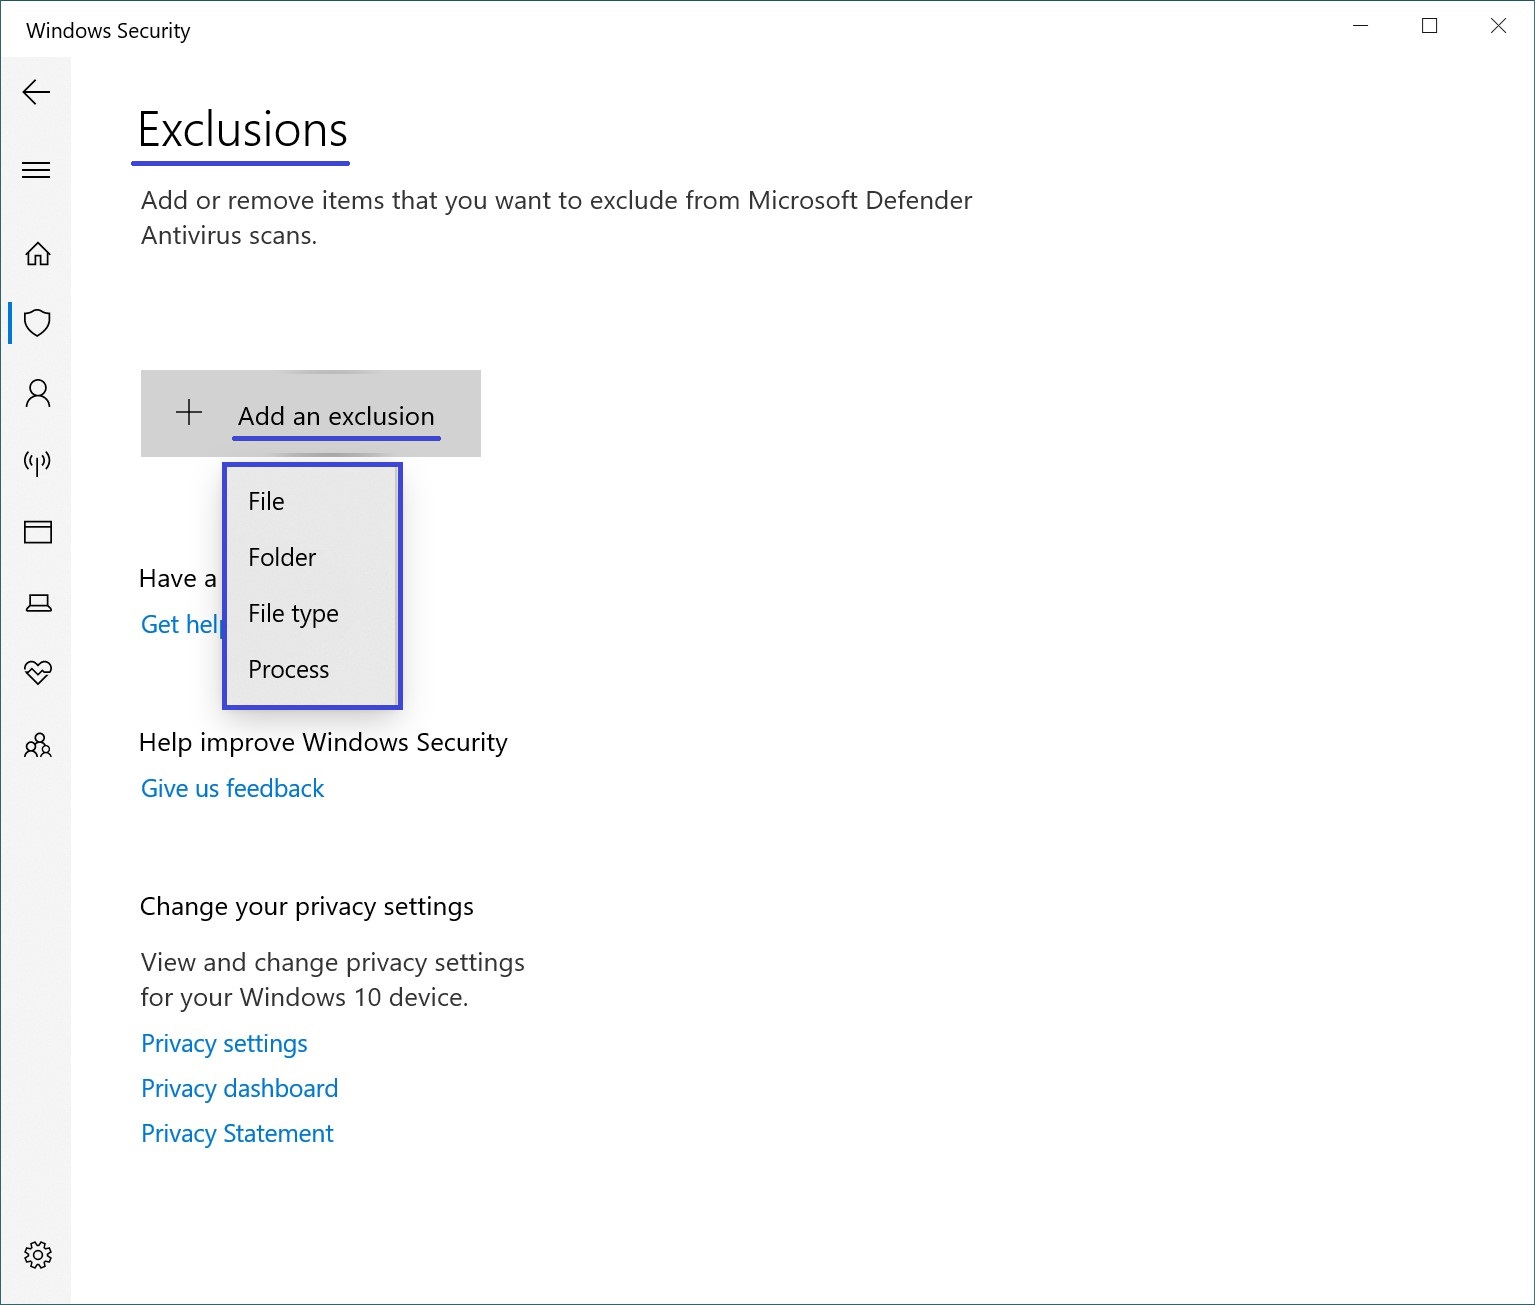
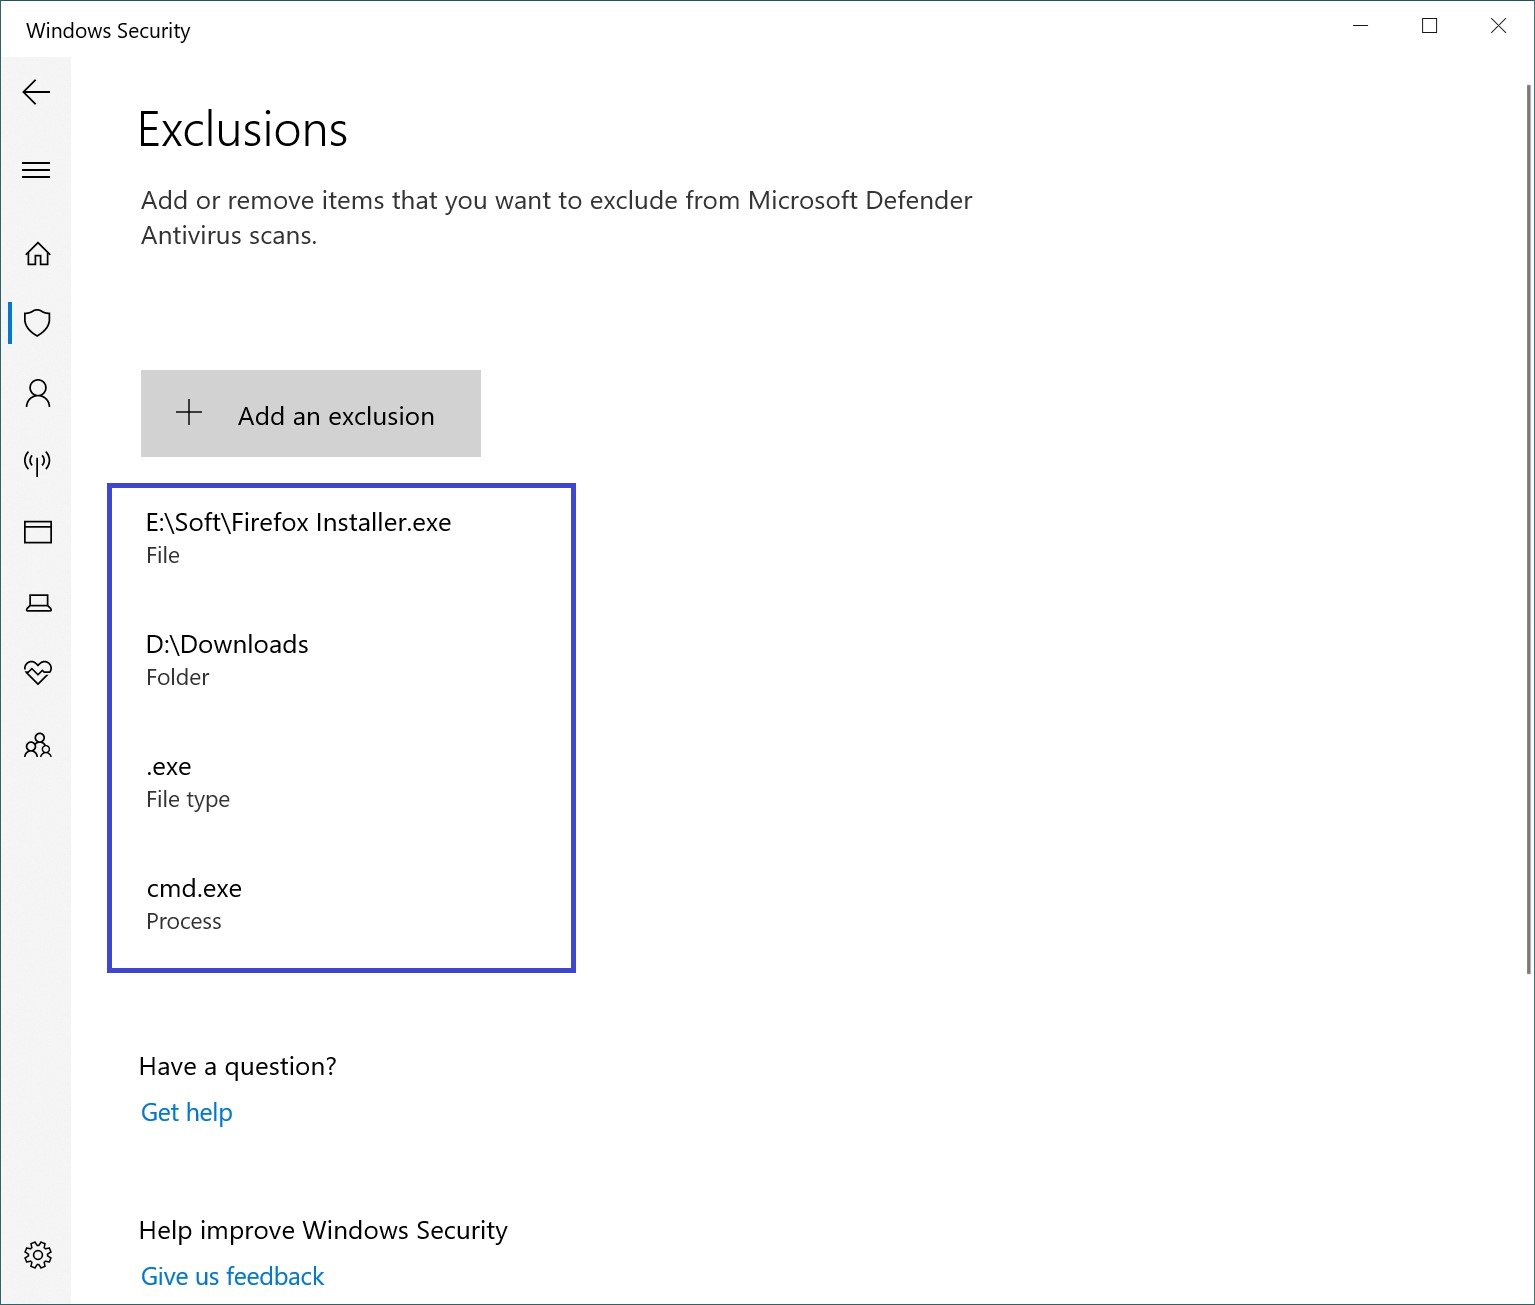
Then, under the Exclusions section, click on Add or remove exclusions.

Now click Add an exclusion and from the dropdown menu, choose the appropriate option depending on what you want to exclude: File, Folder, File type, or Process.
Then, in the Windows File Explorer window that opens, select the folder or file you want to exclude.
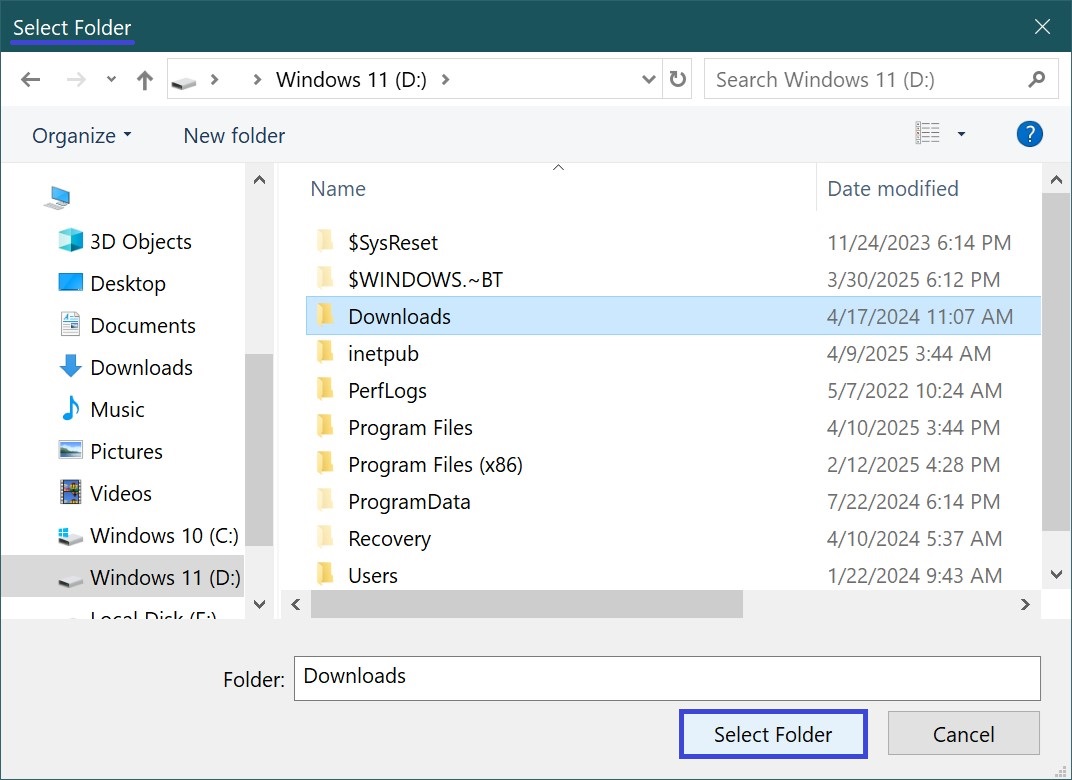
Once selected, the folder or file will be added to Windows Defender exclusions, and Defender will no longer scan it for viruses or threats.
You can also add a specific file type or process to the exclusions by specifying the file extension or process name accordingly.
If needed, you can create a separate folder and add it to the exclusions list, then download any necessary files directly into that folder.
By following the steps above, you can add (or remove) a file, folder, file type, or process to Windows Defender exclusions in the Windows 10 operating system.