By default, Windows Defender Firewall blocks incoming connections for certain types of applications, such as media servers, multiplayer games, file-sharing tools, and other server applications, to ensure security.
The first time the firewall blocks a new app, the user receives a notification and can then choose whether to allow the connection. This ensures that connections are not blocked without the user’s knowledge.
If needed, you can enable or disable Windows Defender Firewall notifications for each network type.
To enable or disable Windows Defender Firewall notifications, you must be logged in with administrator privileges.
How to Enable or Disable Firewall Notifications in the Control Panel
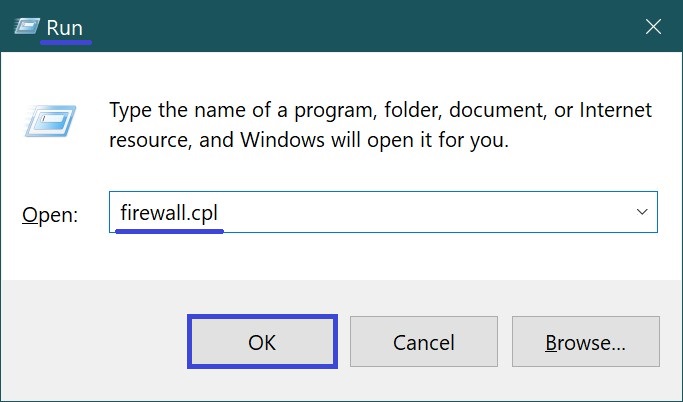
To enable or disable Windows Defender Firewall notifications, press Win + R on your keyboard, type firewall.cpl in the Run window, and click OK.
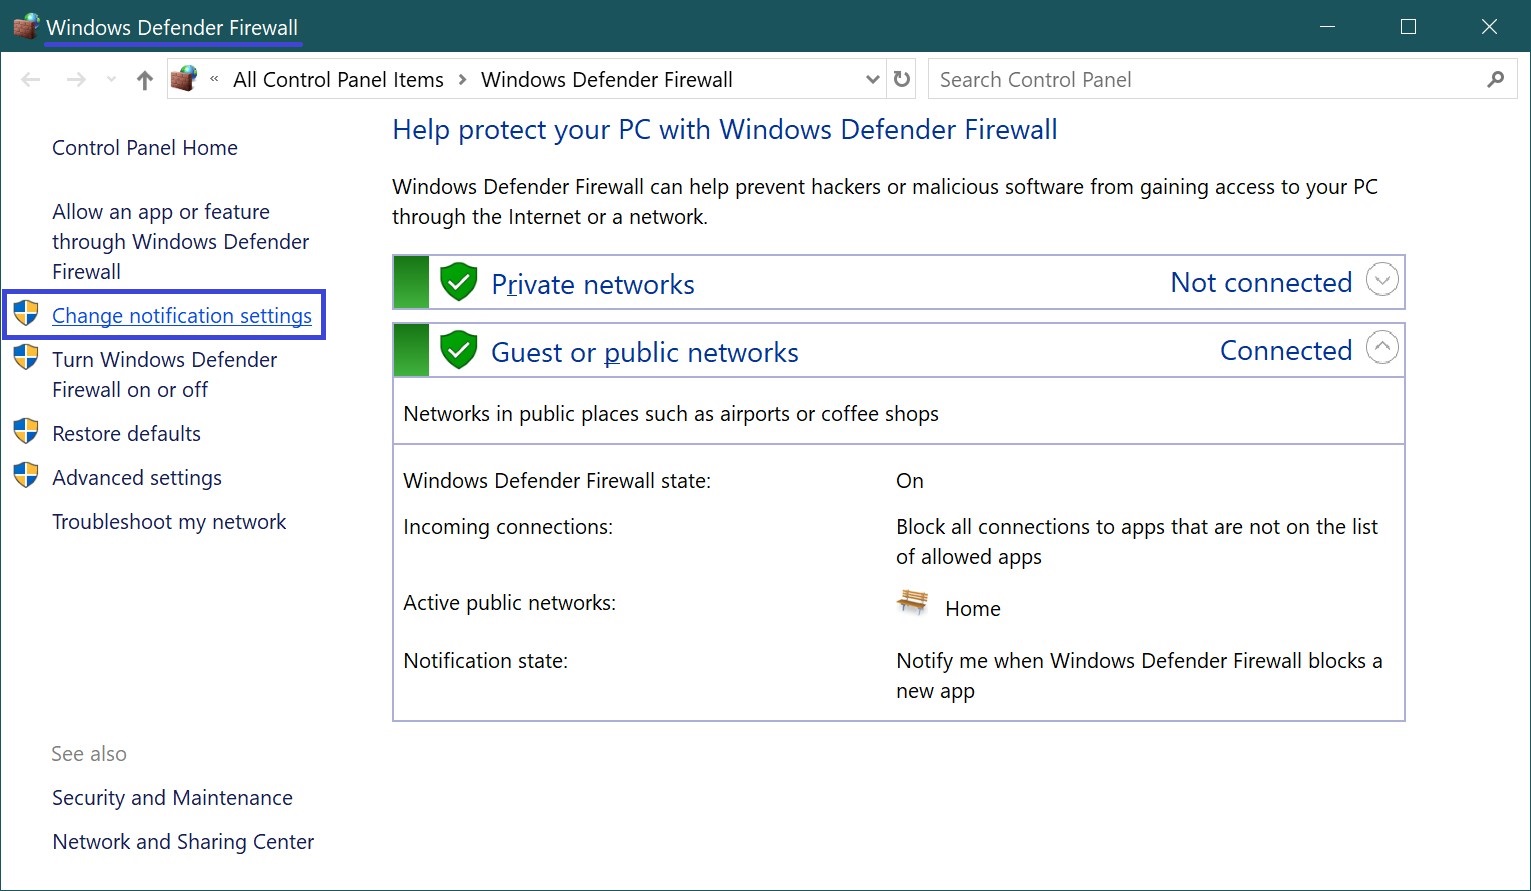
In the window that opens, click the Change Notification Settings link.
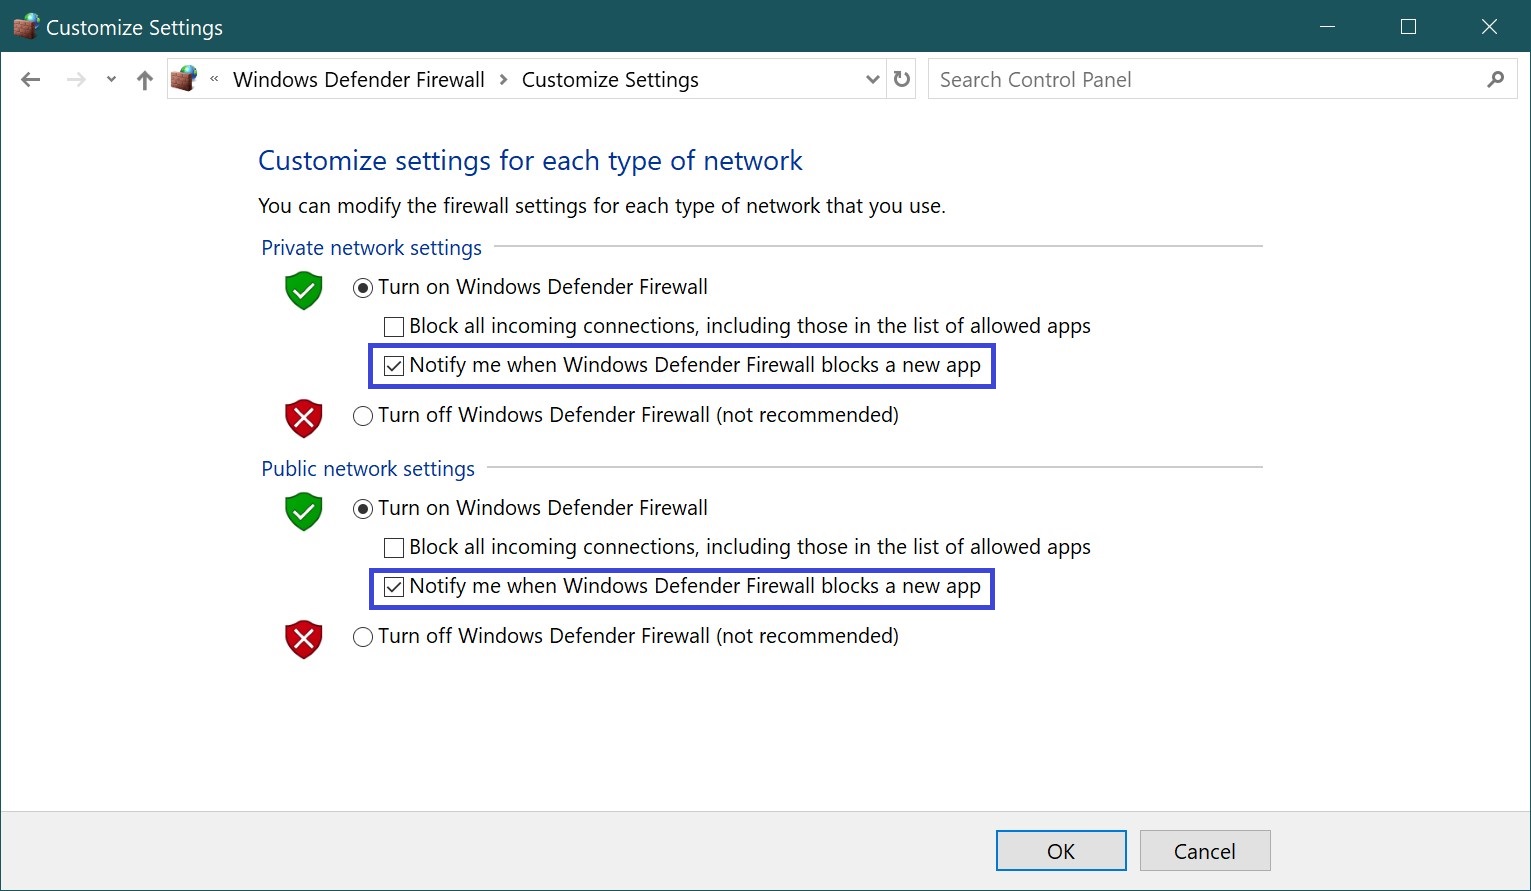
In the next window, check or uncheck the option Notify me when Windows Defender Firewall blocks a new app for each network type, then click OK.
How to Enable or Disable Firewall Notifications in the “Windows Security” App
This method for enabling or disabling Windows Defender Firewall notifications is available only in Windows 10.
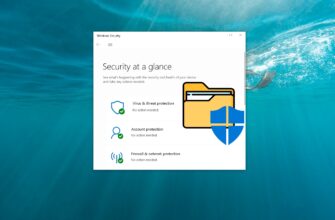
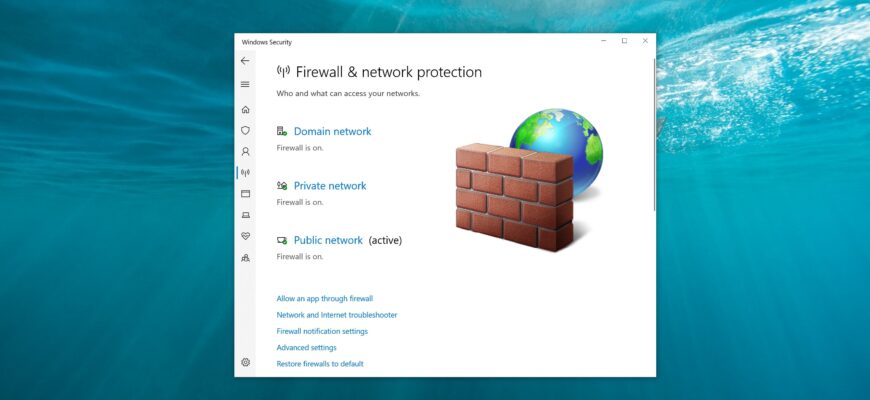
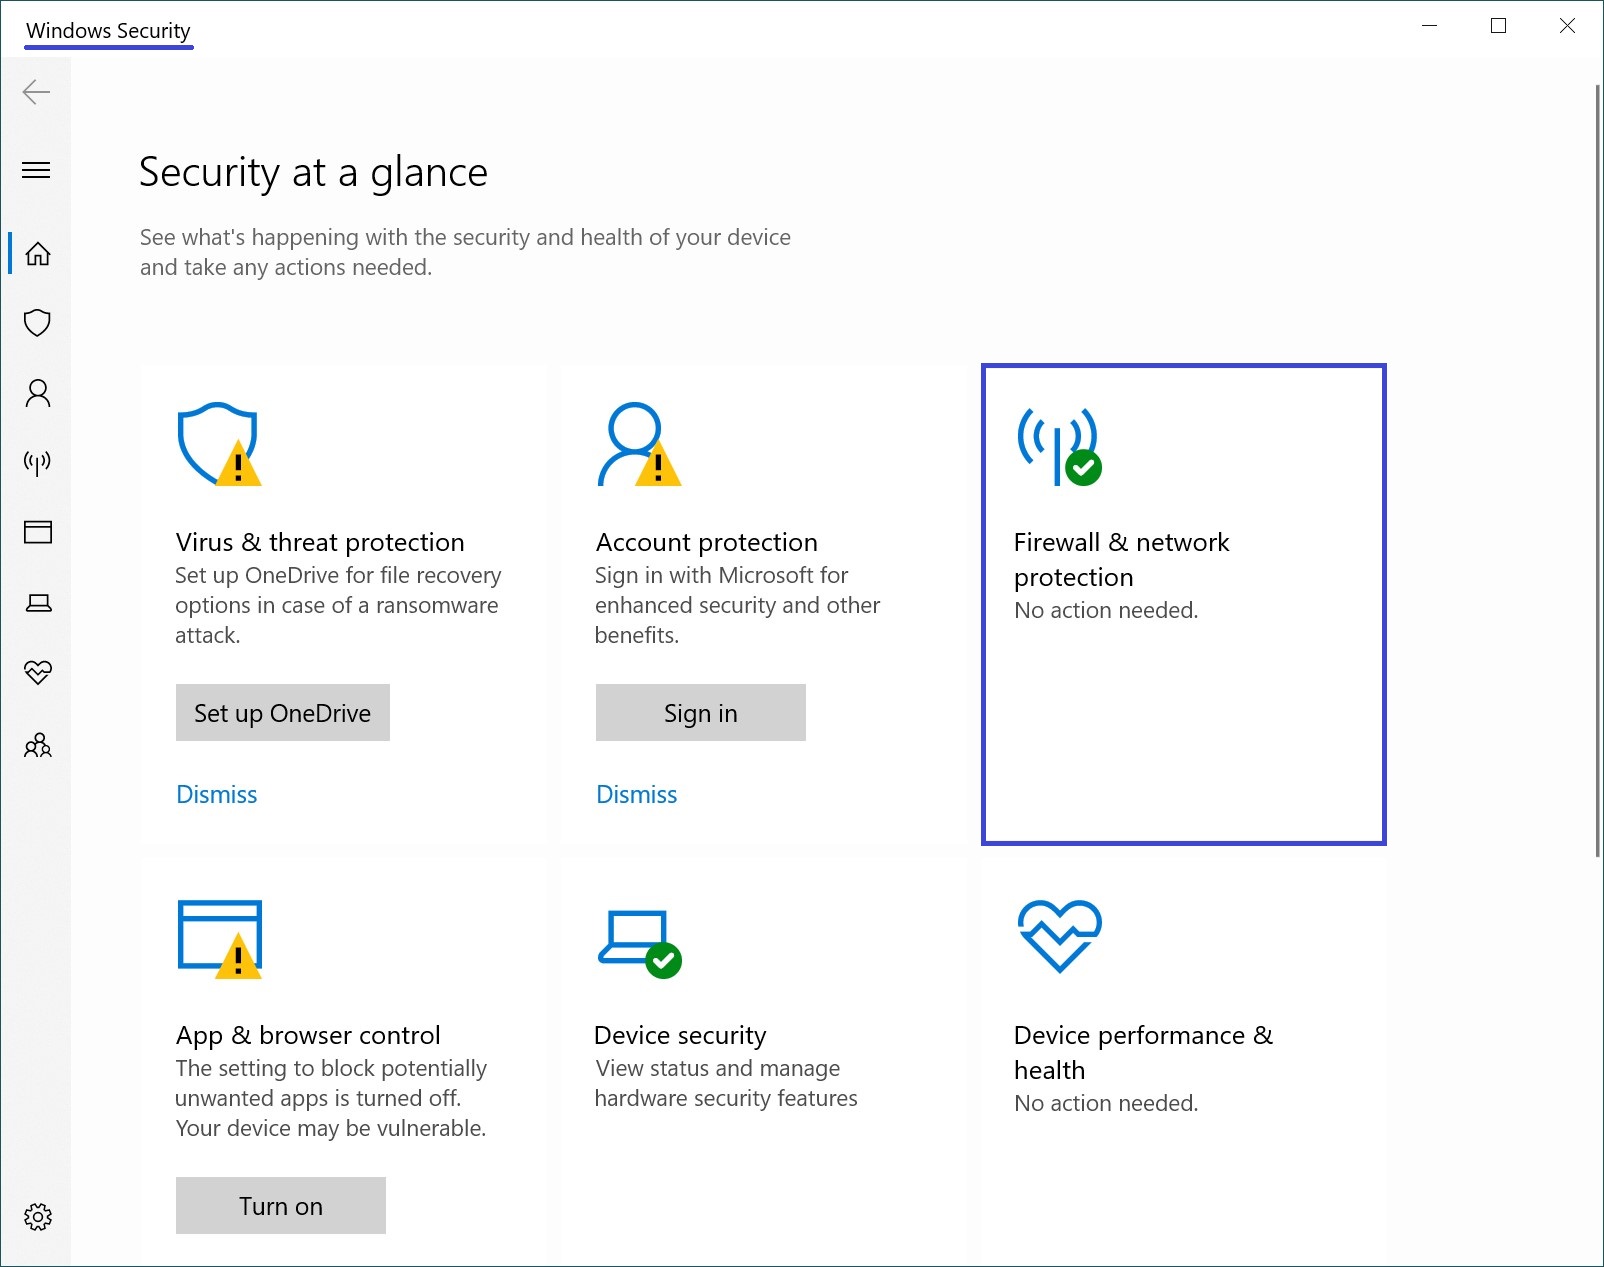
Open the Windows Security app and select Firewall & network protection.
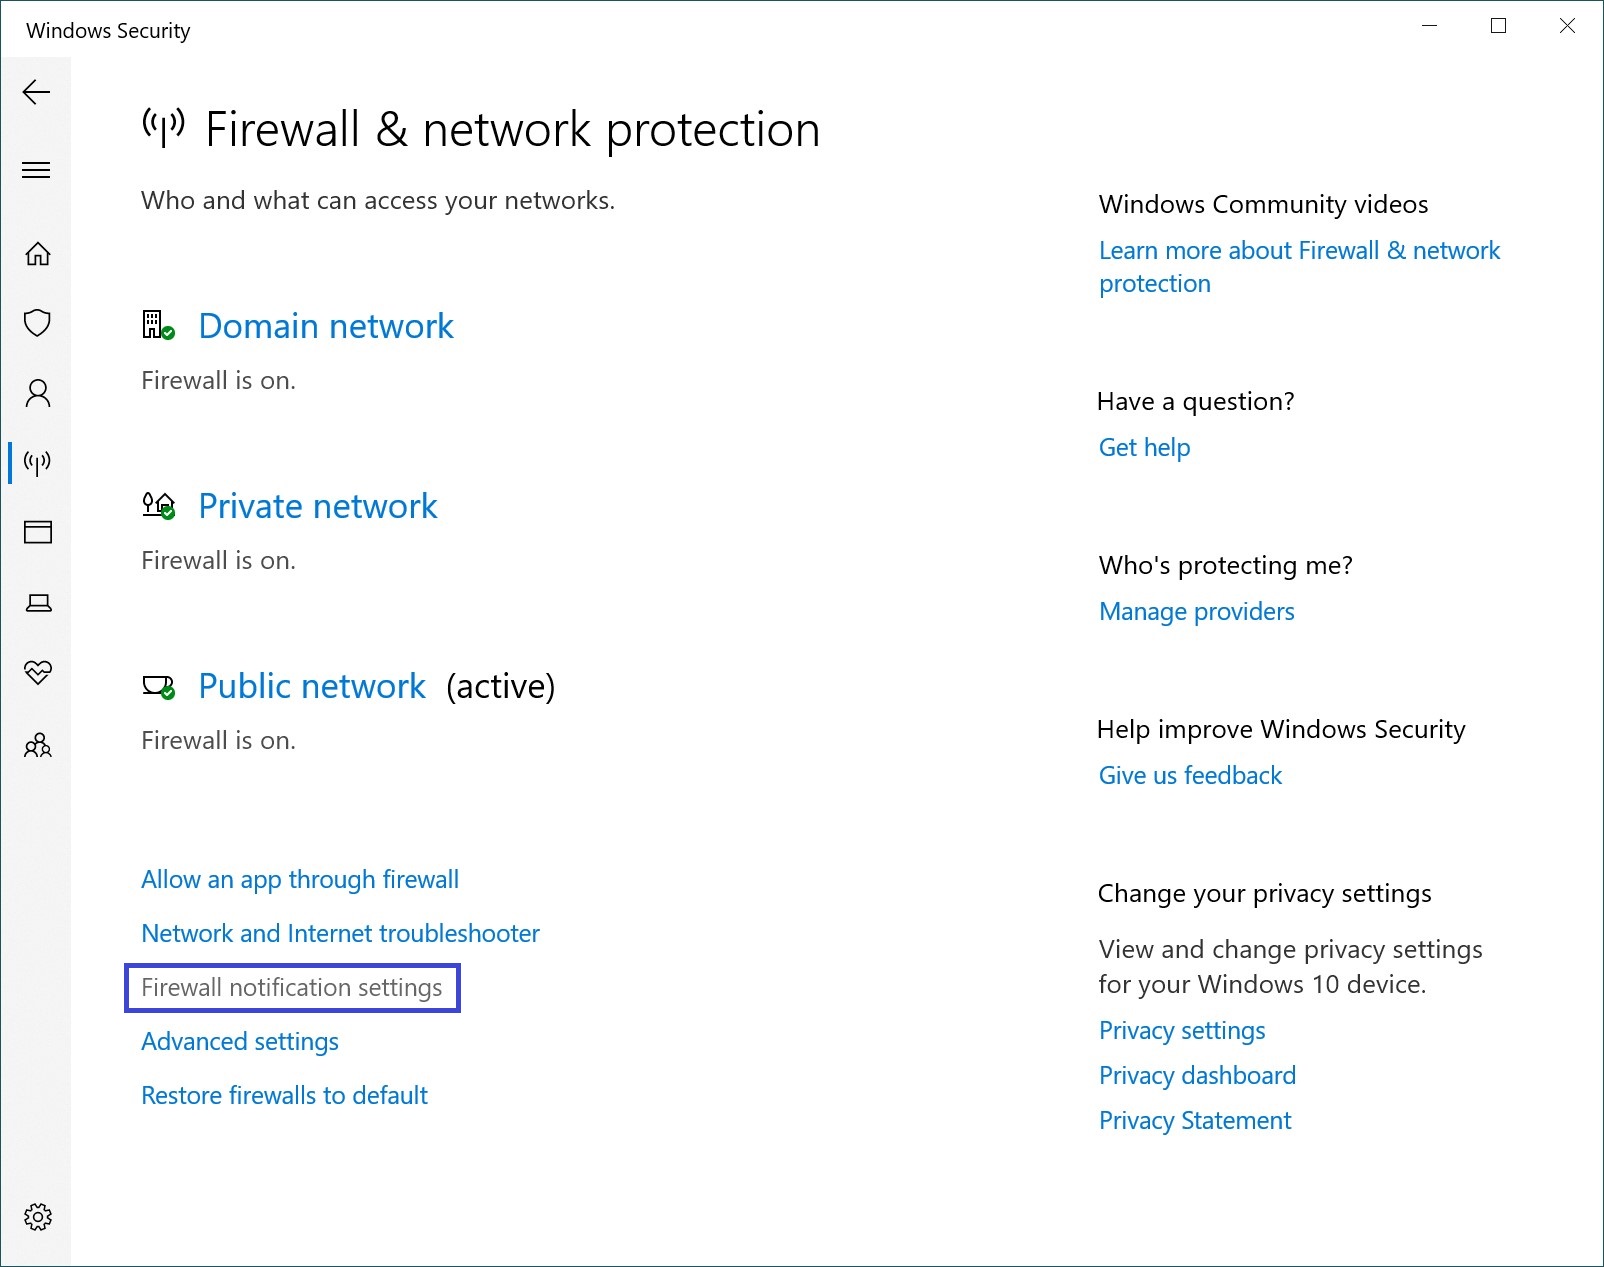
Then, click on the Firewall notification settings link.
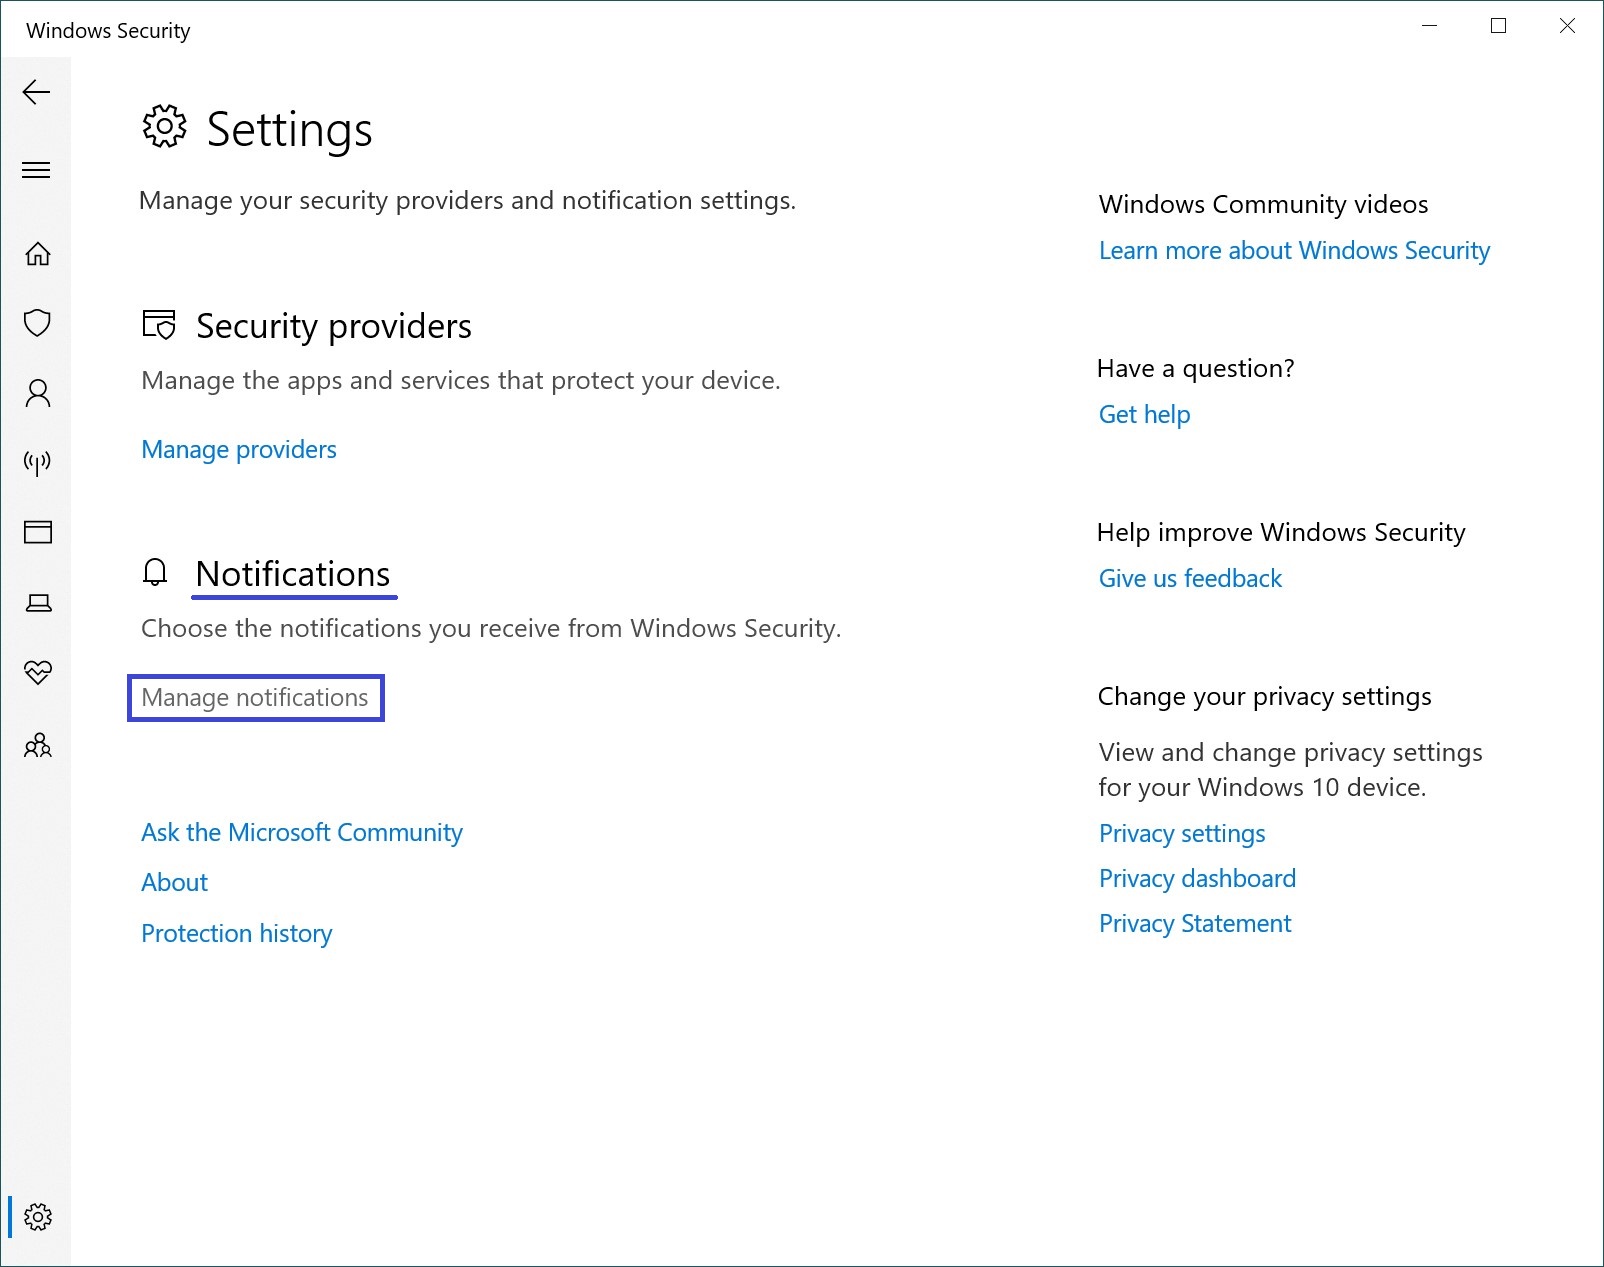
Next, under the “Notifications” section, click Manage notifications.
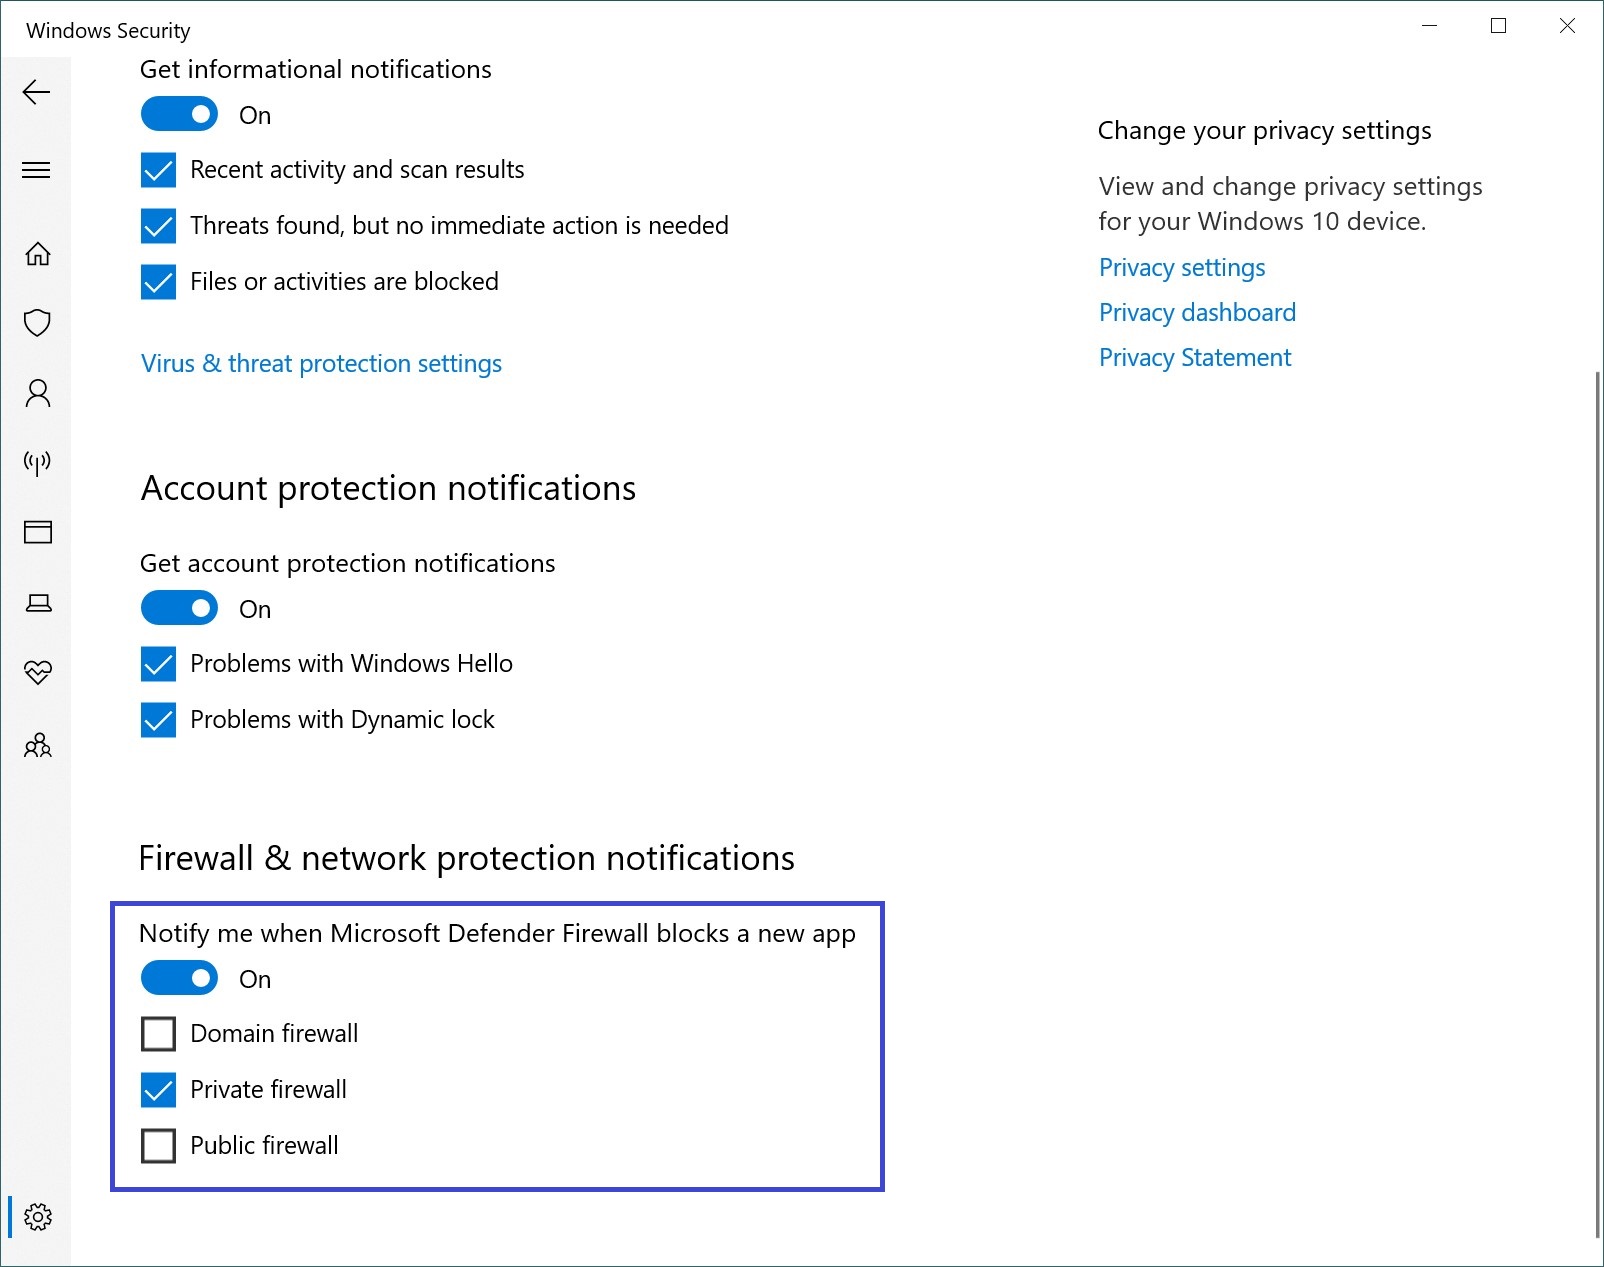
In the following window, enable or disable the Notify me when Microsoft Defender Firewall blocks a new app option (enabled by default).

You can also disable or enable firewall notifications for individual network types by checking or unchecking the corresponding box.
By following the steps outlined above, you can enable or disable Windows Defender Firewall notifications in the Windows operating system.